
Gruv.ai logo

How Home Services Platforms Verify, Dispatch, and Pay Contractors

By Gruv Editorial Team
Contributor
Published on
26 min read
How Home Services Platforms Verify, Dispatch, and Pay Contractors - hero image

Quick Answer

Home services platforms should release contractor payouts only when onboarding, dispatch eligibility, and payout controls all point to the same verified status. In practice, that means collecting the required intake packet, confirming insurance or license approval where required, capturing tax setup such as a W-9, and using clear hold or exception rules before sending ACH or other payouts.

How Verification, Dispatch, and Payouts Fit Together#

We recommend treating contractor onboarding, dispatch gating, and payout release as one operating chain. In home services, the sequence is simple: verify the contractor, control who can be assigned work, then release payout when the verified file says the contractor is clear.

This is where launches break. Intake may look complete while Background check consent is still missing. Dispatch may be ready while a Certificate of insurance is expired or still in manual review. Finance may be ready to send ACH payouts while identity, tax, or insurance records are still open.

We wrote this guide to help you make those decisions market by market, so your expansion choices reflect operating reality instead of feature demos. The goal is to choose home services markets where verification coverage, assignment controls, and payout rails are reliable enough to support real volume.

What you should be able to decide after reading#

After reading, you should have clear answers to four practical questions:

Diagram showing What you should be able to decide after reading for How Home Services Platforms Verify, Dispatch, and Pay Contractors.
  • What intake packet you require before a contractor can move toward field readiness, including Background check consent and tax forms such as a W-9
  • When a Certificate of insurance or trade-license record should block assignment instead of triggering manual follow-up later
  • How to set payout timing over ACH when verification is still open, including setups where a 3-7 day cycle can create contractor pressure
  • Whether your U.S. flow captures onboarding data early enough to support year-end outputs like Form 1099-NEC

A good opening checkpoint is simple: can your team point to the exact record that authorizes dispatch and the exact record that authorizes payout? If not, the process is probably too dependent on inboxes, spreadsheets, or memory. That is usually where compliance gaps appear.

What this guide assumes and what it does not#

The examples stay close to onboarding artifacts referenced here: W-9, ID checks, background screening, insurance, and trade-license records. Some platforms also restrict job assignment to verified contractors only, which keeps dispatch policy aligned with document status. On payouts, some platforms support ACH, debit, and instant options, but timing and availability vary by market and program.

That scope matters. Screening, insurance, payout timing, and tax reporting are not universal across markets. Form 1099-NEC is a U.S.-specific output, not a global default. ACH can be slower in some setups, but you should confirm actual rails and hold behavior before making payout-speed promises.

Related reading: What Is Reverse Factoring? How Supply Chain Finance Lets Platforms Pay Contractors Early at Low Cost.

What to prepare before you choose a market#

Before you choose a market, lock four things: a narrow launch slice, clear approval ownership, a minimum evidence pack, and launch metrics you will actually review.

Step 1 Define the launch slice#

Start with one market, one service category, and one contractor profile. A narrow scope makes it much easier to confirm which checks and records are required before dispatch and payout.

Keep the scope tied to local obligations. In home services, vetting commonly includes background checks plus license and insurance verification, and often reference checks, with requirements following the jurisdiction where you operate. If Google Local Services is part of your go-to-market, confirm category and area fit early. Coverage spans over 70 service categories, and setup allows up to 20 service areas.

Step 2 Assign approval owners before tooling#

Set ownership before you configure systems. We recommend naming one decision owner for each gate so Product, Ops, and Legal know who can approve, block, and override it.

If your program includes additional screening checks, assign explicit policy and operations owners for each. That prevents split decisions where one queue shows approved and another shows blocked. Use a simple checkpoint: each team should be able to point to the exact status that authorizes dispatch and who can override it.

Step 3 Lock the minimum evidence pack#

Define the smallest document set needed for your market and workflow. Typical records include Certificate of insurance, license records where required, and other documents required by your licensing, insurance, privacy, or regulatory setup.

Track each record's source of truth, current status, and expiry date. If you use Google Local Services, completing Business Verification requirements is a practical intake checkpoint to mirror in your own process.

Step 4 Set launch metrics before launch#

Choose launch metrics now, not after rollout. We recommend tracking onboarding completion rate, verified-before-dispatch rate, and time to first payout as your core operating signals.

Set targets your team can review weekly. Plan conservatively on timing. Third-party LSA guidance cites a typical 2-6 week path from application to going live, which is a useful reminder that verification timelines can run longer than demand plans assume.

If you want a deeper dive, read Payments for On-Demand Service Platforms: Delivery Rideshare and Home Services.

Step 1 Pick one launch market and define your risk tier#

Launch first in the market where verification and payouts work reliably end to end, not just where demand looks largest. If required checks are inconsistent or payout operations are uncertain, reduce scope before launch.

You already defined a narrow launch slice and a minimum evidence pack. Use that same scope to rate each market by service risk, legal exposure, and check availability.

1 Classify the service before the market#

Start with service exposure, then map each lane to non-negotiable checks.

  • Standard consumer lane: baseline onboarding packet
  • Elevated in-home lane: elevated screening defined by policy
  • Enterprise or public-sector lane: contract-specific onboarding and approval checks

For each lane, keep the rule operational. Define the exact status that authorizes dispatch.

2 Keep enterprise/public-sector in a separate lane#

Keep enterprise or public-sector work out of the standard residential launch path. Contract terms can require deeper onboarding, added approvals, and stricter assignment gating.

If acquisition depends on Local Service Ads, include that in market selection. LSAs appear at the top of Google search results, and passing Google verification can add the Google Guaranteed badge, which affects listing trust signals.

3 Use a hard checkpoint when coverage is limited#

If required checks are unavailable for your target jurisdiction or contractor profile, reduce launch scope instead of weakening standards. Confirm these four points in writing for each market:

  1. Which checks are available for that jurisdiction and contractor type
  2. Whether onboarding can capture required consent and intake language
  3. Which status outputs your provider or compliance team returns
  4. How delayed, unavailable, or manual-review results are handled

Date-stamp assumptions and recheck them before go-live. Regulatory timelines can move. For example, the FDIC shifted a compliance window from May 1, 2025 to March 1, 2026 and states its Q&A will be periodically updated.

4 Compare markets in one operating table#

For every serious launch candidate, use one short comparison table:

Launch laneRequired checksExpected turnaround constraintsDispatch restrictionsPayout timing policy
Standard consumerBaseline packet defined by policy and jurisdictionSet constraints from actual provider coverage and document requirementsNo assignment when required baseline approvals are missingRelease payout after baseline approval is complete
Elevated in-homeBaseline plus elevated screening required by policy for higher-exposure workPlan for additional review steps where elevated screening appliesNo higher-exposure assignments until elevated checks clearHold or stage payout while elevated checks remain open
Enterprise/public-sectorBaseline plus customer- or contract-specific checksSet account-specific constraints based on external approval pathsNo dispatch into those accounts until contract-specific approvals are completeSeparate payout release policy tied to contract-specific clearance

Recommendation: pick the first market where verification coverage and payout rails are both reliable enough to run the full operating loop without exceptions becoming the default path.

Step 2 Set the minimum contractor evidence pack#

Set one minimum evidence pack and enforce it the same way every time. We use this rule to keep contractors from moving from intake to review with missing records.

Start with a baseline intake packet that matches your real onboarding flow. Include identity data and screening inputs tied to your screening scope. Where background screening law applies, keep intake aligned with FCRA requirements. A practical baseline check is whether intake captures core identity-trace inputs used in screening scopes, including Social Security Number Trace and Name & Address History.

Then add service-lane requirements as explicit gating rules. Make any contract-specific attachments visible in intake and dispatch status, and define a clear accept-or-return outcome for incomplete or unreadable submissions under your policy.

Apply a hard return rule for incomplete submissions instead of patching records later. That keeps "almost approved" contractors out of assignment queues and mirrors a documented procurement pattern where incomplete forms are returned to the originating department. For enterprise or public-sector lanes, leave room for contract-specific attachments. For example, Vermont service contracts valued at $25,000 or more per year call for an AGO Certification Form.

Keep sensitive records securely handled and legally compliant, and keep a clear review history showing what was reviewed, when status changed, and why a record was accepted or returned.

Step 3 Choose verification depth by job type#

Do not apply the same screening depth to every job lane. Set a baseline layer for every contractor, then add checks only when the work increases access, safety, credential, or compliance risk.

Set a baseline layer for every lane#

Use a core-plus-conditional structure. We start with a common core check such as a Criminal record search, and your intake flow should capture background check consent before review begins.

Keep the baseline consistent, then escalate by lane risk and by explicit legal or contractual requirements. For example, Florida requires background-screening compliance for covered health care practitioners in licensure workflows as of July 1, 2025. In that licensure context, screened professions must retain fingerprints every 5 years, and missing that step requires a new screening.

Add conditional checks only when the job justifies them#

Add more checks only when the service promise actually depends on them. Use Employment and education verifications when the work relies on claimed credentials, specialized training, or prior role history. If a lane does not rely on those signals, making those checks universal can add delay without clearly improving decisions.

Make the assignment gate visible in operations: track completion status and restrict job assignment to verified contractors only. That helps prevent dispatching work from partially reviewed files.

Define status outcomes before review starts#

Define your outcomes up front and attach a dispatch and payout rule to each one so reviewers and operations apply the same standard. We recommend labels that match your internal policy rather than assuming a universal industry set.

Outcome label (example)Dispatch handlingPayout handlingUse when
ReadyEligible per your policyStandard timing per your policyRequired checks and documents are complete
RestrictedAssignment limits per your policyHandling per your policyA non-final item is still open
In reviewNo auto-dispatchHold until review closesCase needs human adjudication or document clarification
Not eligibleNo assignment per your policyHold per your policyA disqualifying condition is identified under your policy

If you include additional checks, define where they apply, who adjudicates exceptions, and which outcomes they can trigger.

Step 4 Decide assignment gates and exception paths#

Make dispatch depend on status, not assumptions. If your policy for a service lane requires approved documents, such as insurance or licensing, keep contractors out of auto-assignment until the file is complete and marked eligible.

The Step 3 outcomes should control operations, not just reporting. One practical default is straightforward: Pass allows normal dispatch, Fail and Manual review block dispatch, and Conditional pass is limited to clearly defined cases.

Block assignment with a hard pre-dispatch check#

Put a status check directly in the assignment flow before a job is offered or confirmed. Check the fields your policy uses to determine assignment eligibility:

  • current verification outcome
  • insurance approval status, where required
  • license approval status, where required
  • whether any internal compliance review is still open

Also separate document received from document approved in your status model. Uploading a file is not the same as clearing it for assignment.

Create exception records that expire#

Use exceptions as time-boxed approvals, not silent overrides. At minimum, record:

Exception fieldWhat to capture
Missing itemExact missing item
ApproverApprover name and role
Allowed jobsAllowed jobs or job types during the exception window
ExpiryFixed expiry date and time
Payout rulePayout rule during the exception
EvidenceReason code and attached evidence

Keep the approval trail and close the status when the exception ends. In other selection workflows, maintaining decision records and updating each applicant status are explicit reporting and audit controls. The same discipline helps keep assignment exceptions from drifting.

Revalidate on the day work happens#

Add a second checkpoint for records near expiry. Same-day revalidation can catch documents set to expire on the assignment date.

For near-expiry cases, re-check the expiration date, approval state, and unresolved review flags on the day of service. Then log the result back to the contractor profile.

If you allow conditional assignment, keep it narrow. Use defined scenarios, require approver sign-off and an expiry, and apply your payout rule until the missing item clears. The sources here do not establish jurisdiction-specific legal requirements for document types, compliance checks, or payout timing, so confirm those separately.

Step 5 Set payout timing rules that match verification status#

Treat payout release as an internal policy decision that can be separate from job completion. Completion can close the job, while payout can be released when the contractor file meets your releaseable-state criteria.

Use the same control fields you trust for assignment, then re-check them at payout time. That can include final verification outcome, insurance or license approval where required, open review flags, and exception expiry. The decision point is not "uploaded." It is "approved, current, and not blocked."

For KYC, sanctions, ACH-speed rules, and job-completion triggers, define your own internal policy and document it clearly.

If payout operations touch tax-related data, keep review records with the same rigor as money movement. Publication 1075's review discipline is practical here: maintain clear before, during, and after review checkpoints, and keep documented incident-response procedures for data incidents.

Risk tier and file stateACH timing policyFailure-rate viewContractor retention pressureReview overhead
Low risk, fully approved, no open flagsSame-day or fastest lane your policy allowsUse internal return/error data; confirm benchmarks with the relevant authorityCan be higher when access to earnings is delayedLower when status is stable
Medium risk, conditional status, or recent profile changesDelayed batch after re-checkMonitor internal correction/return patterns before widening speedModerate; clarity of status messaging is criticalMedium due to re-checks
Any unresolved review or expired exceptionHold until reviewer decision per policyDo not optimize for speed over unresolved riskCase-dependentHighest due to manual handling

Use contractor notices that state three things plainly: why payout is pending, the current status, and exactly what clears the hold. Keep each notice tied to one reason code, one owner, and one next-review timestamp so Support, Ops, and Finance stay aligned.

If you are mapping payout release to verification states and hold logic, use Gruv Payouts as an implementation reference.

Step 6 Configure payout operations and tax artifacts#

Configure payout operations so each payment decision is traceable from eligibility to net paid. Set tax artifact ownership before year-end, not during cleanup.

Make retries safe#

If payouts can trigger automatically when your field service system marks a job complete, define duplicate-event handling up front. Use one stable payout instruction per earning event, and require a fresh verification check before any retry so payment proceeds only for contractors who are approved, current, and not blocked.

Keep payout states explicit enough for Ops and Finance to separate in-review, submitted, paid, failed, and reversed outcomes in your own policy model. The labels can vary by system, but the control point should be clear before funds move again.

Preserve finance evidence with each payout#

Record the full payout path, not just the final paid timestamp: compliance decision, gross earning, deductions or offsets, net paid, and transaction reference. Keep deductions line by line so disputes and reconciliation stay evidence-based.

A grounded example from a related contractor payout context shows why this matters: a $1,000 earning with a $400 chargeback pays out $600, and negative balances can carry forward automatically. Preserve gross, offsets, and carry-forward history so month-end review does not depend on manual reconstruction.

Decide tax scope at onboarding, not at year-end#

Collect tax artifacts during onboarding, in the same flow used for background checks, insurance, and trade licenses. The supported pattern here is W-9 capture at onboarding, with year-end 1099-NEC filing driven from onboarding data.

If your operating model includes Form 1099-NEC generation, assign ownership now instead of leaving it to year-end cleanup. If you also support W-8 flows, validate those separately, since the cited material here explicitly confirms W-9 collection.

Add a month-end close checkpoint#

Run a formal month-end review for payout exceptions and tax completeness. In a related contractor context, teams report spending 2 full days each month on manual reconciliation in Excel, which is exactly the overhead you want to reduce early. Before close, review and assign owners for:

Month-end itemDetail
Unresolved payout holdsReview and assign owners before close
Failed or returned payoutsNot yet reissued or reversed
Missing tax artifactContractor records missing the required tax artifact for that market
Open deduction disputesAffect net pay

If any item remains open, carry it forward explicitly with an owner and resolution timing rather than leaving it implicit.

For a step-by-step walkthrough, see How Legal Platforms Pay Interpreters and Court Reporters.

Step 7 Decide build vs buy for screening and onboarding#

Use this default: buy first when speed to launch is the constraint; build only when your advantage depends on custom risk logic, routing, or evidence rules.

Step 1 Start from your operating constraint#

Specialized screening vendors, Contractor of Record (COR), and Contractor Management (CM/CM+) can be offered as different delivery models, so choose by required outcome, not by label. If you need to launch one market quickly, buying can reduce implementation work. If your model depends on custom decision rules tied to routing, exceptions, and payout holds, building can make sense after first-market proof.

For bundled models, verify exactly what is covered in your launch market, what evidence is collected, and how approval status is returned to Ops. Do not assume bundled means insurance proof, license proof, and background-check consent are all handled to your policy standard.

Step 2 Score options against required evidence#

Evaluate each option against the same checklist:

RequirementWhat to confirm
First-market or country coverageFor launch
Background-check consent captureCapture and storage
Background-check supportWhere your policy requires it
Insurance and license proofInsurance proof and professional license proof collection
Ops status visibilityAPI, export, or dashboard
Optional checksEducation or employment history only when your risk tier requires them

A practical test is simple: for one contractor, can Ops see what was collected, what is pending, what is expired, and what blocks work or payout?

One local-service ads onboarding flow lists business license proof, insurance proof, and background checks. If licensing and insurance still live in email or spreadsheets, you bought only part of onboarding.

Step 3 Run a real jurisdiction test before committing#

Validate with a concrete rule set, not just a feature sheet.

Florida states covered healthcare practitioners must meet background-screening requirements at initial licensure and renewal as of July 1, 2025, with listed exemptions for some professions. Covered screened professions must retain fingerprints every 5 years. The renewal period starts about 90-120 days before license expiration, and the retention window runs from 75 days prior to 15 days prior. Missing that window requires a new screening, and fingerprint retention is listed at $43.25. The CHAI website is used to view the most recent screening date and renewal availability.

This does not make Florida rules universal for home services. It does show the level of date-based status and renewal checkpoints your system should track if your roadmap touches regulated in-home care.

Step 4 Treat capability labels as claims to verify#

Capability names are useful only if they map cleanly to your policy and operations. Ask for exact outputs: record created, status values, manual-review triggers, and what your team can export or access programmatically.

In California, employment background checks may include criminal history, education, employment history, and professional licenses. Use that as a scope reminder: buy checks that match role risk, not the widest package by default.

If an option cannot confirm first-market fit, consent capture, and usable Ops status, reduce scope or choose a simpler vendor now. Build later when custom rules are truly product-critical.

Related: Childcare and Home Services Platform Payments: Bonding Insurance and Pay Splits.

Step 8 Add ongoing monitoring and re-screen triggers#

One-time approval is not enough. Your controls stay reliable only if contractor status can change as evidence changes. Screening and other compliance artifacts can shift after onboarding, so the file should not stay static.

Step 1 Set a recurring review calendar#

Treat verification as an ongoing operating queue, not a closed onboarding step. There is no universal cadence here. We recommend scheduled checks for artifacts that can change over time, including screening results and other compliance evidence your policy keeps current.

Use each artifact's own status behavior to schedule reviews. For any contractor, Ops should be able to see current status, next review date, last completed review, and whether dispatch or payout eligibility is active.

Step 2 Trigger immediate review on status changes#

Define events that bypass the normal calendar and force immediate review. If a critical compliance artifact expires or materially changes, route the contractor into review and apply your existing assignment and payout gates until status is resolved.

Keep the record trail complete in one system: updated evidence attached, prior evidence marked superseded, and decision state updated where Ops manages dispatch.

Step 3 Assign ownership for failed checks and reactivation#

Failed ongoing checks need a single accountable owner for adverse-action handling, contractor communication, and reactivation decisions. This ownership should remain explicit even when screening is delivered by an external vendor or partner.

Write short, enforceable criteria: what creates a temporary hold, what creates deactivation, what evidence clears each case, and who approves reactivation. At minimum, retain the failed-check record, replacement evidence, any required consent record, and the final decision log with date and owner.

Step 4 Review controls regularly and limit exposure of audit detail#

Run controls reviews for data handling around screening artifacts as an internal control choice, not as a universal legal mandate from these sources. Focus on access scope, retention, and whether older records are still operationally necessary.

Use IRS Publication 1075 as a design pattern: stage reviews before, during, and after the review, and define notification and incident-response procedures for improper inspections or disclosures. Also limit distribution of detailed security or audit reporting. The CPPA comment excerpt warns that overly detailed disclosures may be misused by malicious actors and frames audit applicability around processing that presents significant privacy or security risk.

Common mistakes and how to recover fast#

Many avoidable failures here come from sequencing and ownership gaps. The fastest recovery is to make review states explicit, collect required setup documents early, and assign one owner for failed checks.

Step 1 Define status-based holds before promising payout speed#

Specific payout-hold rules vary by workflow, so publish expectations by status instead of making one blanket promise. Use clear states such as ready, pending review, and on hold, and make sure Ops can see why a contractor is blocked, who owns the case, and what clears it.

Step 2 Collect required setup documents at onboarding entry#

Collect the documents your workflow needs at the start, not after completed jobs. Keep document status in the same operational record as credential and insurance evidence, and require complete records before contractor activation. Late collection turns into manual chasing and surprise holds.

Step 3 Split policy by evidence type#

Insurance verification should confirm an active policy that meets required coverage and limits, not just accept a Certificate of insurance. Also plan for a correction queue: one cited construction analysis reported that 45-55% of initial COI submissions needed corrections.

Step 4 Assign one escalation owner for failed checks#

When a document fails review, one named owner should run the case from first notice to final decision. Give that owner response windows, contractor communication templates, and a minimum evidence pack: failed document, replacement submission, interaction notes, and the written agreement. This matters most when insurance is insufficient, because financial exposure can shift to the client. If fraud is suspected, escalate through reporting channels such as the BBB or FTC.

Final decision checklist for your launch#

Treat this as a go or no-go gate: if requirements are still being interpreted case by case, do not launch. We would not call a home services market ready until artifacts, outcomes, and owners are explicit.

Step 1 Define required artifacts by market#

Write one checklist for one market and one contractor type, and list each required artifact and when it is required: before onboarding, before dispatch, or before payout setup.

Use formal checklist discipline, not informal notes. In the AHCCCS EVV solicitation, insurance was in a dedicated section (page 80) and the Offeror's Checklist was a named attachment (page 91). Use that level of discipline: one approved checklist and clear document locations so Ops can verify completeness without interpretation.

Step 2 Map verification outcomes to dispatch and payout actions#

For each outcome state you use, for example approved, pending review, failed, or exception, define what happens to dispatch and payout setup, and who can override.

The key control is clarity: submission is not clearance. Any operator should be able to answer, from one status view, whether a contractor can take work now and why.

Step 3 Test submission handling and payout-state controls#

Test failure paths before launch: incomplete packets, re-uploads, expired artifacts, and reconciliation states relevant to your process. Require clear status labels and auditable records for payout-relevant states. We treat a launch as ready only when Finance can trace each hold or release to a documented contractor status and reason.

Step 4 Assign owners and hard fail conditions#

Assign explicit owners for failed checks, document exceptions, and final decisions on unresolved cases. Also define non-negotiable fail conditions in writing. The same way late proposals were not considered in the solicitation process, your launch policy should state which conditions stop dispatch or payout until resolved.

Step 5 Validate first-market behavior before expansion#

Validate your process in the first home services market before broader rollout. Collect open questions in writing, finalize one checklist version, and lock it for launch use.

Use a formal Q&A pattern: written questions, written answers, and one controlled source of truth. Proceed only when checklist approval, fail conditions, and ownership are all explicit. Once your launch checklist is complete, confirm market and program coverage with Gruv.

Frequently Asked Questions

What checks are truly table stakes before a home-services contractor is dispatched?

There is no universal checklist for every market. A baseline packet often starts with background check consent and criminal history screening, plus insurance or license approval where the service lane or jurisdiction requires them. Higher-sensitivity roles may need added checks under policy, law, or insurer requirements.

Can a platform pay contractors before insurance verification is complete?

This article does not support a universal yes-or-no rule. It treats payout before verification as a market-specific policy decision. If insurance or another required item is still open, the guide recommends a hold or staged payout rule tied to status.

How should payout timing differ between low-risk and high-risk job categories?

The article does not establish a universal timing split by job category. Instead, it says the grounded difference is screening depth by lane. Payout timing should follow file state, such as fully approved, conditional, or unresolved review, rather than one blanket speed promise.

What changes by country when running background checks and sanctions screening?

Jurisdiction changes what can be reported and how far back criminal history can be reported, so one policy should not simply be copied across countries. Legal or insurer requirements can also change the minimum screening scope. Where fingerprint workflows apply, routing details matter, and the Florida example shows an incorrect ORI can stop results from reaching the board office.

What is the minimum viable onboarding stack for a new market launch?

There is no single onboarding stack that fits every market. A practical baseline is the screening scope you actually plan to run, with criminal history at minimum and added checks for higher-sensitivity roles where needed. Requirements can also change by jurisdiction, law, insurer rules, and any fingerprint workflow. If fingerprint workflows apply, confirm ORI routing and track TCN status through Complete.

When should we use `COR` or `CM/CM+` instead of stitching multiple point vendors?

This article does not give a firm rule for choosing COR or CM/CM+ over point vendors. Choose by required outcome, not by label, and compare options on launch-market coverage, consent capture, required screening depth, insurance and license proof collection, and whether Ops can clearly see what is pending, expired, or blocking work or payout.

Gruv Editorial Team

Researched and edited by the Gruv editorial team. Gruv builds cross-border billing, payouts, and finance-operations software for global businesses.

Sources

  1. acquisition.gov/tar/part-1252%E2%80%94solicitation-provision...trusted
  2. azahcccs.gov/Resources/Downloads/Solicitations/Open/RFPs/...trusted
  3. cms.gov/regulations-and-guidance/guidance/transmitta...trusted
  4. cppa.ca.gov/regulations/pdf/ccpa_updates_all_written_com...trusted
  5. cslb.ca.gov/Resources/GuidesAndPublications/2024/2024-CA...trusted
  6. cslb.ca.gov/Resources/GuidesAndPublications/2025/2025_CS...trusted
  7. dmas.virginia.gov/media/1781/rfp-2020-03-cover-virginia-operat...trusted
  8. ecfr.gov/current/title-45/subtitle-A/subchapter-B/par...trusted

Educational content only. Not legal, tax, or financial advice.

Related Posts

The Freelance Payment Penalty: A Modeled Audit of Platform Fees, FX Spreads, and Payout Delays
Research Reports19 min read

The Freelance Payment Penalty: A Modeled Audit of Platform Fees, FX Spreads, and Payout Delays

The money rarely disappears through a single, easy-to-spot fee. The real loss is stacked. A marketplace takes its commission, a processor adds a charge for international cards, a bank or payment company converts the currency at a spread, a platform holds the funds before release, and a wire sheds a little to intermediaries on the way in. Each layer looks defensible on its own, but the worker feels the combined result as a smaller deposit and a later payday.
freelance payment feescross-border paymentsplatform fees
Read
How to Respond to a Subpoena for Business Records
Legal Action26 min read

How to Respond to a Subpoena for Business Records

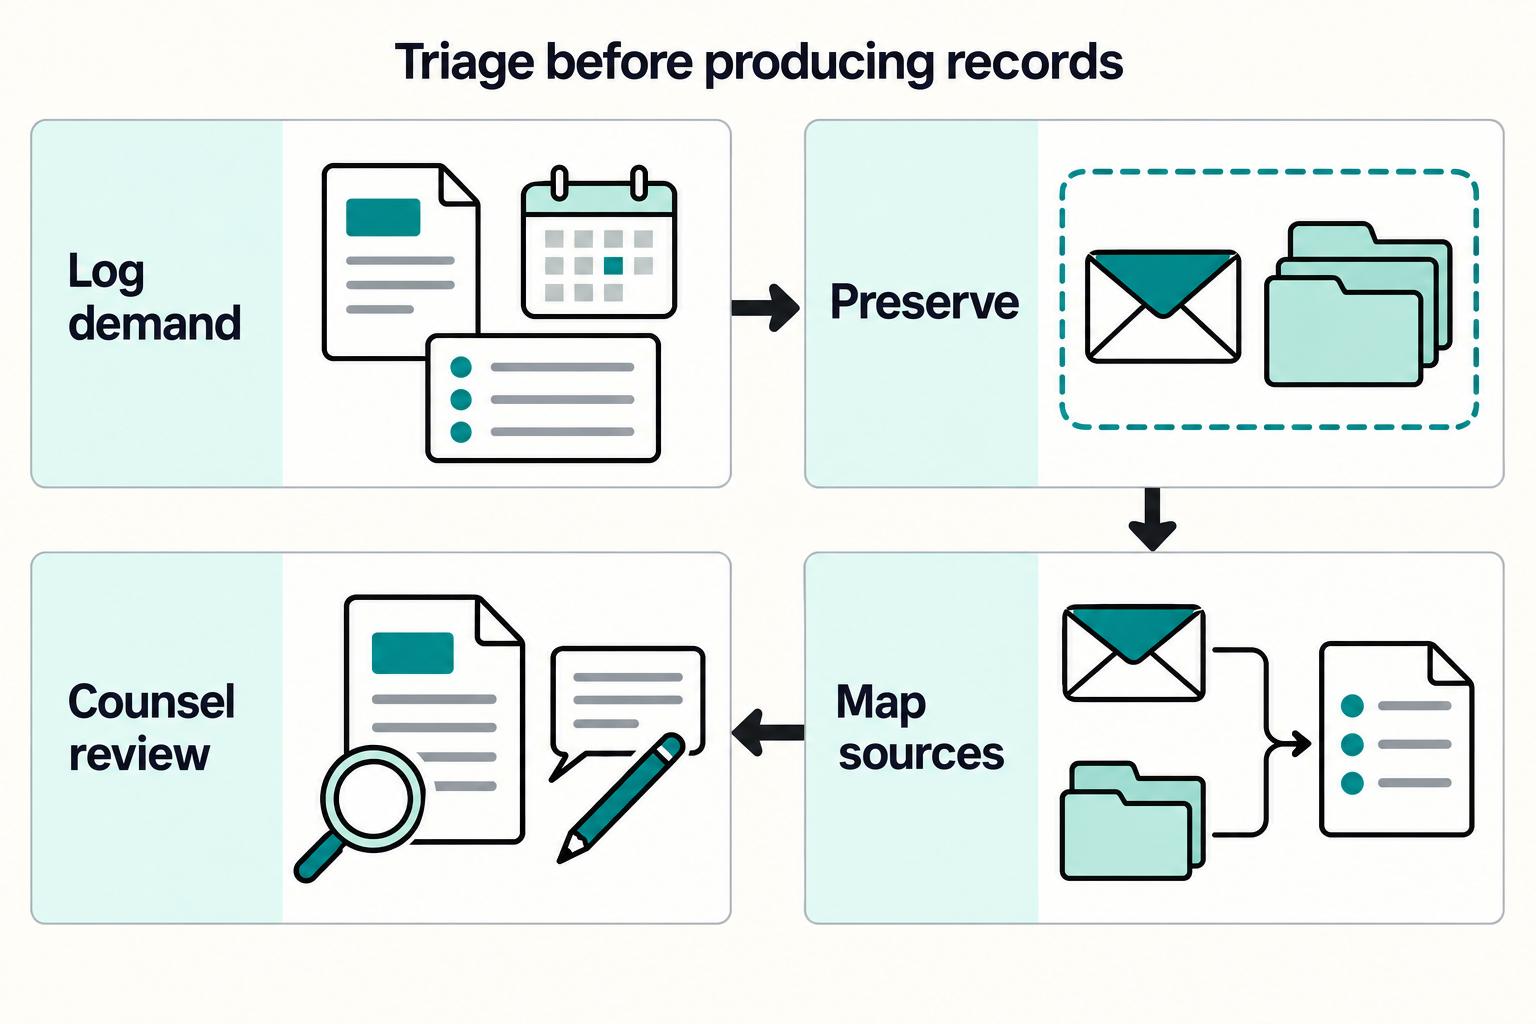
Move fast, but do not produce records on instinct. If you need to **respond to a subpoena for business records**, your immediate job is to control deadlines, preserve records, and make any later production defensible.
subpoena responselegal documente-discovery
Read
A US Expat's Guide to Investing in UCITS ETFs to Avoid PFIC Issues
Professional Deep Dives15 min read

A US Expat's Guide to Investing in UCITS ETFs to Avoid PFIC Issues

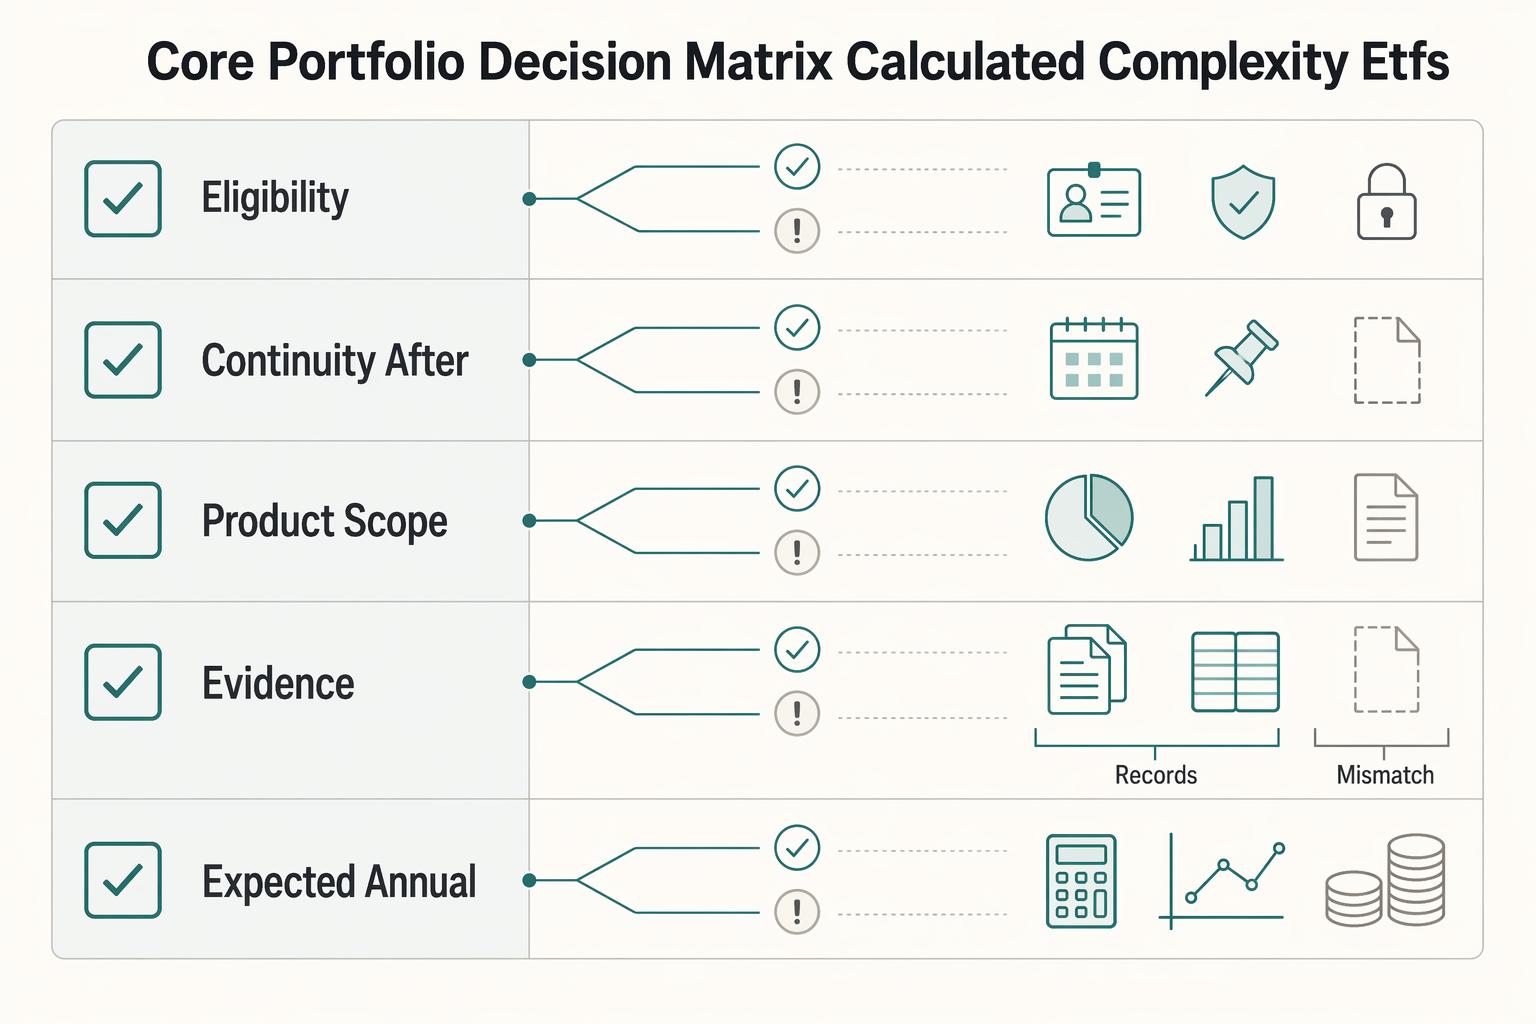
The real problem is a two-system conflict. U.S. tax treatment can punish the wrong fund choice, while local product-access constraints can block the funds you want to buy in the first place. For **us expat ucits etfs**, the practical question is not "Which product is best?" It is "What can I access, report, and keep doing every year without guessing?" Use this four-part filter before any trade:

ucits etfspficus expat investing
Read