
Quick Answer
Build a three-layer stack instead of chasing one winner. For the best mockup tools for designers, use fast ideation tools to filter concepts, presentation-grade assets to win visual approval, and interactive prototypes to validate flow before build. Then protect your business by checking commercial-use terms, testing export portability, and confirming handoff readiness before any client delivery or portfolio publication.
Why a Tool Stack Beats a Single "Best Tool"#
If you are looking for the single best mockup tools for designers, you are using the wrong decision model. In client work, the better question is simpler: what job needs doing, how high are the stakes, and what does the next handoff require?
A strong stack is not about owning more apps. It is about choosing by use case. The useful way to compare tools is by best fit, not by naming one universal winner. You are more likely to make better calls when you judge each option by strengths, limitations, and workflow fit, not by popularity or feature count.
Use three decision lenses. That is the logic behind the three-tier stack used here: ideation, presentation, and interactive proof.
- Job to be done
Match the tool to the task. Early concept checks need speed and low commitment. Flow testing needs something stakeholders can actually click. Final sales decks need polished visuals. Key differentiator: the right tool can reduce avoidable rework.
- Deliverable stakes
Not every asset deserves the same fidelity. A rough internal mockup can be fine for screening ideas, but using that same asset in a pitch can slow approvals and create inconsistent presentation quality. Key differentiator: fidelity should rise with client visibility and project stakes.
- Handoff needs
If developers or collaborators need to build from your output, test the handoff before you commit. A useful checkpoint is whether you can share a QR code or link so stakeholders can test a live app on a phone, and whether the team gets more than a clickable artifact. Key differentiator: weak handoff can create confusion, and some no-code products can also lock you into their platform.
| Decision lens | Likely outcome | Business risk | Best-fit scenario |
|---|---|---|---|
| One tool for everything | Convenience at first, friction later | Higher chance of rework and slower approvals | Very small, low-stakes jobs |
| Tool by popularity | Feature-heavy selection | Poor fit for your actual deliverable | When you have not defined the task yet |
| Tool by job, stakes, and handoff | Faster choices with clearer output quality | Lower risk of handoff gaps | Ongoing client work with mixed deliverables |
You might also find this useful: The Best Tools for Creative Collaboration with Remote Teams.
Tier 1: The Ideation Layer - Kill Bad Ideas Faster#
Use Tier 1 to get a fast decision before you invest serious design time. Keep this layer for internal review and low-stakes alignment, and do not use these outputs as final client deliverables or portfolio pieces.
That boundary protects your billable time. One cited estimate puts post-design fixes at 2-15x the cost of catching issues earlier, so the goal here is decision speed, not polish.
| Tool option | Fit for use | Strengths | Limits | Handoff readiness |
|---|---|---|---|---|
| Simple wireframes | Earliest concept exploration | Low-fidelity format for testing directions quickly | Too rough for final presentation quality | Low alone; add annotations if developers need to review concerns |
| Canva | Fast internal concept placement and alignment checks | Can support quick concept visualization in this tier | Verify with each tool's documentation | Treat as low for implementation handoff unless paired with clear notes |
| Rapid mockup generators | Quick contextual checks before deeper execution | Helps force an early go/no-go decision | Can create false confidence if rough context is mistaken for final quality | Low; useful for review, not implementation handoff |
Use a short loop:
- Draft concept: Create one low-fidelity direction first.
- Place in a fast scene: Put it in quick context so stakeholders can judge viability.
- Collect a decision: Ask one clear question: continue with this direction, yes or no?
- Discard or escalate: If no, stop. If yes, move to mid-fidelity and document the chosen direction, including notes for later handoff.
Watch for iteration debt: if exploring starts to cost as much as building, this tier has failed. If feedback shifts from concept viability to polish, either reject the idea or escalate it, but do not let Tier 1 artifacts drift into final delivery. We covered this in detail in The Best Project Management Tools for Freelance Designers.
Tier 2: The Presentation Layer - Justify a Premium Price Tag#
Use Tier 2 to win decisions, not explore ideas. Once a direction passes Tier 1, your mockups should help you secure approval, reduce hesitation, and make your price feel justified.
At this stage, choose tools by the value of the decision in front of you, balancing capability, speed, and cost. If the asset is for a client deck, proposal, or portfolio, do not use low-fidelity shortcuts in final delivery.
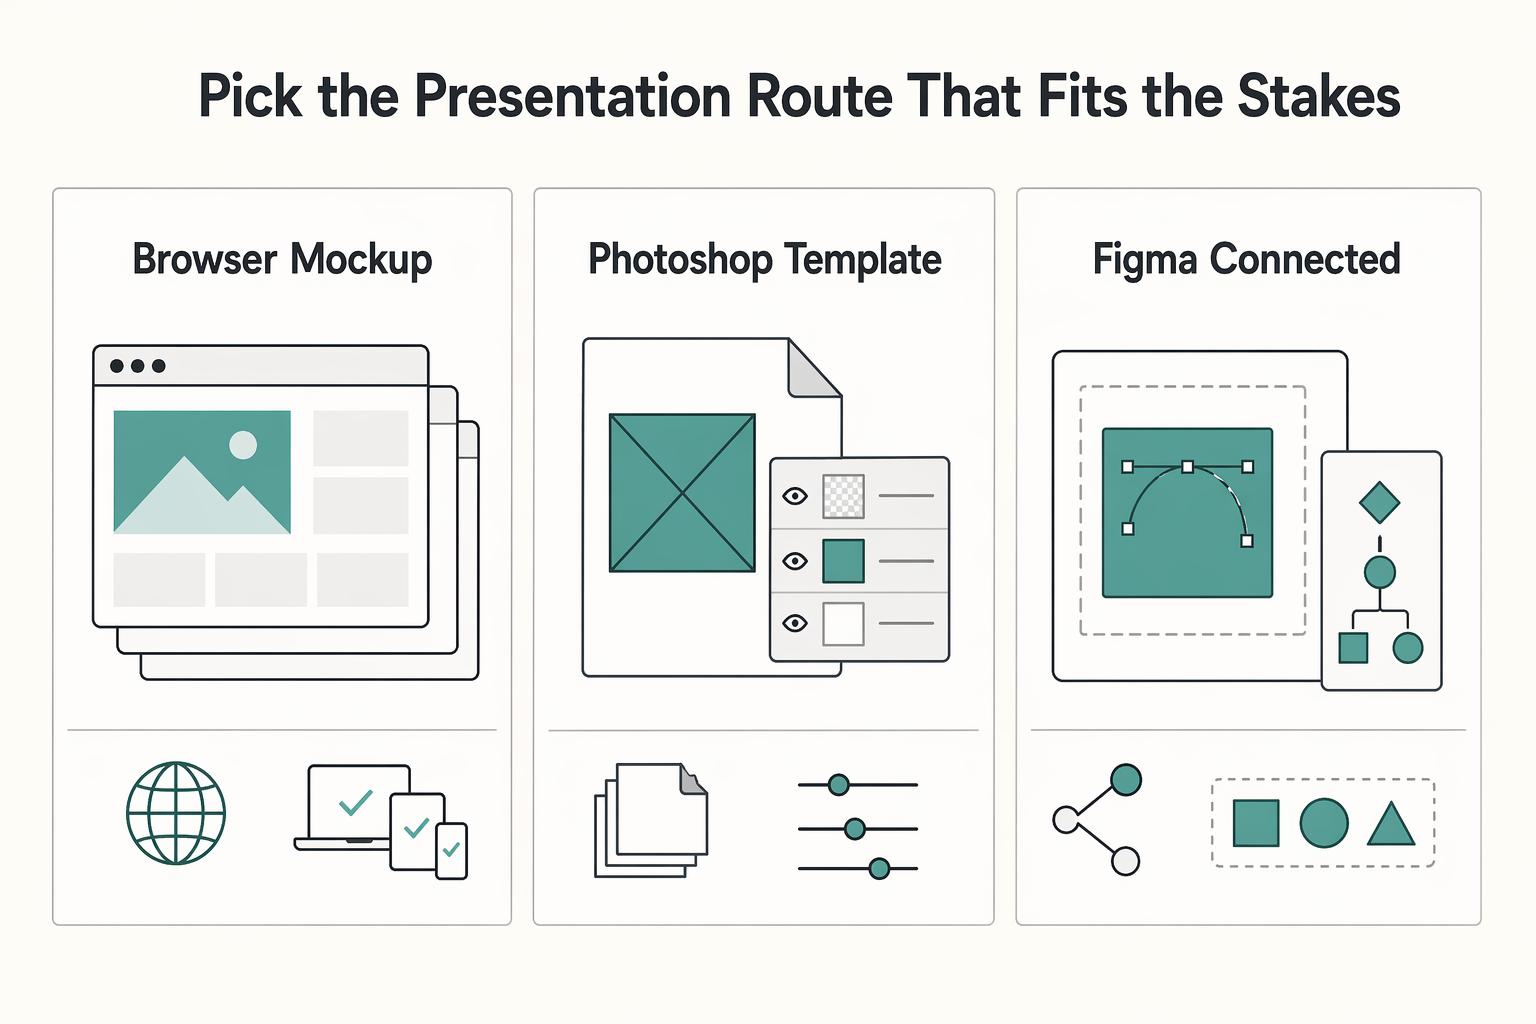
Pick the presentation route that fits the stakes#
These are practical tendencies, not universal rankings.
| Approach | Speed | Customization depth | Brand fit | Best delivery context |
|---|---|---|---|---|
| Browser mockup libraries | Fastest for producing multiple scenes quickly | Light to moderate | Solid when scene choice is deliberate | Client deck, proposal support visuals |
| Photoshop template workflow | Slower, more manual | Highest | Highest when one image must feel fully custom | Proposal hero image, portfolio centerpiece |
| Figma-connected presentation assets | Fast after your base file is clean | Moderate to high | Strong for multi-screen consistency | Client deck, stakeholder review, pre-handoff alignment |
Browser mockup libraries: Use these when you need broad coverage quickly across multiple placements. You gain speed, but generic scenes can make the work feel interchangeable if you do not curate carefully.
Photoshop template workflow: Use this when a single frame must carry the argument. You gain control over details like composition and integration, but it is slower, so reserve it for high-stakes visuals.
Figma-connected presentation assets: Use this when you need polished output and shared review from the same source of truth. This route also supports cleaner downstream handoff through concrete artifacts like specs and exportable assets; in some setups, CSS snippets are also available. One 2026 guide reports Professional plans starting around $15-20/month per full seat (annual billing) and notes that entry plans may limit shared files, so confirm plan limits before you promise live collaboration.
Use this quality check before any client-facing mockup#
| Check | Question |
|---|---|
| Scene relevance | Does the context match where this design would realistically be seen? |
| Visual consistency | Do angle, lighting, crop, and styling feel coherent across the full deck or spread? |
| Context realism | Can a stakeholder quickly picture this in real use, not just on an artboard? |
| Image integrity | Are perspective, scale, shadows, and reflections believable at presentation size? |
| Commercial safety | Have you confirmed commercial-use rights and exportability in standard formats? |
The common Tier 2 failure is generic-template drift: polished visuals that could belong to any brand. If a mockup only needs a logo swap to fit another client, keep it as support material, not your lead visual.
When you run this tier well, approvals get easier, stakeholder alignment is cleaner, and your handoff to interactive prototyping is smoother because you are no longer debating aesthetics and flow at the same time. For pricing context, see Value-Based Pricing: A Freelancer's Guide.
Tier 3: The Interactive Layer - Become a Strategic Partner#
Move to interactive prototyping only when the next decision depends on behavior, not appearance. If your stakeholders need to test a flow, compare paths, or approve interaction logic before engineering starts, this layer is worth the effort. If the debate is still mostly visual preference, stay in Tier 2.
In this tier, your value is functional proof. You give the team something testable and reviewable, which helps reduce late-stage changes, supports clearer decisions, and improves engineering handoff quality.
Choose the tool by what needs to happen after review#
| Tool | Best for | High-value strength | Handoff strength | Collaboration fit |
|---|---|---|---|---|
| Figma | Workflow mapping in shared review cycles | Screen-to-screen logic in one live file | Strong: auto-generated specs, exportable assets, and Dev Mode CSS snippets | Best when product, design, and engineering need one source of truth |
| Framer | High-fidelity interaction demos | Motion, transitions, and near-live interaction feel | Moderate: strong behavior reference; confirm engineering export needs early | Good when you need a convincing interactive demo quickly |
| Axure | Complex logic and conditional behavior | Interaction events, branching rules, and states | Strong when behavior is clearly documented | Best for smaller groups validating rules-heavy flows |
Figma is often the practical default when multiple functions must stay aligned in one file. Check plan constraints before you commit to shared live review, because the free Starter tier limits shared design files.
A 2026 tool comparison describes a useful speed tradeoff: traditional design-to-development handoffs can take days or weeks, while the right setup can get you to a clickable prototype in hours. That speed matters only if you scope the prototype to answer the right questions.
Scope only what must be proven first#
Start with the parts most likely to create cost or rework:
| Priority | What to prove first |
|---|---|
| Critical paths | Sign-up, checkout, booking, or approvals |
| Risky interactions | Validation, state changes, navigation jumps, or permissions |
| Decision points stakeholders keep debating | Prove these before expanding into adjacent flows |
Expand beyond that only when unresolved questions move into adjacent flows.
For handoff, treat the prototype as an execution reference, not just a demo. Include annotated states, interaction intent, and component behavior notes, especially for loading, error, disabled, and success states. Before you hand off, confirm developers can inspect specs, export assets, and, where relevant, use CSS snippets in Figma Dev Mode.
The common failure mode is a beautiful click-through that still leaves implementation questions open. If motion is clear but behavior rules are not, you have a better presentation but not a safer delivery. For a step-by-step walkthrough, see The Best Tools for Mobile App Prototyping.
Run a Pass/Fail Checklist Before You Adopt Any Mockup Platform#
Before you adopt any mockup platform for client work, run this as a pass/fail checklist. If a tool fails on rights or portability, it is a dependency, not an asset.
| Audit area | Decision question | Pass signal | Fail signal |
|---|---|---|---|
| License scope | Do the terms clearly allow commercial reuse, modification, and client transfer? | All three rights are explicitly allowed for your plan. | Any right is unclear, missing, or restricted. |
| Exit readiness | Can you export in standard formats and keep editable source files usable outside the platform? | You can export production-ready files and retain editable sources you can still use if plan or policy changes. | Finals or editable files are effectively trapped in the platform. |
| Pricing fit | Does this plan fit your current solo workload without forcing premature upgrades? | Cost and included features match how you actually deliver client work now. | You pay for features you do not need, or core workflow depends on immediate upgrades. |
| Customization + ownership hygiene | Can you produce client-specific outputs and maintain clean ownership outside the tool? | You can customize outputs, keep organized versions, and prepare a clear handoff package. | Results stay generic, versioning is messy, or handoff depends on your live account. |
How to run the checklist in practice#
| Step | Action | What to confirm or keep |
|---|---|---|
| Verify license scope from the actual terms page | Record the plan name, URL, and check date in your project notes | Commercial reuse, modification rights, and client-transfer rights |
| Test exit readiness before committing | Create a trial file and export it in standard formats | Exported files and editable sources remain usable outside the platform |
| Pressure-test value, not speed claims | Check whether fast generation still produces usable output | If you regularly rebuild assets elsewhere, the apparent savings can disappear |
| Confirm operational ownership | Keep structured folders, clear version labels, exported finals, and handoff-ready files | The work remains usable beyond one tool account |
Use this decision rule at the end: Adopt when rights, export portability, and handoff readiness all pass; Monitor when one dependency is unresolved but contained; Avoid when licensing is unclear or editable work cannot leave the platform. Related: The Best Tools for Creating Professional Presentations.
Conclusion: Build Your Stack, Build Your Business#
If you came here looking for the best mockup tools for designers, the useful answer is simpler than a product list. Choose by business outcome, not by brand loyalty. Your stack should help you get the next decision faster while keeping control of rights, exports, and handoff.
| Layer | Primary goal | Best-fit tool type | Approval signal | Common mistake to avoid |
|---|---|---|---|---|
| Ideation | Test rough concepts early | Rapid, low-fidelity mockup or layout tool | "This direction is worth developing." | Showing rough internal assets as polished client deliverables |
| Presentation | Make the design feel real enough to approve visually | High-fidelity mockup tool | "This looks right for the brand or product." | Confusing visual approval with proof that the experience works |
| Interaction | Prove flow, states, or usability before build | Interactive prototyping tool | "A user can get through this and the behavior makes sense." | Spending time polishing screens when the real question is sequence or interaction |
In 2026 and beyond, the stack itself is only half the decision. Before you commit to any tool, do a commercial-use license check and one real export test in a standard format. If you cannot confirm license clarity, export control, or a clear handoff path, treat that tool as temporary, not core.
Use this closing checklist to keep yourself honest:
- Audit your current stack by layer. Write down what you use for ideation, presentation, and interaction, then note whether each tool gives you clear rights and portable exports.
- Find one gap per layer. Maybe your rough ideas are too slow, your presentation assets are not getting clear visual approval, or your prototypes are not answering flow and usability questions.
- Set one move-up rule. Example: move from ideation to presentation when the concept is approved visually, and move from presentation to interaction only when approval depends on flow, state changes, or usability.
This pairs well with our guide on The best tools for creating 'Mood Boards'. Need a second opinion on your stack? Talk to Gruv.
Frequently Asked Questions
What should you use for brand approval or usability approval?
Use a styled mockup when you need approval on visual direction, because a mockup includes colors, fonts, and layout details. Use a wireframe when you need agreement on structure, and move to an interactive prototype when the decision depends on clicks, states, or flow. Ask the client for one approval target at a time: look, structure, or interaction.
Are free tools good enough for client delivery?
Free tools can be enough in some cases, but do not assume license or export terms. Verify the current license page and note the plan name, URL, and date checked in your project file. Before delivery, run one export test and open the output outside the platform so you can see what you actually control. If rights or export limits are unclear, use a tool and plan with clearly documented delivery terms before client handoff.
Should you pick Figma or Framer for an interactive mockup?
Choose Figma when collaborative interface design is the priority. Choose Framer when the client needs to experience interaction, not just view static screens, because it is commonly positioned for interactive design work. For usability-focused decisions, set checkpoints for when to involve stakeholders, test, and iterate before approval.
When should you stop at a static mockup and when should you build a prototype?
Stop at a static asset when the client is approving one screen, one package, or one visual concept. Build a prototype when the answer depends on sequence, feedback loops, or usability, because disconnected screens do not show that clearly. If a user must click, scroll, or compare states to understand the design, prototype it.
How do you make a mockup look believable instead of stock?
Match the scene to the real context first, then tune the details that make it credible: layout fit, lighting, shadow, glare, and brand styling. If your realism depends on Photoshop templates, account for the software dependency and the learning curve if you are new to Photoshop. Do a side-by-side check against the client’s real environment and replace any template that still feels generic.
What is the biggest risk in fast or batch mockup tools?
Speed is not your approval standard. A tool can promise volume or fast generation, but treat those as vendor claims until you verify on your own client-style file. The practical checks are license terms, export control, template uniqueness, and whether you can produce a clean handoff package with source files and finals. Test one real client-style file before buying, and use any trial or short refund window to verify export quality and edit control.
What should you check before adding mockups to your portfolio?
Only publish work you can document: source files, exported finals, version names, and a clear note on what was a wireframe, mockup, or prototype. Before posting, confirm the current license condition and make sure the piece does not rely on an overused template that makes your work look interchangeable. Publish only when you can explain the decision, show the artifact, and hand off the files without ambiguity.
Try a related tool
Researched and edited by the Gruv editorial team. Gruv builds cross-border billing, payouts, and finance-operations software for global businesses.
Sources
Includes 6 external sources outside the trusted-domain allowlist.
- people.eecs.berkeley.edu/~bjoern/dissertation/hartmann-diss.pdftrusted
- pmc.ncbi.nlm.nih.gov/articles/PMC8747688trusted
- aakashgupta.medium.com/figma-just-launched-an-ai-prototyping-tool-i...external
- bettermockups.com/blogs/resources/top-mockup-tools-for-dropshi...external
- blog.logrocket.com/product-management/guide-to-design-conceptsexternal
- browserstack.com/guide/top-website-mockup-toolsexternal
- bulkmockup.com/best-ai-mockup-toolsexternal
- cpoclub.com/tools/best-mockup-toolsexternal
Educational content only. Not legal, tax, or financial advice.
Related Posts
Value-Based Pricing for Freelancers Under Real Payment Risk
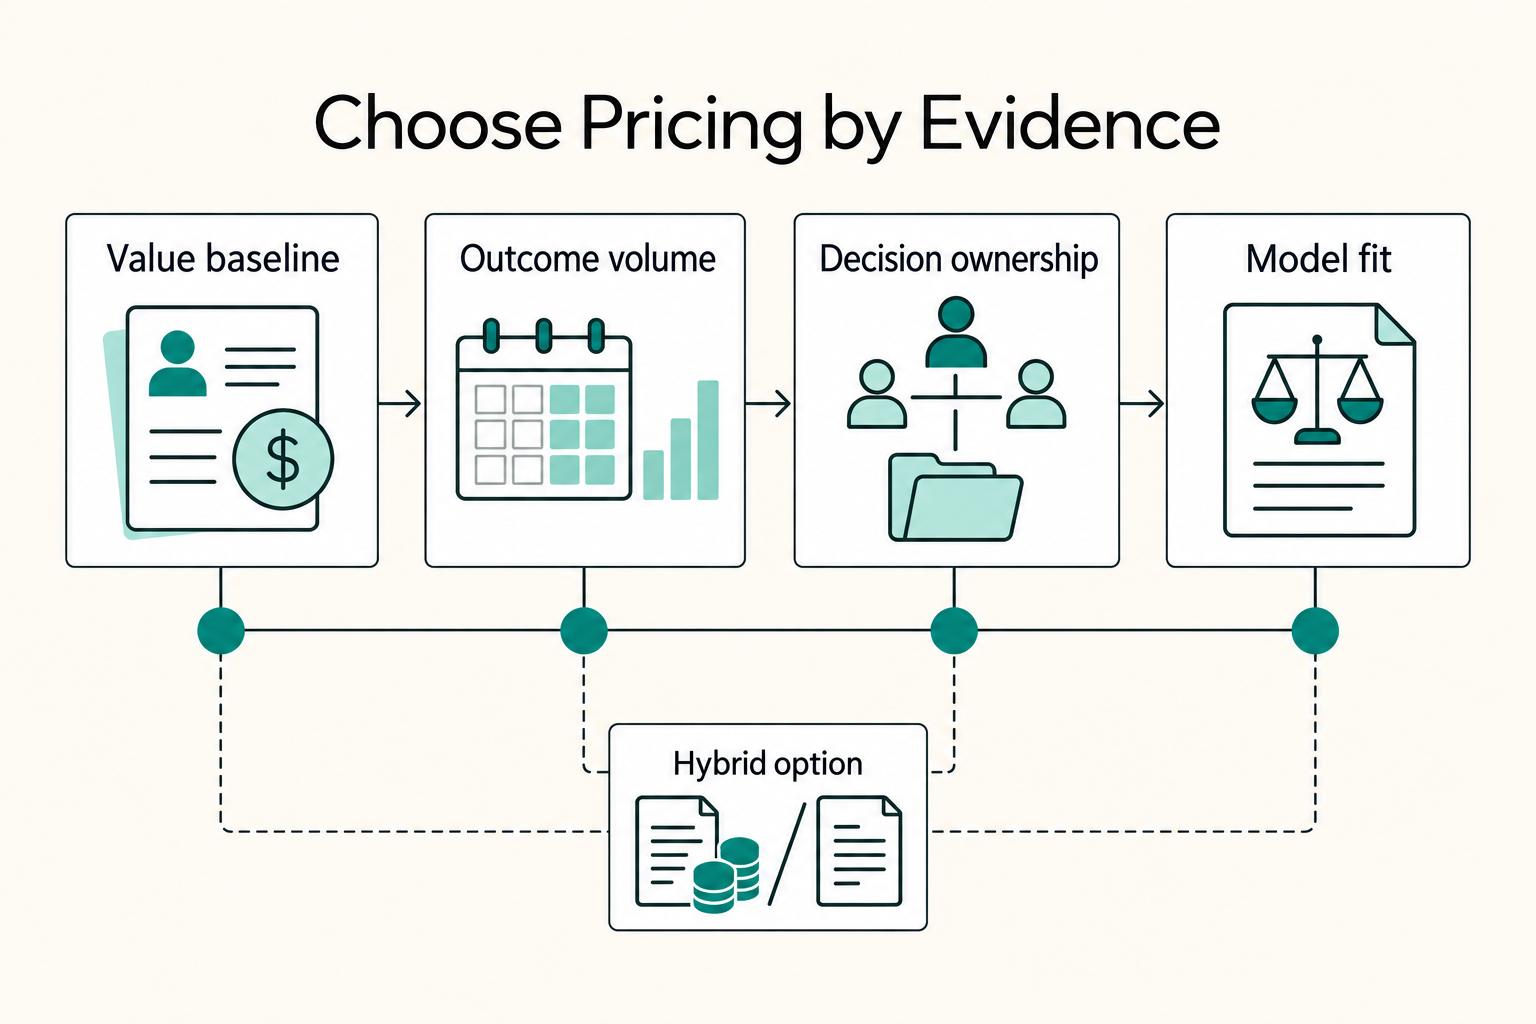
Value-based pricing works when you and the client can name the business result before kickoff and agree on how progress will be judged. If that link is weak, use a tighter model first. This is not about defending one pricing philosophy over another. It is about avoiding surprises by keeping pricing, scope, delivery, and payment aligned from day one.
The Best Tools for Creating Professional Presentations
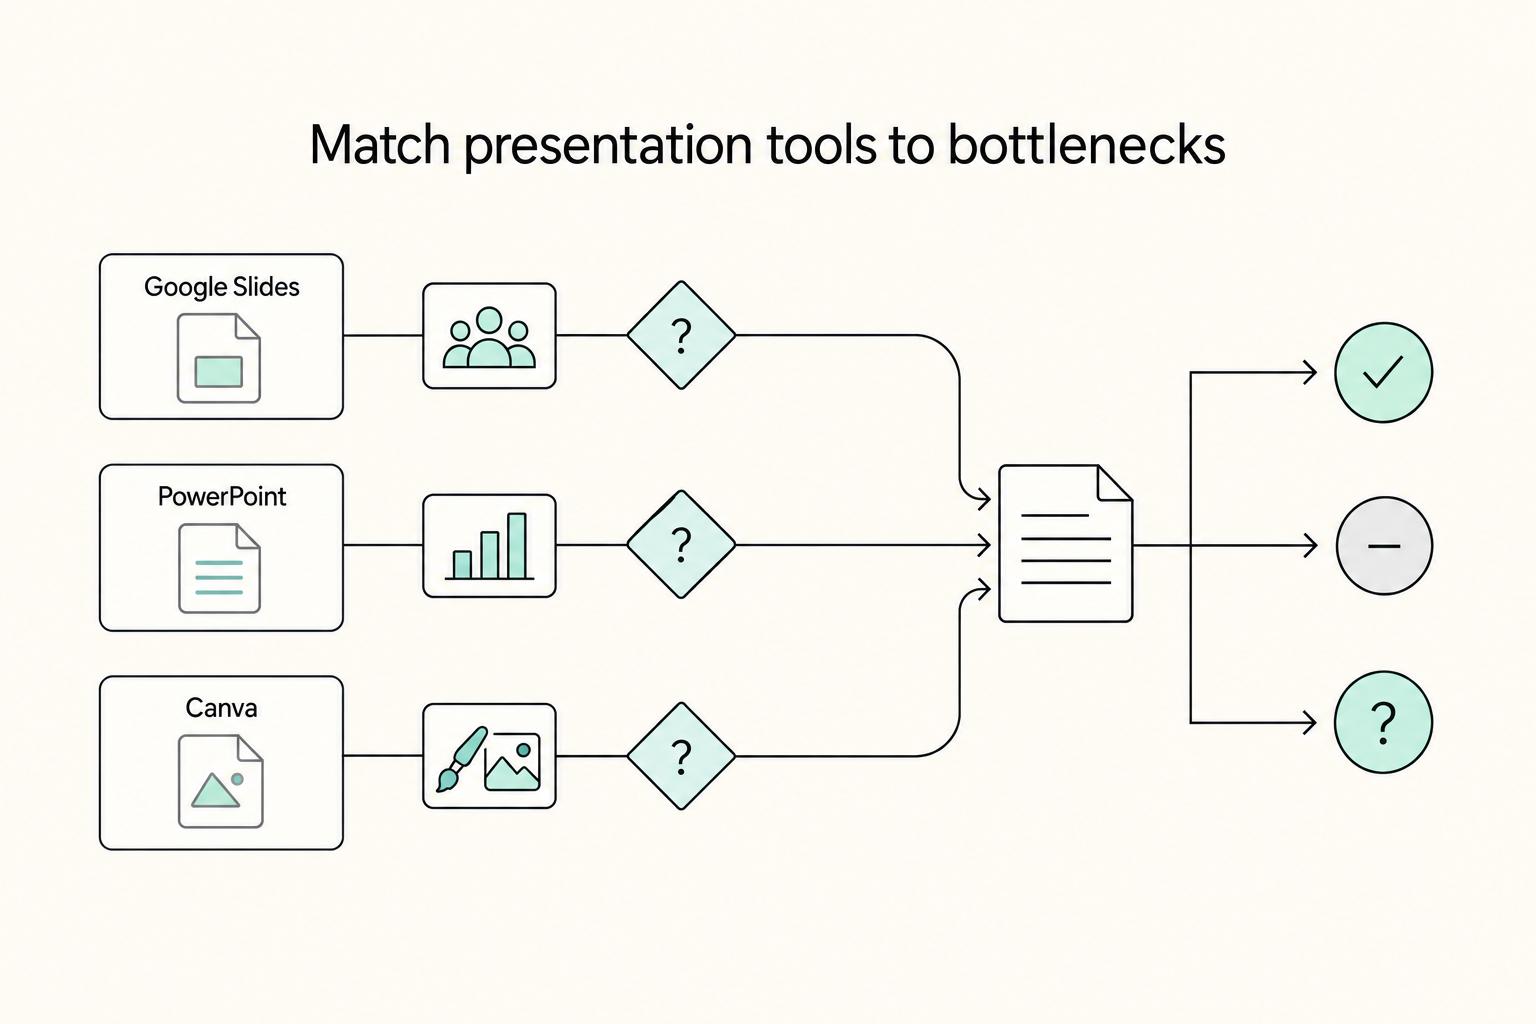
Use a 2025-2026 validation sweep each quarter: confirm one monthly software baseline ($15/month), one collaboration baseline ($30/month), and one premium workflow baseline ($60/month) before changing client-facing tool commitments.
The Best Tools for Creative Collaboration with Remote Teams
As the CEO of your business-of-one, you're not here for vibes; you're here for a repeatable system you can run.