
Quick Answer
Start with a two-document method for how to write your first resume: keep a running resume as your evidence bank, then tailor a one-page version for each role. Gather proof from classes, projects, volunteer work, and jobs before writing bullets. Use APR structure so each point shows action, context, and result. Match repeated job posting keywords only when you can back them up. Finish with a final pass for relevance, formatting consistency, and unsupported claims.
Start Here and Build a First Resume That Looks Professional#
If you're figuring out how to write your first resume, do not start with a blank page and try to sound impressive. A practical way to start is with two assets: a one-page resume you will actually submit, and a reusable running resume that stores experiences, projects, class activities, and responsibilities you may want later.
Before You Start#
A resume is a concise summary of your abilities, education, and experience. It can help you get interviews, but it will not get you a job or internship on its own. That matters because your goal is not to invent a polished story. Your goal is to look reliable, organized, and ready to do real work, even if your formal work history is short.
Step 1#
Set up a two-document approach first. Your application resume is the short, tailored version for one specific role. Your running resume is the master list you keep updating over time. The University of Arizona describes it as a document you can copy and paste from when you build tailored versions later.
This split avoids a common first-timer mistake: treating every application like a brand-new writing assignment. Your master file can grow beyond one page. Your submitted version should stay focused. Checkpoint: if you only have one document, you may be mixing storage and presentation. That can make tailoring slower and edits harder.
Step 2#
Collect evidence before you write sentences. Pull together your classes, volunteer work, school activities, informal jobs, projects, leadership roles, and anything else that shows responsibility. For each item, note what you did, what skill it shows, and what result or output you can stand behind.
That evidence-first approach is what makes a first resume feel credible. Even with limited experience, strong writing and a clear match to the role can still make the document compelling. On a first resume, this is the difference between vague claims like "hard worker" and usable proof like "organized event materials," "managed schedules," or "completed group deliverables on time."
Red flag: if a line cannot be backed up with a real example, cut it or rewrite it. Unsupported claims are one of the fastest ways to make a first resume feel thin.
Step 3#
Tailor from the evidence bank, not from memory. The method is simple: collect proof first, then match it to the language in the job posting. Harvard Career Services recommends tailoring your resume to the type of position you're seeking, and your running resume makes that faster.
Use a simple test. After you read a posting, you should be able to point to lines in your master document that support the repeated skills or duties in it. If you cannot, do not force the wording. Keep the resume honest, specific, and regularly updated, because it is a working document.
Gather What You Need Before You Open Microsoft Word#
Set up your inputs before you draft so your resume is accurate, easy to scan, and easy to tailor later.
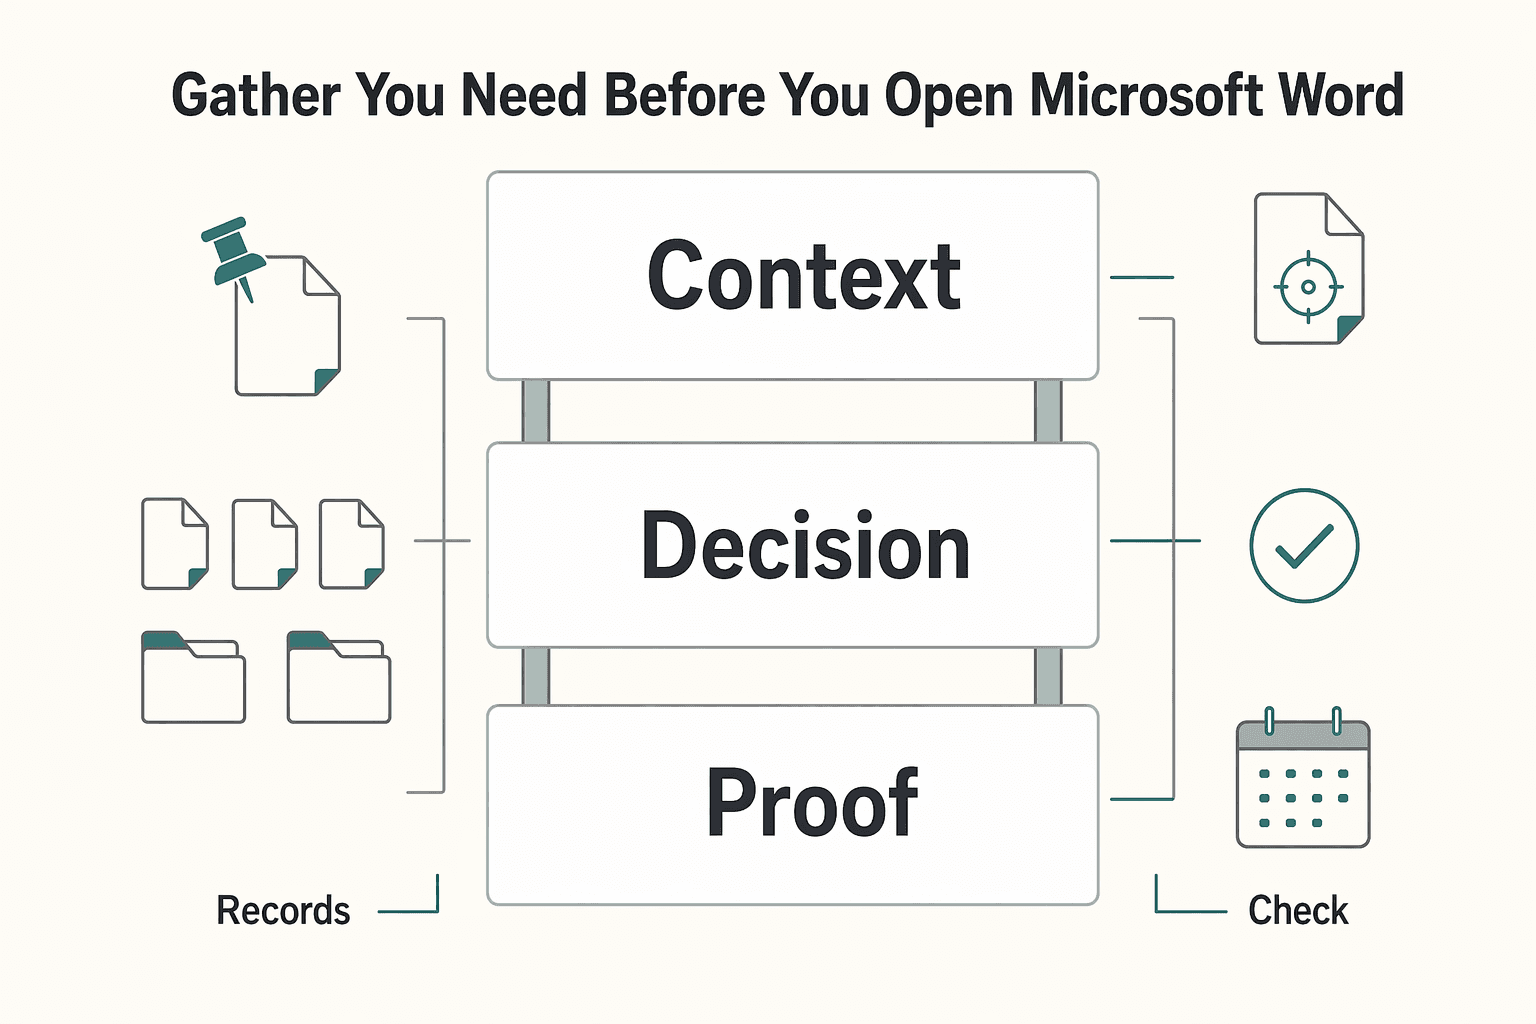
Step 1. Pull your source files into one place. Start with a target job post if you have one. Then open your running resume and gather records you can verify: class projects, volunteer work, activities, awards, and prior roles. For each possible entry, confirm the role, organization or context, and dates (month and year).
If you're early in college, high school details can still be relevant. Collect that information now if it is part of your strongest education story.
Step 2. Choose one editing tool and one home for your master file. Use one tool consistently and keep one master running resume in one location. Consistency matters more than the specific app because it reduces version confusion and last-minute formatting surprises.
If your school provides document software access, check it before you start and stick with one setup through drafting and updates.
Step 3. Decide whether you are building a master file or a tailored version. If you have a specific role, keep that posting open and shape your draft around it. Employers often scan resumes quickly, so clear organization and direct relevance matter.
If you do not have a specific role yet, build the running resume first and tailor later. That keeps your evidence bank clean and avoids forced wording you will rewrite anyway.
Build Your Running Resume With Evidence, Not Memory#
Build one private running resume first, then tailor from it. Resume development is ongoing, and initial employer scans can be very short, so keeping verified details in one place helps you draft cleaner versions when you need them.
Step 1. Create one master file with clear working categories. Use practical buckets like experience, education, activities, and projects so each item has a home. Treat this as an evidence file, not your final layout. The goal is to keep updating it as your skills and experience grow.
| Category | What belongs here | What to capture now |
|---|---|---|
| Experience | Jobs, internships, freelance work, paid gigs, family business help | Role, organization, dates, main responsibilities |
| Education | School details, coursework, honors, certifications | School, location, dates, degree or expected graduation, key academic proof |
| Activities | Clubs, leadership, volunteer roles, community work | Position, organization, dates, scope of involvement |
| Projects | Class projects, portfolio work, independent builds | Project name, context, tools used, result or deliverable |
Verification checkpoint: each item should have a name, context, and date range. If those basics are unclear, hold it in notes until you can verify it.
Step 2. Add proof fields before you write bullets. Under each entry, store reusable evidence: role name, scope, tools used, outcomes, and who can verify the work. This is your internal record, not a formatting rule for the final resume. It helps you avoid vague claims and keep interview-ready details.
Step 3. Include unpaid and informal work that shows responsibility. If you have limited paid history, include campus activities, volunteer work, and coursework with real accountability. These can demonstrate transferable skills, and recruiters can value student activities and volunteer experience when framed clearly. Keep entries where you can explain what you did, how you did it, and what changed.
Step 4. Tag entries for faster decisions later. Label each item as use now, use later, or drop. This is a personal workflow, not a formal resume standard. It helps you focus on relevant, verified items first when tailoring for a role. For a step-by-step walkthrough, see How to Negotiate Your First Salary.
Choose a Resume Template and Section Order That Matches the Role#
Choose a simple, readable template first, then set the section order around your strongest proof. A university career-center template is often a safer starting point because it is built for drafting and editing, not decoration. The University of Minnesota CLA Career Services template and checklist is one example. Generic templates can still work, but avoid ones that prioritize visual styling over education, projects, or experience.
For most first-time applicants, a clear starting order is contact information, optional summary, education, experience or projects, and skills. That structure stays easy to scan when employers may only spend 30 to 60 seconds on an initial review.
Indeed describes three common resume formats, so pick the one that fits your evidence:
| Format | What it emphasizes | When it can fit a first resume |
|---|---|---|
| Chronological | Professional history first | Useful when your timeline and roles are clear |
| Functional | Skills-first presentation | Useful only if skills are specific and well-supported |
| Combination | Mix of skills and history | Useful when you need both skills and proof of execution |
If you include a summary, place it under your name and keep it brief. Then do a quick scan: can someone find your direction, education, strongest proof, and relevant skills without hunting?
Keep one page as your default, but do not cut high-relevance proof just to force it. If the page feels crowded, tighten weak or repetitive content before you cut strong evidence.
Write Experience Bullets That Show Outcomes Using APR Format#
Your bullets should prove impact, not just list duties. Use APR for most lines: Action + Project/Problem + Result.
Step 1. Lead with a specific action. Start each bullet with what you actually did, not vague phrasing like "helped," "worked on," or "responsible for." A clear action makes the line more credible right away.
Step 2. Add project or problem context. Name the work and situation so the reader can understand scope and constraints. School, volunteer, and project work all count when you explain who it supported and what you were trying to deliver.
Step 3. End with the result. The result is what separates an accomplishment bullet from a task list. Use measurable detail when you have it; if you do not, state an observable outcome like delivered on deadline, improved turnaround, or supported smooth execution.
Use this rule:
- If you have numbers, include them.
- If you do not, include a concrete outcome someone else could verify.
Step 4. Stress-test each line before you keep it. Every bullet should answer: what did you do, for whom, and what happened next? If one part is missing, revise it.
Quick edit pass:
- Replace repeated generic verbs with specific ones.
- Remove claims you cannot substantiate.
A common failure mode on a first resume is trying to sound impressive instead of being specific. Evidence beats self-praise every time. If you get stuck, draft three versions of one bullet (duty-only, APR, tightened APR) and keep the most concrete one.
Pick Objective Statement or Professional Summary With a Clear Rule#
Use a professional summary when you can back it up with relevant evidence on the page. Use an objective statement when you need to clarify direction. An objective is optional, so do not force one if the role focus is already clear.
Step 1. Choose based on proof, not preference. A summary should be a two- to three-sentence introduction that matches what the rest of your resume can prove. If you already show relevant projects, internships, freelance work, or volunteer work, lead with a summary. If your background is less direct for the target role, use an objective to state the role you want and the skills you plan to apply.
Step 2. Make the top line role-specific and easy to scan. Employers may spend less than 30 seconds on a first review, so clarity matters. Name the target role, then add one or two strengths you can verify later in your bullets. Good: "Student designer with campus branding and social media project experience seeking a junior marketing role." Weak: "Motivated hard worker with strong communication skills."
Step 3. Check that every claim is supported below. Treat this as a hard filter: each key claim in your summary or objective should map to a bullet, project, skill, or credential elsewhere on the page. If a phrase is not clearly supported, cut it or rewrite it to match your evidence. Related reading: How to Write Compelling Case Studies for Your Portfolio.
Tailor Fast for Each Application Using Job Posting Keywords#
Tailor each application by matching your wording to repeated job-posting terms you can actually prove, not by rewriting your whole resume from scratch.
Step 1. Pull repeated terms from the posting. Read once for meaning, then scan for skills, tools, and responsibilities that repeat or appear in required qualifications. Treat those as priority keywords. If a posting repeatedly names capabilities like customer service, Excel, or scheduling, make sure at least one strong bullet demonstrates each one you truly have.
Step 2. Map each keyword to real proof in your running resume. For every keyword, find matching evidence from your projects, school activities, volunteer work, or jobs. If the posting asks for cash handling, use the bullet where you actually handled payments. If you cannot explain the claim in an interview with a real example, do not add it.
Step 3. Replace vague bullets only where evidence exists. Swap broad wording for role-aligned language tied to what you did. Keep the strongest relevant bullets and cut generic filler. This helps with Applicant Tracking Systems, which scan for matching terms before a human may review the resume. Related: A Guide to Summer Jobs for High School Students.
Run a Final Quality Check Before You Submit#
Before you submit, run three quick passes: relevance, readability, and risk. You want a resume that is clear, role-specific, and easy to defend in an interview.
| Pass | What to review | What to fix |
|---|---|---|
| Relevance | Check each line against this specific role | Cut lines that do not help the application; keep real, role-matching evidence and at least one concrete outcome in each major experience block |
| Readability | Review spacing, alignment, verb tense, naming, and section hierarchy | Remove uneven spacing, shifting alignment, mixed verb tense, and inconsistent naming |
| Risk | Test claims, details, and template filler against real evidence | Remove unsupported claims, outdated details, and template filler; rewrite or delete anything you cannot explain clearly |
Step 1 Remove anything that does not help this role#
Do a relevance pass line by line: if a line does not help this specific application, cut it. Strong resumes are usually tighter, with clearer proof, not broader lists.
Recruiters and hiring managers search ATS databases using job-related keywords, so keep bullets that show real, role-matching evidence. If you are deciding between two versions, choose the one with stronger proof density. Each major experience block should include at least one concrete outcome, not only responsibilities.
Step 2 Clean the document in Microsoft Word or Google Docs#
Do a readability pass in Microsoft Word or Google Docs to remove visual friction.
Check for:
- uneven spacing between sections or bullets
- shifting alignment across entries
- mixed verb tense for completed work
- inconsistent naming for the same activity or organization
Your section hierarchy should be obvious at a glance, with clean separation between core sections.
Step 3 Strip out risk before it becomes a problem#
Finish with a risk pass. Remove unsupported claims, outdated details, and template filler.
Keep source notes nearby and test each claim: can you explain it clearly and point to real evidence? If not, rewrite or delete it. Final gate: clean structure, consistent formatting, and outcome-based bullets that match the role requirements rather than repeating keywords without proof.
Finish With a Copy-Paste Submission Checklist#
Before you submit, run this final check to protect relevance, readability, and credibility.
- Save the right two files.
Keep a tailored one-page resume for this application and an updated running resume as your source file for future edits.
- Make each major bullet evidence-based.
Use brief bullets that show what you did and the output or result, not just task language.
- Make the opening section intentional.
If you use an objective statement or professional summary, make sure it is role-specific and supported by the rest of the page.
- Match the posting with proof, not keyword copying.
Tailor content to the role by prioritizing the work and extracurricular experience most relevant to that job.
- Do a final format and truthfulness pass in Microsoft Word or Google Docs.
Confirm one page, 10/11/12-point font, margins of at least 0.5 inch, consistent tense (past for past roles, present for current roles), and consistent punctuation. Remove anything exaggerated or anything you would not discuss in an interview, and delete personal data (such as birth date, marital status, or photo).
Frequently Asked Questions
What should I include on a first resume if I have no formal job experience?
Use verifiable, role-relevant evidence as your filter. Include information you can clearly explain and that matches the target role. If a line is specific, accurate, and defensible, it belongs.
Is one page always the right length for a first resume?
No. Keep it concise because employers may scan a resume in 30 to 60 seconds. But length rules vary by context. For federal USAJOBS applications, resumes are capped at two pages, and USAJOBS will not allow resumes longer than that. Read each job announcement closely before finalizing length.
What is the best section order for a first resume?
There is no single best order for every case. Common resume formats include chronological, functional, and combination. A chronological resume puts professional history first, so use it when your history is your strongest evidence for the role.
Should I use an objective statement or a professional summary?
A summary is optional, not mandatory. It is more common with experienced professionals, but it is also an option for students. If it does not add clear value, skip it and keep the resume concise and tailored to the organization.
How do I tailor one resume to multiple jobs quickly?
Read the job announcement closely before editing. Then use the Duties and Requirements sections as your checklist: Duties cover daily activities and responsibilities, and Requirements cover qualifications, specialized experience, and education. Map those priorities to concise, descriptive proof in your resume.
How can I make a first resume look professional as an independent or freelance beginner?
Present independent or freelance work with the same clarity you would use for any role: describe your responsibilities in concise, descriptive language and tailor the details to the target organization. Keep each point factual and easy to verify.
Try a related tool
Researched and edited by the Gruv editorial team. Gruv builds cross-border billing, payouts, and finance-operations software for global businesses.
Sources
- career.arizona.edu/resources/write-impressive-bullet-points-usi...trusted
- career.arizona.edu/resources/how-to-write-your-first-resumetrusted
- careercenter.georgetown.edu/major-career-guides/resumes-cover-letters/re...trusted
- careercenter.illinois.edu/howtoresumetrusted
- careercenter.umich.edu/article/resume-resourcestrusted
- careered.stanford.edu/sites/g/files/sbiybj22801/files/media/file/r...trusted
- careerservices.fas.harvard.edu/resources/create-a-strong-resumetrusted
- cco.purdue.edu/Files/Uploaded/Handbook.pdftrusted
Educational content only. Not legal, tax, or financial advice.
Related Posts

Georgia 1% Tax for Entrepreneurs Without Filing Surprises
Treat Georgia's 1% tax path as a compliance question first and a rate discussion second. The goal is a setup you can defend under review, not a shortcut that fails at filing time.

Summer Jobs for High School Students That Build Career Capital
If you are choosing among **summer jobs for high school students**, pay should be one filter, not the whole decision. The better lens is career capital: the proof, people, and skills you can carry forward after the summer ends.

The Freelance Payment Penalty: A Modeled Audit of Platform Fees, FX Spreads, and Payout Delays
The money rarely disappears through a single, easy-to-spot fee. The real loss is stacked. A marketplace takes its commission, a processor adds a charge for international cards, a bank or payment company converts the currency at a spread, a platform holds the funds before release, and a wire sheds a little to intermediaries on the way in. Each layer looks defensible on its own, but the worker feels the combined result as a smaller deposit and a later payday.