
Quick Answer
File first, then choose the payment path by balance and payoff window before you open Online Payment Agreement (OPA). For an irs payment plan, use short-term when you can clear the balance within 180 days and stay under $100,000; use the long-term installment route when repayment needs more time, with online simple-plan cases generally tied to $50,000 or less. Submit once with consistent numbers, save the approval response, and verify the first withdrawal in both your bank and IRS Online Account.
Set Up the Safest IRS Payment Plan in One Session#
Start as soon as you know you cannot pay in full. Waiting usually makes this harder and more expensive because interest and a monthly late-payment penalty can keep accruing, and filing late can add a failure-to-file penalty.
If you're a freelancer or consultant, you can often get this done online in one focused session. The goal is not speed for its own sake. It is to get the first pass right: choose the right path, submit once with consistent numbers, and save a clean record you can trust if a notice shows up later.
Treat this like execution, not endless research. You need one confirmed balance, a payment amount you can carry even in weaker months, and clear proof of what was approved. That gives you the best chance of controlling the next 60 days instead of spending them reacting to preventable problems.
Before You Start#
A little prep prevents most mid-application mistakes. Before you open OPA, gather your latest IRS notice, confirm your current balance in IRS Online Account, and have your bank details ready if you plan to use direct debit.
- Step 1: File and confirm one balance number.
File on time even if you cannot pay in full. Then log in to IRS Online Account and lock one total balance figure for this submission session. A common failure mode is bouncing between the return amount, a notice amount, and the account amount and ending up with inconsistent entries.
- Step 2: Choose the plan path by threshold.
Use the thresholds first, not your gut. If you can pay in full within 180 days and your total is under $100,000, check the short-term path first. If repayment will take longer and your total is under $50,000, look at the simpler monthly payment path. If your balance is between $25,000 and $50,000, plan on direct debit.
- Step 3: Set a payment you can sustain.
Base the monthly amount on ordinary cash flow, not a strong month. If one late client payment would break the plan, the number is too high. An unpaid balance can keep growing while it remains open, so consistency matters more than picking an aggressive amount you cannot repeat.
- Step 4: Apply once through Online Payment Agreement (OPA).
Complete OPA in one pass with consistent taxpayer and payment details. Many taxpayers can use OPA and get immediate notice of approval status. If online self-service is unavailable, switch quickly to the phone number or mailing address on your most recent notice instead of retrying the same failed path.
- Step 5: Save confirmation and verify the first payment.
Before you leave the session, save the plan type, payment method, amount, and start date. Then verify that the first payment posts and the agreement stays active. A same-session record is far more useful than trying to rebuild details from memory later.
Acting early will not erase the balance, but it does limit avoidable growth and gives you a clear sequence to follow.
Choose Your Plan Path Before You Apply#
Decide on the path before you start clicking through OPA. If you wait until you are in the application, you are more likely to choose under pressure instead of by payoff speed, balance thresholds, and what your monthly cash flow can actually support.
| Path | Best fit | Key thresholds | Practical note |
|---|---|---|---|
| Short-term payment plan | You can clear the full amount quickly | Pay in 180 days or less; combined balance under $100,000 | Higher monthly burden, faster payoff |
| Long-term payment plan (installment agreement) | You need monthly payments over time | Simple online installment plans are generally for combined balances under $50,000 | Lower monthly strain, longer exposure to ongoing charges |
Even after approval, time still affects cost. Unpaid tax after the original due date can remain subject to interest and a monthly late-payment penalty.
Decide one detail in advance: if your balance is between $25,000 and $50,000, direct debit is required. If online self-service does not work for your case, move to the contact details on your most recent notice instead of repeating the same failed online attempt.
Once the path is clear, make sure you are actually ready to qualify for it.
Confirm Eligibility and Filing Readiness#
Most denials come from basic readiness problems, not obscure rules. In practice, the usual blockers are unfiled returns, the wrong taxpayer lane, incomplete account setup, or missing payment details. Clear those before you enter anything.
| Check | Requirement | Possible blocker |
|---|---|---|
| Required returns | Generally all required returns filed and combined balance of $50,000 or less for the online simple payment plan | Unfiled returns |
| Taxpayer lane | Sole proprietors and independent contractors apply as individuals | Wrong taxpayer lane |
| Online account | IRS Online Account active; photo identification needed if you still need to create the account | Incomplete account setup |
| Payment setup | For individual balances between $25,000 and $50,000, direct debit is required | Missing payment details |
| Self-service fit | If your situation does not fit online self-service, use the contact path on your latest notice | Retrying the same failed path |
- Step 1: Verify filing status before touching OPA.
Confirm that required returns are filed. For the online simple payment plan, you generally need all required returns filed and a combined balance of $50,000 or less. For short-term plans, the anchors are the 180-day payoff window and the under-$100,000 threshold.
Checkpoint: keep one balance snapshot and use it all the way through submission.
- Step 2: Confirm the correct taxpayer lane.
If you are a sole proprietor or independent contractor, apply as an individual. If your situation does not fit online self-service, stop retrying and switch to the contact path shown on your latest notice.
Checkpoint: write down the lane you are using before you submit.
- Step 3: Validate account and payment prerequisites.
If your IRS Online Account is not active, complete setup first. Account creation requires photo identification. For individual balances between $25,000 and $50,000, direct debit is required, so confirm your routing and account details before you get to the final screens.
Checkpoint: confirm login access and payment details before you start OPA.
- Step 4: Protect eligibility after approval.
Approval is only the starting point. Keep required filings and payment obligations on track so the agreement does not drift toward default.
Checkpoint: set one recurring monthly reminder for filing and payment compliance.
When you do these checks upfront, the rest of the application gets simpler. You are not guessing, backtracking, or fixing contradictions after the fact.
Build a One-Session Application Packet#
Build the packet before you open OPA. That is where you avoid most rework.
Start by locking your core facts. Pull your balance in IRS Online Account and match that figure to the path you already chose. If you recently filed and no balance notice has arrived yet, use the balance due shown on your return.
Expected outcome: one recorded balance and one selected plan path.
Next, clear access and authority issues before the session starts. Make sure your IRS Online Account access works. If you still need to create an account, keep photo ID ready. If someone is applying for you, confirm authorized representative status and power of attorney scope before submission.
Checkpoint: login access and authority scope are settled before you begin.
Then prepare payment details before you enter anything. Decide on your payment amount in advance. If you are using direct debit, keep your routing and account numbers ready for entry during setup. Setup fees may be higher if you apply by phone, mail, or in person, so the online route is usually cleaner when it is available.
Checkpoint: payment method and required details are ready before submission.
Keep one folder for the full session. Save your balance snapshot, the relevant notice PDF, your planned payment amount, and the date and time of your attempt. Add the final result to that same folder so the full story stays in one place.
Checkpoint: one complete record of what you entered and what the IRS returned.
Finally, run a consistency check before you click submit. Compare each form value to your packet and avoid last-minute memory edits.
Expected outcome: a complete application record with matching inputs and stored status.
With the packet built, submission is mostly a matter of staying disciplined.
Submit Through IRS Online Account and OPA#
Keep submission in a tight order: sign in, confirm the balance, complete OPA with the details you already prepared, and save the result before you leave the session. The sequence is simple, and it keeps the record clean.
- Step 1: Start in IRS Online Account.
Sign in first, or create the account if needed. Account creation requires photo identification. Sole proprietors and independent contractors should apply as individuals. Authorized representatives need power of attorney. Confirm the balance you will use before opening OPA. If you recently filed and have not received a notice yet, use the balance due shown on your return.
- Step 2: Complete OPA with prepared details.
OPA is the online path for requesting a payment plan over time. Select the path that matches your confirmed balance and complete the application with the payment details from your packet. For balances between $25,000 and $50,000, direct debit is required, so keep bank routing and account numbers ready.
Tradeoff to remember: setup fees may be higher by phone, mail, or in-person routes.
- Step 3: Save the submission result immediately.
After completion, OPA provides immediate notice of approval status. Save that response while you are still logged in so your records capture the exact status that came back.
What to save: the returned status, the plan type, the payment method, and the start date.
- Step 4: Use the notice-based fallback if online self-service is unavailable.
If online self-service is unavailable, contact the IRS using the phone number or mailing address on your most recent notice. Document the channel switch so your timeline stays clear.
At this point, approval is only part of the job. The terms you choose are what determine whether the plan holds.
Set Terms You Can Sustain#
Set the terms for weak months, not strong ones. The right payment amount is the one you can keep making while income moves around.
Start with conservative cash flow assumptions. If one delayed client payment would cause a miss, your target is too high. Lowering the payment can protect consistency, but it can also keep the balance open longer, and interest plus late-payment penalties can keep accruing on unpaid tax while the balance remains open.
Direct debit is one installment-plan option, and in many cases it reduces friction because payments are automatic. It is required for individual balances between $25,000 and $50,000. Even when it is not required, many people treat it as the safer default because it lowers the chance of a missed payment. Just pair it with a pre-due-date balance check so automation does not turn into blind trust.
If you may qualify for an Online Payment Agreement, confirm the exact terms shown at approval and save them. IRS guidance says individuals who owe $50,000 or less in combined income tax, penalties, and interest, and businesses that owe $25,000 or less in payroll tax with all returns filed, may qualify.
Before you finalize, run one simple stress test: if income dips for a month, what gives first so the installment still clears on time? If a miss still looks likely, call the IRS immediately at 800-829-1040 and be ready to document financial changes.
A sustainable number is the foundation. The next step is making sure the first two months do not drift off course.
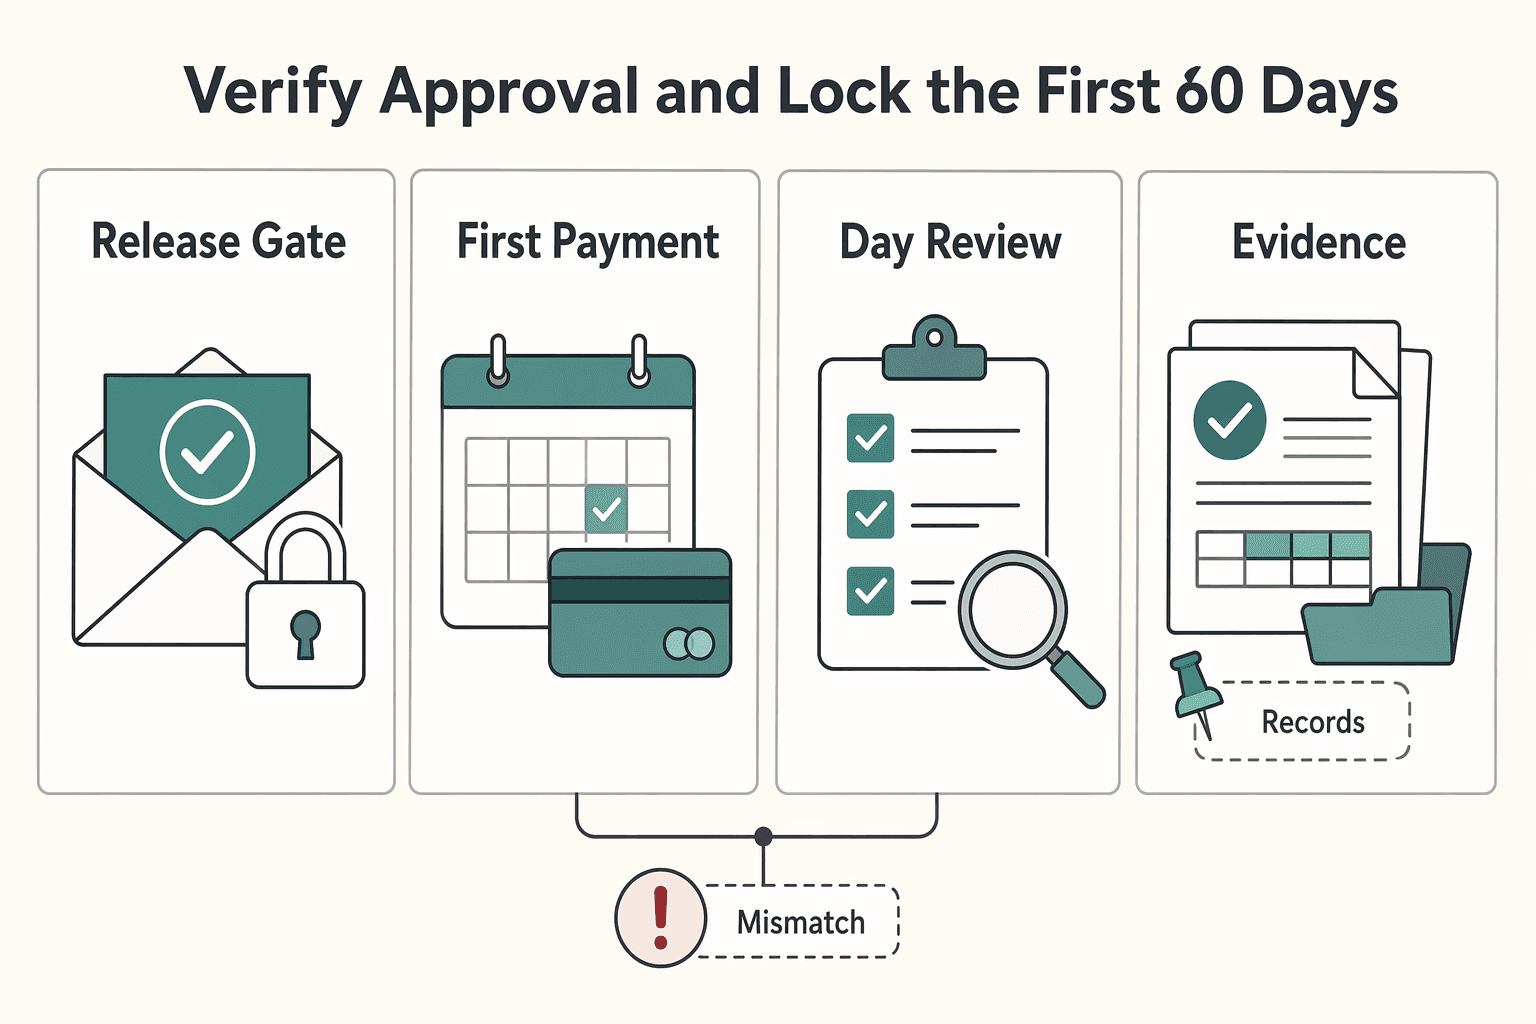
Verify Approval and Lock the First 60 Days#
The first 60 days are where a workable agreement either settles in or starts to wobble. You get immediate notice of approval status, but early verification is what keeps small issues from turning into default risk.
| Check | Timing | What to save or verify |
|---|---|---|
| Approval terms | Immediately after the decision | Save plan type, payment method, amount, start date, and any fee information |
| First payment | After the first payment is due or withdrawn | Compare bank activity with IRS account status and confirm the date, amount, and method match |
| Day-30 review | Day 30 | Review account status, new notices, and next-payment readiness |
| Day-60 review | Day 60 | Repeat the same review and keep a dated check entry with findings and next actions |
| Fee follow-up | After approval if anything is unclear | Record what your approval shows and flag unclear items for follow-up |
- Step 1: Confirm and save approval terms immediately.
When you receive the decision, save the terms exactly as shown, including plan type, payment method, amount, start date, and any fee information.
What good looks like: one timestamped record with the status and full terms.
- Step 2: Verify the first payment in both places.
After your first payment is due or withdrawn, compare your bank activity with IRS account status. Confirm that the date, amount, and method match.
What good looks like: one saved entry that shows both records.
- Step 3: Run day-30 and day-60 checks.
Set reminders for day 30 and day 60, then repeat the same review: account status, new notices, and next-payment readiness. This cadence is your management choice, not an IRS mandate, but it catches a lot of trouble early.
What good looks like: two dated check entries with findings and next actions.
- Step 4: Confirm fee details and log unknowns.
If your plan is approved, a fee is added to your tax bill, and setup fees may be higher if you apply by phone, mail, or in person instead of online. Record what your approval shows and flag any unclear item for follow-up.
Expected outcome: by day 60, you have a complete record of approval terms, first-payment verification, and any open questions.
If approval fails or online access is blocked, move quickly to the non-online path and keep the file just as organized.
Handle Denials and Non-Online Cases#
When OPA is denied or unavailable, speed and documentation matter more than perfect wording. The goal is to keep the case moving without losing track of what happened.
- Step 1: Move from OPA to notice instructions.
Follow the instructions on your most recent IRS notice. Log the date of your online attempt, which notice you used, and what action came next.
Checkpoint: one clear handoff record from the online attempt to notice-based contact.
- Step 2: Use Form 9465 when a non-online request is needed.
Form 9465 is used to request monthly payments when full payment is not possible. If you submit it with a return, attach it to the front of that return. For eligible lower balances, check OPA first because user-fee outcomes may be lower online.
Tradeoff to note: the non-online route can be necessary, but it usually adds friction.
- Step 3: Confirm the case basis before submission.
A Form 9465 request can be based on a balance shown on a tax return or on an IRS notice. Keep the relevant return or notice in the file so the basis for the request is clear.
Failure mode to watch: an unclear case basis can slow follow-up.
- Step 4: Prepare extra documentation and keep proof of submission.
Some Form 9465 cases may require additional financial documentation, including Form 433-F. Keep complete copies of forms, attachments, and delivery proof. If tax remains unpaid after the original due date, interest and a monthly late-payment penalty continue, and a separate failure-to-file penalty can also apply.
Expected outcome: a traceable non-online package with no missing paperwork.
Once the request is in, do not just wait. Watch for the early signs of trouble and respond before the agreement slips.
Prevent Default and Recover Fast#
Default usually starts small. A missed payment, a returned debit, or a notice that sits unopened for a week can become a much more expensive problem if you wait for the next notice cycle.
- Step 1: Catch risk signals early.
Treat any missed or returned payment, or any new notice about your agreement, as an immediate action item. Keep direct debit active when possible, since it can reduce default risk, and confirm withdrawals each month.
Checkpoint: monthly confirmation that the payment method is active and the payment posted.
- Step 2: Run one monthly review on a fixed date.
Use the same order each time: confirm the payment posted, review the latest notice, check agreement status, and log issues with the next action. The fixed order matters because it reduces the chance that you overlook one piece.
Expected outcome: one dated monthly entry with the result and next step.
- Step 3: Handle failed payments and CP523 notices immediately.
A CP523 signals intended termination of your installment agreement and possible collection action if you do nothing. Call the number printed on the notice and act as soon as possible, and no later than 30 days from the notice date. If a termination date is listed, make the required payment before that date to help prevent termination. Reinstatement is not automatic and may require a reinstatement fee or full payment of new tax liability.
Red flag rule: if a payment fails, act immediately instead of waiting for the next monthly check.
- Step 4: Keep a contact record for your own follow-through.
Record the contact date, number called, person reached, commitments made, and any confirmation number. Store payment confirmations and notices in the same folder so your timeline is easy to verify. If you still dispute termination grounds after contact, request a hearing with the IRS Independent Office of Appeals.
Checkpoint: each entry includes the date, summary, confirmation, and related evidence.
A payment agreement only stays useful if your current obligations keep pace with it. That is the next place people get into trouble.
Keep the Plan Aligned With Ongoing Tax Duties#
A payment agreement covers existing debt. It does not replace current-year filing duties or foreign-asset reporting when those rules apply. If you keep paying the old balance while a new compliance problem forms, you are moving backward.
- Step 1: Confirm filing scope each year.
Before each filing cycle, confirm whether you must file an income tax return. If required, keep return work on schedule while the agreement is active. If Form 8938 applies, attach it to the return and file by the due date, including extensions. If no return is required for that year, Form 8938 is not required.
Checkpoint: one dated note on filing requirement and Form 8938 scope.
- Step 2: Track Form 8938 and FBAR separately.
Do not treat them as interchangeable. Filing Form 8938 does not satisfy a required FBAR filing. Keep separate completion lines for each in your records. IRS threshold language includes a $50,000 baseline for certain taxpayers and higher thresholds for some joint filers and taxpayers abroad.
- Step 3: Keep current-year filing and payment tasks current.
While agreement payments continue, keep current-year return and payment obligations on track. One common failure mode is staying disciplined on old debt while a new unpaid period forms in the background.
If X, do Y rule: if a new current-year balance appears, treat it as urgent and address it immediately.
- Step 4: Run one monthly alignment check.
Review three items together each month: agreement status, current-year filing and payment tasks, and cross-border reporting status when relevant. Proposal status can be pending, approved, or rejected, so read notice language carefully. If estimated taxes are the weak point, review What Happens If You Don't Pay Quarterly Taxes?.
Expected outcome: one monthly entry confirming agreement status and parallel-duty status.
If you want a deeper dive, read The Ultimate Digital Nomad Tax Survival Guide for 2025.
When the facts stop fitting a straightforward online path, that is the time to escalate, not improvise.
Know When to Escalate to a Pro#
Escalation is not a failure. It is the practical move when the case no longer fits clean self-service handling and the risk of a wrong next step starts rising.
- Step 1: Flag complexity before the next move.
Treat possible Trust Fund Recovery Penalty exposure, an online denial, or inability to use online self-service as escalation triggers.
Checkpoint: keep a dated list of each trigger with the related notice, screenshot, or payment record.
- Step 2: Use OPA as a boundary check.
Run OPA with verified inputs and use the immediate decision as your first decision point. If online self-service is unavailable, switch to the contact path on your latest notice and record why the channel changed.
Expected outcome: one clear channel decision with the reason.
- Step 3: Get review before choosing installment agreement vs Offer in Compromise.
Professional review is useful when your financial situation is unstable or your balance is close to plan thresholds. Use those thresholds as screening inputs, for example $50,000 or less for certain online installment-plan cases and less than $100,000 for short-term plans, then confirm current eligibility at decision time. Ask for side-by-side options with assumptions and what changes if income drops or new debt appears.
- Step 4: Require written outputs before authorizing next steps.
Ask for a written plan that lists assumptions, deadlines, required filings, and who owns each task. If someone will contact the IRS for you, confirm representative scope first. If your notices are inconsistent, organize the record set before the next submission and use How to Prepare for an IRS Audit as a cleanup reference.
Checkpoint: before submission, you have a dated memo and a task list with owners and due dates.
Once the escalation rules are clear, you can finish the setup in one sitting with a lot fewer surprises.
Use This One-Session Execution Checklist#
Use this checklist in one sitting so setup starts clean and follow-through stays manageable. It should feel like a final pass through the work, not another round of research.
- Step 1: Document real cash flow before choosing plan mechanics.
Write down what your typical monthly surplus can support, not a best-case month. If the amount only works when income lands exactly on time, it is probably too high.
Checkpoint: one dated line with your sustainable monthly amount and any open plan-choice questions.
- Step 2: Confirm filing scope and prepare one records packet.
Confirm whether you must file an income tax return this year. If no return is required, Form 8938 is not required for that year. If a return is required, attach Form 8938 when applicable and file by the return due date, including extensions. Put your filing-scope notes, current account records, balance snapshot, and notice copies in one folder.
Expected outcome: one folder with filing-scope notes and current account records.
- Step 3: Submit once and save confirmation immediately.
If you submit online, save confirmation details before ending the session. Make sure the balance, taxpayer lane, payment method, and amount all match the packet you prepared.
Checkpoint: one saved same-session confirmation record.
- Step 4: Track status language and review notices monthly.
Installment agreement status can change, and proposal status can be pending, approved, or rejected. Review status wording and new notices every month so you catch changes before they become a collection problem.
Red flag rule: if status wording changes unexpectedly, investigate the same day.
- Step 5: Keep parallel compliance active, including cross-border filings.
Form 8938 and FBAR are separate obligations when each applies. For specified domestic entities, Form 8938 thresholds include more than $50,000 on the last day of the tax year or more than $75,000 at any time during the year. If your threshold category is unclear, verify it before filing.
Expected outcome: one monthly log entry covering plan status, return status, and separate completion markers for Form 8938 and FBAR.
Keep new compliance issues from undermining your payment plan by using the Tax Residency Tracker to log travel days and filing triggers in one place.
Take the Next Step With a Compliance-First Plan#
This only works if execution stays tight after approval. Choose terms you can sustain, verify posted activity early, and escalate as soon as the record stops matching the terms you thought you had.
- Step 1: Choose the payment structure you can keep.
Base the decision on realistic cash flow, not your best month. Use the short-term path only if you can pay in 180 days or less and your combined balance is less than $100,000. Use monthly installment terms when you need more time and qualify. If your balance is near $50,000, confirm eligibility in OPA before finalizing.
Expected outcome: one written decision with the plan type, monthly amount, and payoff target.
- Step 2: Submit with complete records and clean inputs.
Apply through OPA when possible so you get immediate approval status. If you are using direct debit, enter routing and account numbers carefully. For balances between $25,000 and $50,000, direct debit is required. If online self-service is unavailable, use the notice-based contact details and document the channel switch.
Checkpoint: save the decision screen, payment method, and first scheduled payment details in one folder.
- Step 3: Verify early and consistently.
In IRS Online Account, review the amount due, payment plan details, payment history, and scheduled payments. If you use automatic withdrawals, match those items against bank activity. Treat any mismatch as an early warning and resolve it before the next due date.
- Step 4: Run a monthly check cycle and escalate on risk flags.
Keep one recurring monthly review while the balance remains open. Watch for missed payments, status changes, or notices that conflict with approved terms. Since penalties and interest continue until full payment, delays tend to increase total cost. If a flag appears, contact the IRS using the phone number or address on your most recent notice, and log the date, contact path, decision, and next deadline.
Filing still matters while you are paying down back taxes. Even when full payment is not possible, filing on time helps reduce failure-to-file penalties.
For your next action after setup, open the Gruv tools library and choose the calculator or generator that matches your immediate filing task.
Frequently Asked Questions
What are the main IRS payment plan options, and when should I choose short-term vs long-term?
The main options are a short-term plan and a long-term monthly installment agreement. Choose short-term if you can pay in 180 days or less and owe less than $100,000 in combined tax, penalties, and interest. Choose long-term when payoff will take longer, with IRS guidance describing up to 72 months for qualifying individuals. If your balance is near $50,000, confirm exact online eligibility in OPA before locking your choice.
Who can use Online Payment Agreement (OPA), and what can block online approval?
Most taxpayers can request a plan through OPA, and a qualified power of attorney can also apply online. Sole proprietors and independent contractors should apply through the individual path. Online approval depends on meeting filing requirements, fitting online balance criteria, and completing account setup. After submission, OPA provides immediate notice of approval status.
Do interest and late payment penalty charges stop after an installment agreement is approved?
No. If tax remains unpaid after the filing due date, the balance can remain subject to interest and a monthly late-payment penalty while unpaid. Approval gives you a payment structure, but it does not erase charges on an outstanding balance.
Is direct debit required, or just the safest default for reducing missed-payment risk?
Direct debit is not required for every plan. IRS guidance states it is required for individual balances between $25,000 and $50,000. It is also promoted because automatic withdrawals reduce default risk. Outside required cases, many taxpayers still choose it because payments are automatic.
What should I prepare before starting the IRS Online Account and OPA flow?
Confirm filing readiness first, since required returns should be filed before applying. Have photo ID ready to create IRS Online Account access. If you plan to use direct debit, prepare routing and account numbers before you start. Keep your latest IRS notice nearby in case you need to contact the IRS about other payment-plan options.
What is the fastest recovery path if my request is denied or my plan is close to default?
If online self-service fails, use the phone number or mailing address on your most recent IRS notice for other payment-plan options. If the plan is close to default, contact the IRS promptly instead of waiting for another notice cycle. Keep a written record of what was decided and your next due date.
Try a related tool
Researched and edited by the Gruv editorial team. Gruv builds cross-border billing, payouts, and finance-operations software for global businesses.
Sources
Educational content only. Not legal, tax, or financial advice.
Related Posts

What Happens If You Don't Pay Quarterly Taxes?
Missing a quarterly payment can trigger the IRS **Underpayment of Estimated Tax by Individuals Penalty**, and interest can keep increasing what you owe until paid in full. In the IRS pay-as-you-go model, timing matters as much as totals. If you are searching for **what happens if you do not pay quarterly taxes**, treat this as a timing problem first, then a planning problem.

How to Prepare for an IRS Audit
Treat an IRS audit as a records check, not a contest. Your job is to show, item by item, how what you filed ties back to the records behind it.

Digital Nomad Taxes in 2026 With a Defensible Filing Plan
With digital nomad taxes, the first move is not optimization. It is figuring out where you may be taxable, where filings may be required, and what proof supports that position.