
Quick Answer
Start by separating a master agreement from per-project scope records, then build an audit-ready payment file before choosing tools. For project management translation tools, begin with the Minimalist Stack unless reviewer confusion and version conflicts keep recurring. Keep CAT for translation and terminology work, and use TMS for assignments, approvals, and release history. End each job with TEP gates and a required in-context check before sign-off.
To choose project management translation tools well, start with structure before software. Lock your legal, financial, and operational basics first, then pick the smallest stack that gives you file control, reviewer visibility, and clear QA gates. Teams that jump straight into execution usually end up with compliance gaps, payment disputes, or avoidable rework that no tool can fix later.
This guide starts with the foundation, then moves into tool choice and quality control so you can run multilingual work with fewer surprises.
Phase 1: De-Risk Your Foundation (Before You Translate a Single Word)#
Do not start with software. Your first controls are simpler and more important: lock the relationship terms, lock the money trail, then lock the handoff pack. If those three are loose, your tools will only help you scale the same mistakes.
Before you start: gather your legal business name, billing address, tax ID or registration number if you have one, primary payer details, counterparty legal name, target locale list, reviewer names, and the person who can approve scope changes.
Step 1. Split the relationship document from the project document#
Keep standing relationship terms separate from project-specific scope records, and confirm the setup with local legal counsel. A structure like a master agreement plus per-project scope documents can make disputes easier to isolate, because a scope issue on one job does not automatically require reopening every base term.
At minimum, make sure your records clearly separate:
- Stable relationship terms that should not change every project.
- Project-specific details that do change each job (scope, timeline, deliverables, approvals, and change handling).
Verification point: before the first project scope is signed, add two local checks to your file. First, note verify contractor-classification rules in your jurisdiction. Second, note verify permanent-establishment exposure in relevant jurisdictions.
If the arrangement starts to look ongoing, dependent, or open-ended rather than tied to a defined project, get country-specific legal and tax advice before you continue.
Step 2. Build an invoice and payout trail you can defend later#
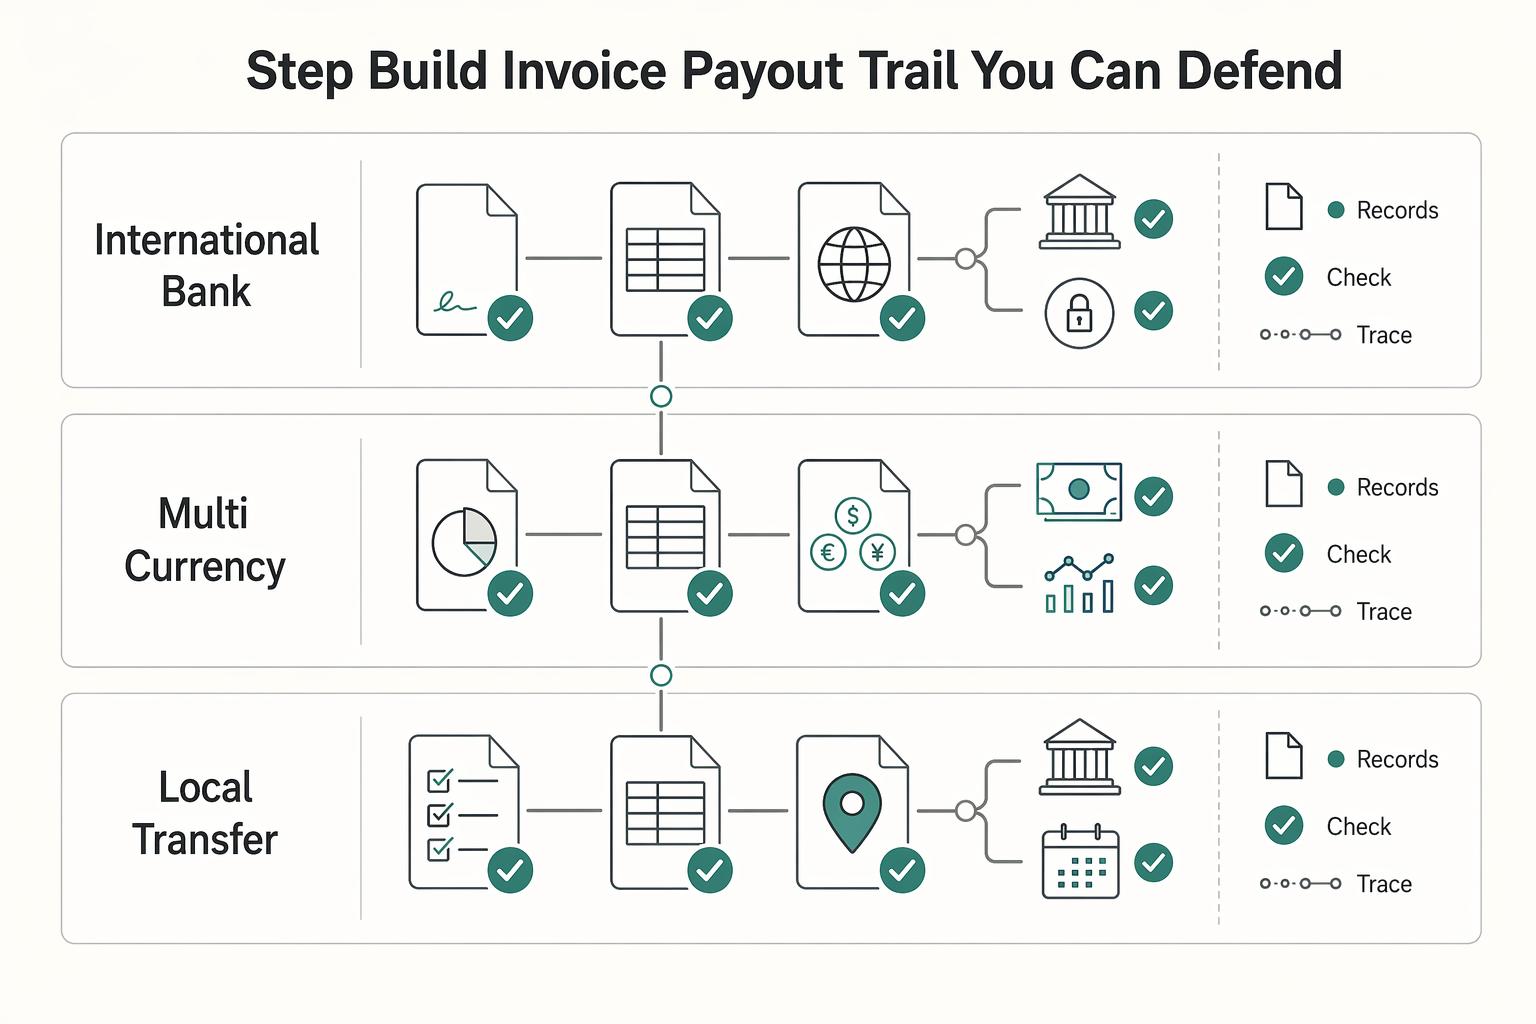
Cross-border payment problems usually start with missing identity details, incomplete invoices, or weak recordkeeping. The goal is not elegance. It is an audit-ready chain from signed scope to invoice to payout confirmation.
Use this order every time:
- Collect tax identity details early. Ask for the counterparty's legal name, billing address, tax registration details if applicable, and preferred settlement currency before work starts.
- Validate invoice fields against your own checklist. Make sure the invoice matches the agreed project scope and includes the entity names, dates, reference numbers, currency, and payout details your finance records require.
- Confirm tax treatment before payment. If cross-border tax rules may apply, verify the treatment and required wording for the jurisdictions involved instead of guessing.
- Reconcile payout records. Keep the invoice, approval record, payout confirmation, FX record if any, and remittance advice in the same project folder.
| Payment option | Fees and FX transparency | Payout speed | Compliance docs and disputes |
|---|---|---|---|
| International bank wire | Confirm current fees and FX detail with the provider before release | Confirm current payout timing with the provider before release | Confirm current compliance requirements with the provider or counsel before release |
| Multi-currency payment platform | Confirm current fees and FX detail with the provider before release | Confirm current payout timing with the provider before release | Confirm current compliance requirements with the provider or counsel before release |
| Local transfer from same-currency account | Confirm current fees and FX detail with the provider before release | Confirm current payout timing with the provider before release | Confirm current compliance requirements with the provider or counsel before release |
A practical rule: do not choose a payment rail just because it feels familiar. Choose the option that gives you the clearest documentation, acceptable FX visibility, and a dispute path you understand.
Step 3. Send a reusable project handoff pack, not a loose brief#
A loose brief is where avoidable translation problems start. When work crosses time zones, cultures, and platforms, small ambiguities can turn into missed deadlines, distorted messaging, and reputation risk.
Your handoff pack should include tone and terminology controls, target locale preferences, reference files, reviewer roles, acceptance criteria, and change-request rules. Be explicit about what must stay untranslated, who answers terminology questions, who gives final approval, and how many revision rounds are included.
The simplest checkpoint is still the best one: can an informed linguist and reviewer deliver without guessing? If not, the pack is incomplete.
For higher-stakes jobs, define a three-part acceptance path up front: linguist self-check, reviewer check, and final in-context check. That extra discipline can be the difference between smooth delivery and avoidable failure in multilingual projects.
If you want a deeper dive, read Value-Based Pricing: A Freelancer's Guide.
Phase 2: Engineer the Right Tech Stack for Your Project#
Pick the smallest stack that still gives you end-to-end visibility from source file to final approval. If you cannot quickly see the current file, the next owner, and the recovery path when a handoff breaks, your setup is underpowered for the work.
Step 1. Choose the tier for your current operating reality#
Start with tool categories, not brand loyalty: storage, communication, CAT environment, TMS, and an API or integration layer. Brands change; those workflow jobs do not.
| Stack tier | Best fit | Team shape | Content pattern | Workflow complexity | Governance burden |
|---|---|---|---|---|---|
| Minimalist Stack | One-off or low-frequency projects | You as owner, limited contributors | Small batches, manual handoffs | Low to moderate | Light, with explicit file and review controls |
| Collaborative Hub | Recurring multilingual delivery | You plus translators, reviewers, approvers | Repeated projects or parallel language tracks | Moderate | Medium, with role-based status tracking |
| Automated Engine | Ongoing or high-volume localization | Cross-functional content and language roles | Continuous or fast-cycle updates | High | High, with routing, auditability, and fallback discipline |
If you are selecting project management translation tools, default to Minimalist first and upgrade only when coordination risk keeps repeating. Overbuilding adds maintenance overhead; underbuilding causes version drift, scattered decisions, and avoidable deadline misses.
A practical category mix can look like this: storage (Google Drive, Dropbox, OneDrive), communication (Slack, Teams), CAT (Trados, memoQ), TMS (Phrase, Smartcat, Lokalise), plus an integration layer for your CMS, repository, or design source.
Step 2. Keep CAT work and TMS oversight distinct#
Treat the CAT environment as translator production space and the TMS as project control space. Translators handle segment work, terminology use, and consistency checks in CAT; you manage assignment, review state, approvals, and visibility across the full workflow in TMS.
Set clean handoff points:
- Owner to translator: locked source file, approved terminology list, reviewer context, acceptance criteria.
- Translator to owner: completed output or synced completion state, unresolved term log, and decision-needed reviewer queries.
Checkpoint: if you cannot identify the approved source file and terminology set without jumping across multiple tools, fix source-of-truth control before you add more software.
Step 3. Add operating controls before adding automation#
Use the same four checkpoints at every tier: source-of-truth file control, permission model, review workflow, and fallback process.
- Minimalist Stack: one locked project folder as source of truth; only you replace source files; reviewers comment without rewriting source; fallback is a manual freeze, version confirmation, and reissue.
- Collaborative Hub: one canonical record for status and approvals; role-based permissions; approvals captured where project history lives; fallback is controlled rollback to last approved state and re-routing.
- Automated Engine: connector-driven flow with visible status across stages; strict routing for higher-risk content to human translators; fallback is documented manual export/import plus last known good source and terminology snapshot.
Use these upgrade triggers:
- Move from Minimalist to Collaborative Hub when reviewer confusion, parallel tracks, version conflicts, or time-zone coordination misses become recurring.
- Move from Collaborative Hub to Automated Engine when manual import/export becomes a frequent bottleneck and you need reliable visibility across connected systems.
- Stay on the current tier when the next tier adds complexity without solving a recurring coordination or governance problem.
If cross-region review is already creating friction, read How to Handle Cross-Cultural Communication with International Clients.
Phase 3: A Framework to Guarantee Quality and Protect Your Reputation#
Quality is a control system, not a final check. If you want fewer revision loops and cleaner approvals, run this phase in three moments: before delivery, at delivery, and after delivery.
Step 1. Set repeatable QA gates before delivery#
Before delivery, use a fixed TEP flow: translation, editing, then proofreading. Each stage should start only when its entry criteria are met and the previous owner has completed handoff.
Set entry criteria in writing:
- Translation starts only when the source is locked, the approved term base or glossary is attached, the style guide is available, and SOW acceptance criteria are in the project record.
- Editing starts only when translator self-checks are complete and unresolved queries are logged.
- Proofreading starts only when editorial changes are applied and the current file or version is confirmed.
Assign ownership by role:
- Translator owns first-pass linguistic QA.
- Editor or second linguist owns accuracy and consistency review.
- You (or the project owner in the TMS) own gate completion, defect triage, and release readiness.
Keep one defect log across the full job with: source reference, locale, issue type, owner, status, and decision. Do not pass a gate with unowned defects.
| Error type | What it looks like | Stage most likely to catch it |
|---|---|---|
| Terminology | Wrong approved term or inconsistent glossary use | Translation + editing |
| Formatting | Missing translations, broken tags, number/date formatting issues | Pre-release QA gate |
| Functional/context | Truncated UI copy, wrong label meaning, layout/context mismatch | In-context review |
| Tone/brand | Accurate text that sounds off-brand or overly literal | Editing + proofreading |
Step 2. Control the release at delivery#
At delivery, treat in-context review as a required release gate when content appears in UI, staging, or designed files. This is where you catch issues segment-level checks miss, especially visual context and functional meaning.
Record release sign-off where the project record lives, not in chat. In your TMS workflow, keep final export, reviewer notes, defect log, and approval state together, and require a named owner to mark release approved.
Step 3. Govern your language assets and close the loop after delivery#
After delivery, manage translation memory, term base, and style guide as one governed asset set. Assign an owner for each asset, set an update cadence after approved releases, define conflict resolution rules before the next handoff, and leave any numeric threshold as a project-specific detail pending verification.
Use one rule for conflicts: if TM and terminology disagree, pause the release decision with the designated language owner, resolve it once, then update all three assets so the same conflict does not repeat.
Run a short post-mortem using project reporting data, such as review turnaround and issue volume. Capture root cause, assign one process fix with an owner, update the relevant checklist or asset, and confirm that update in the next kickoff.
Also, avoid choosing reviewers on cost alone. That often shifts cost downstream into avoidable revisions, weaker consistency across languages, and rework exposure.
If you are coordinating teams across regions, you might also find this useful: How to Manage Time Zones With Clients Without Being Always On.
Conclusion: You Are the Architect of Your Global Success#
Step 1. Set your operating baseline before you touch the tools. The shift is simple: stop treating multilingual work as a string of one-off decisions. You need a defined starting point for scope, responsibilities, files, deadlines, and approvals so the project has a stable shape before translation technology enters the picture.
Step 2. Choose stack fit, not stack prestige. Tool choice gets expensive fast when you start from features instead of project needs, and wrong choices can cost time and money. Use tools to support the job in front of you: file handling, collaboration, terminology control, review needs, and handoff clarity. If a tool adds steps your team skips, that is not sophistication. It is friction.
Step 3. Govern quality like an operator, not a hopeful buyer of software. Execution is where plans usually break down, so keep one clear checkpoint that forces focus. Before delivery, ask whether a busy reader will understand the message on the first pass. If your translated draft cannot be summarized in one or two sentences, it likely needs another review pass, cleaner structure, or tighter wording.
Carry this minimum repeatable checklist into every multilingual project:
- Confirm scope, owners, approval points, and delivery format
- Lock the source and gather the current glossary, style guidance, and reference files
- Pick the smallest stack that still supports review and version control
- Run translation, edit, proof, and final in-context check
- Record issues found after delivery and update your baseline before the next job
What you do next is straightforward: set that baseline, run one real project through it, and review the gaps after delivery. That is how you reduce risk, clean up execution, and give international clients a result that feels more consistent across projects.
For a step-by-step walkthrough, see The Best Project Management Tools for Freelance Designers.
Frequently Asked Questions
What is the difference between a TMS and a CAT tool?
Do not assume there is a strict, definitive TMS-versus-CAT split. In practice, many teams use CAT features for translating, editing, terminology checks, and reusing translation memory, then use a broader translation platform to assign work, track files and deadlines, and manage shared assets and approvals. Stay lightweight for basic documents, a small language set, and one or two contributors. Move to centralized control once the volume grows or several people need the same files, glossary, and approval record.
How do I manage payments for international freelance translators?
Before paying, use a verification-first checklist. Treat country-specific legal and tax items as current requirements pending jurisdiction-specific verification, including contract clauses, invoice requirements, payout-method legality, and retention periods. Keep approval records complete before release, and expect speed-versus-cost tradeoffs if turnaround is urgent.
What is the best translation management tool for a solo consultant?
Choose by fit, not by vendor reputation. The right tools depend on your project frequency, how many people touch each job, whether you need integrations, and how much governance you need around approvals and language assets. If projects are occasional and collaboration is light, a cloud-based tool with a trial plan is usually enough and easier to maintain. If you need formal approval control, more configuration, or user training across a team, move up to a fuller platform, and consider on-prem only if legal or security requirements force it.
How do I create a translation workflow that ensures quality?
Start with TEP: translation, edit, proof. Before anyone begins, hand over editable native files, images, fonts, handling instructions, and your approved glossary, style guide, and acceptance criteria. Make ownership explicit: the translator completes self-checks and logs unresolved queries, the editor checks accuracy and consistency, and the proofreader checks final polish. For client-facing content, add in-context review and aim for three QA rounds before delivery.
What is the business benefit of Translation Memory?
Treat TM, the term base, and the style guide as one maintained asset set. After each approved release, update the winning terms and phrasing so the next project starts from the corrected version, not from memory or guesswork. That can cut repeat errors, speed up review, and keep language consistent across projects. A simple checkpoint is this: if reviewers keep fixing the same term every month, your assets are stale or nobody owns them.
Try a related tool
Researched and edited by the Gruv editorial team. Gruv builds cross-border billing, payouts, and finance-operations software for global businesses.
Sources
Includes 4 external sources outside the trusted-domain allowlist.
- aspe.hhs.gov/sites/default/files/documents/c9fd040ae12cf1...trusted
- dau.edu/sites/default/files/2024-02/Product%20Suppor...trusted
- etd.ohiolink.edu/acprod/odb_etd/ws/send_file/sendtrusted
- mn.gov/mnit/rest/rss/Blogtrusted
- cambridge.org/core/elements/risk-management-in-translation...external
- globallink.transperfect.com/blog/what-is-a-translation-management-systemexternal
- learningtree.com/blog/the-architect-translator-doer-model-you...external
- lokalise.com/blog/translation-errorsexternal
Educational content only. Not legal, tax, or financial advice.
Related Posts
Value-Based Pricing for Freelancers Under Real Payment Risk
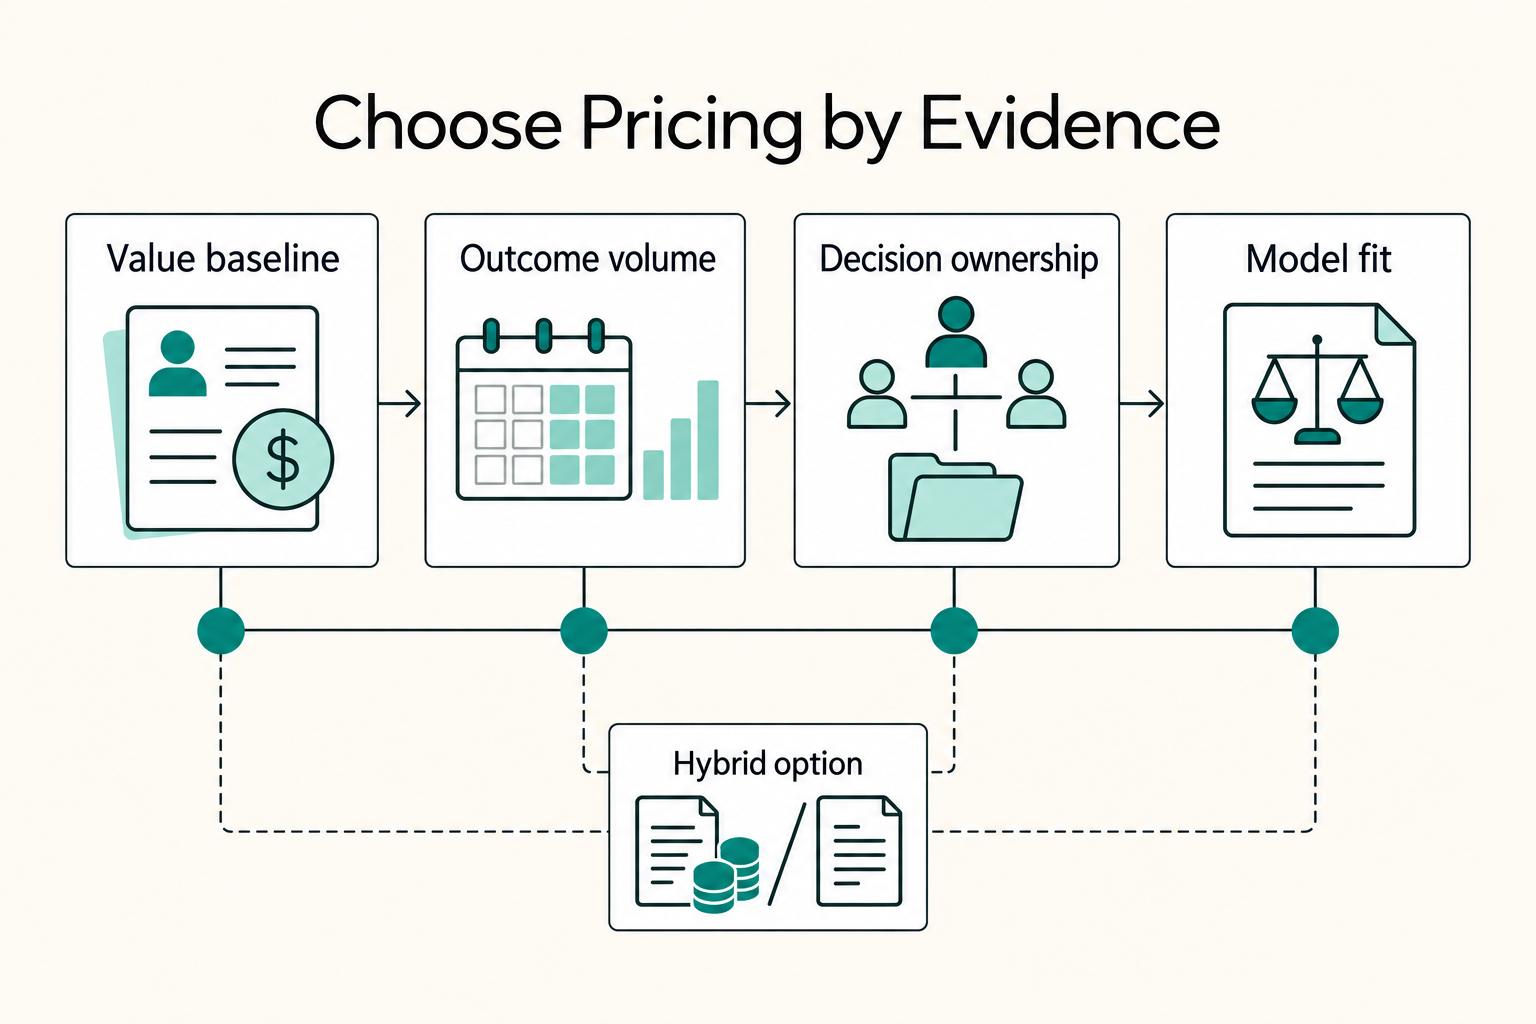
Value-based pricing works when you and the client can name the business result before kickoff and agree on how progress will be judged. If that link is weak, use a tighter model first. This is not about defending one pricing philosophy over another. It is about avoiding surprises by keeping pricing, scope, delivery, and payment aligned from day one.

How to Handle Cross-Cultural Communication with International Clients
Freelance cross-cultural communication is less about polite phrasing and more about shared meaning before work starts. Cross-cultural communication is how people from different cultural backgrounds adjust interactions to improve mutual understanding.
Tax Implications of a Canadian Owning a US LLC
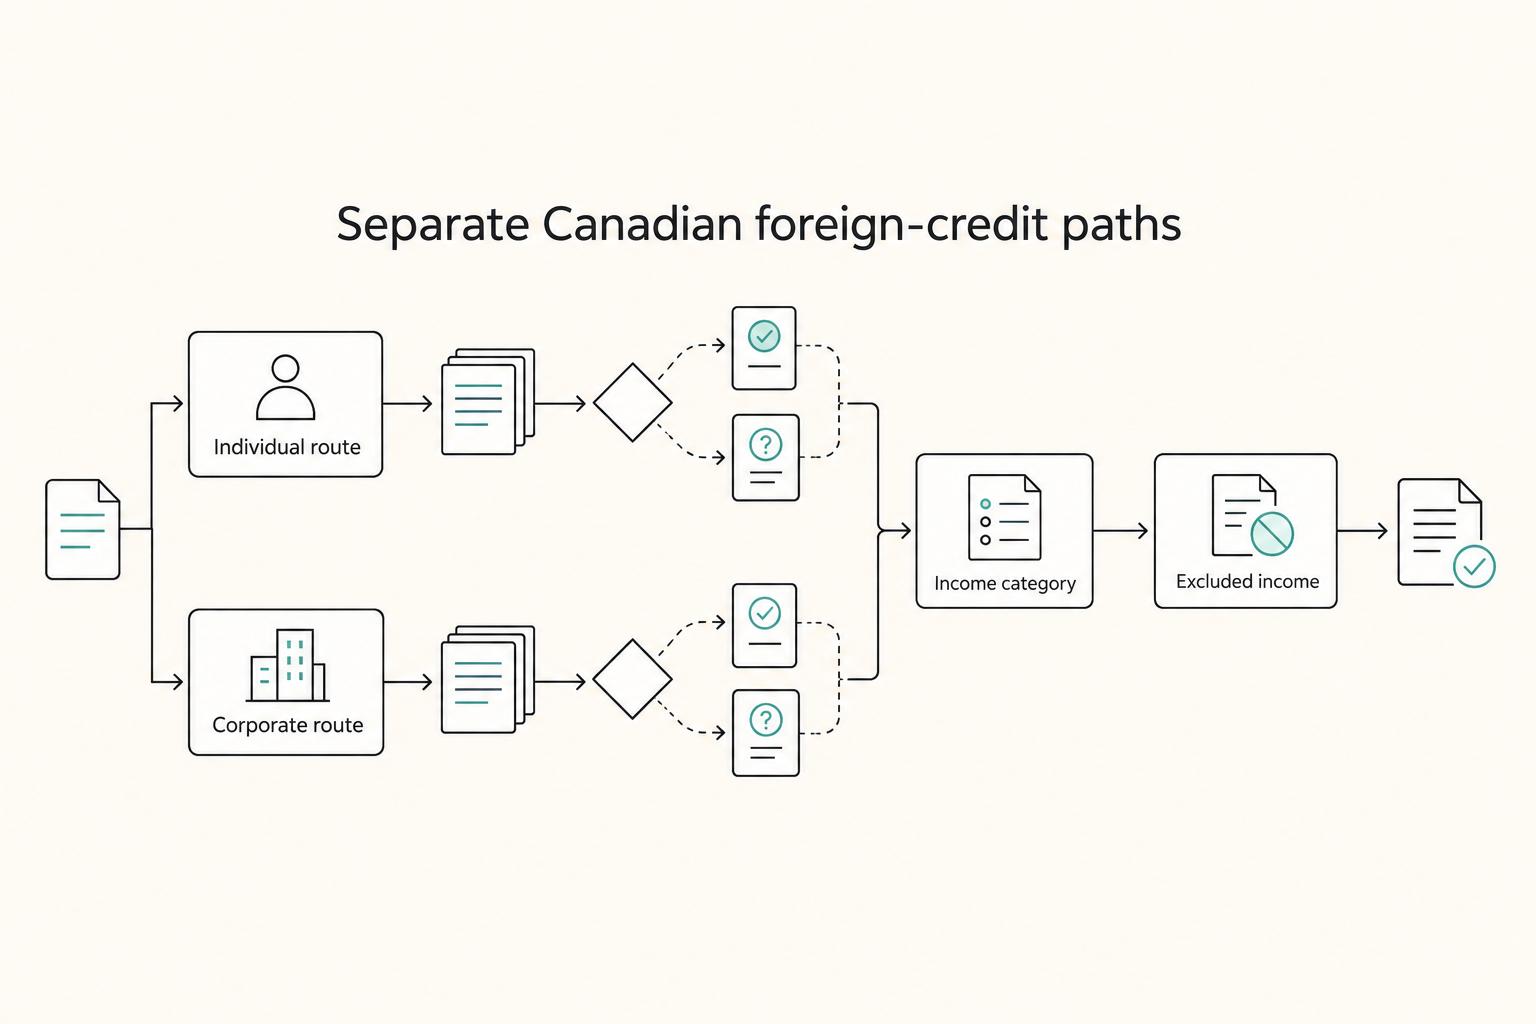
A U.S. Limited Liability Company (LLC) can look simple for a Canadian freelancer, but the tax treatment is usually not simple. Canadians, including individuals and corporations, can face U.S. tax liability if they carry on a U.S. trade or business.