
Quick Answer
Yes, you can freelance in Canada without incorporating, but moving from a sole proprietorship to a corporation can be the better call when contract risk or client entity demands increase. The article recommends deciding structure first, selecting jurisdiction, filing Articles of Incorporation, and only then finalizing tax and invoicing setup. It also stresses verifying province-specific requirements with the relevant registry and CRA before you submit filings.
Start Here and Decide With Confidence#
If you are deciding whether to incorporate in Canada as a freelancer, make one call first: stay a Sole proprietorship for now or move to a Corporation now. Decide that before you file anything. It helps keep your tax setup, entity records, and filing steps aligned and reduces rework once contracts and invoicing start.
Use this as an execution plan, not final legal or tax advice. Confirm province-specific rules, filing costs, and tax treatment with your Provincial corporate registry, the CRA, and your advisor before you submit anything. Keep those confirmations in writing so later decisions are easier to review and update.
- Define your operating facts before choosing an entity.
List what you sell, where you operate, and whether your services are regulated. A business license is authorization to operate legally in a jurisdiction or industry. Some guidance says freelancers generally may not need a business license in Canada, but some freelancers may still need one for regulated services. Start here so your structure decision reflects operating facts, not assumptions. Checkpoint: note whether a license is required now, later, or not at all.
- Choose your structure with a clear decision rule.
Pick one path now: continue as a sole proprietorship or incorporate now. Write the tradeoff in plain language so later tax and filing steps match your choice. If your notes cannot explain why this structure fits today, pause and tighten the rationale before any filing starts. Checkpoint: keep a one-paragraph rationale in your records before filing.
- Validate tax assumptions with CRA before invoices and filings are final.
Some summaries cite a $30,000 annual GST/HST registration threshold, but treat that as a prompt and confirm your status directly with CRA before relying on it. A short confirmation now is usually easier than correcting invoice treatment after clients have already paid. Checkpoint: prepare a short list of CRA questions for registration and tax setup.
- Create one evidence folder before filing.
Keep your structure rationale, licensing notes, CRA notes, and registry confirmations together. This reduces rework if details need to be checked again before submission. It also gives you one place to review when a client, bank, or advisor asks for context.
Decide Whether to Incorporate Now or Wait#
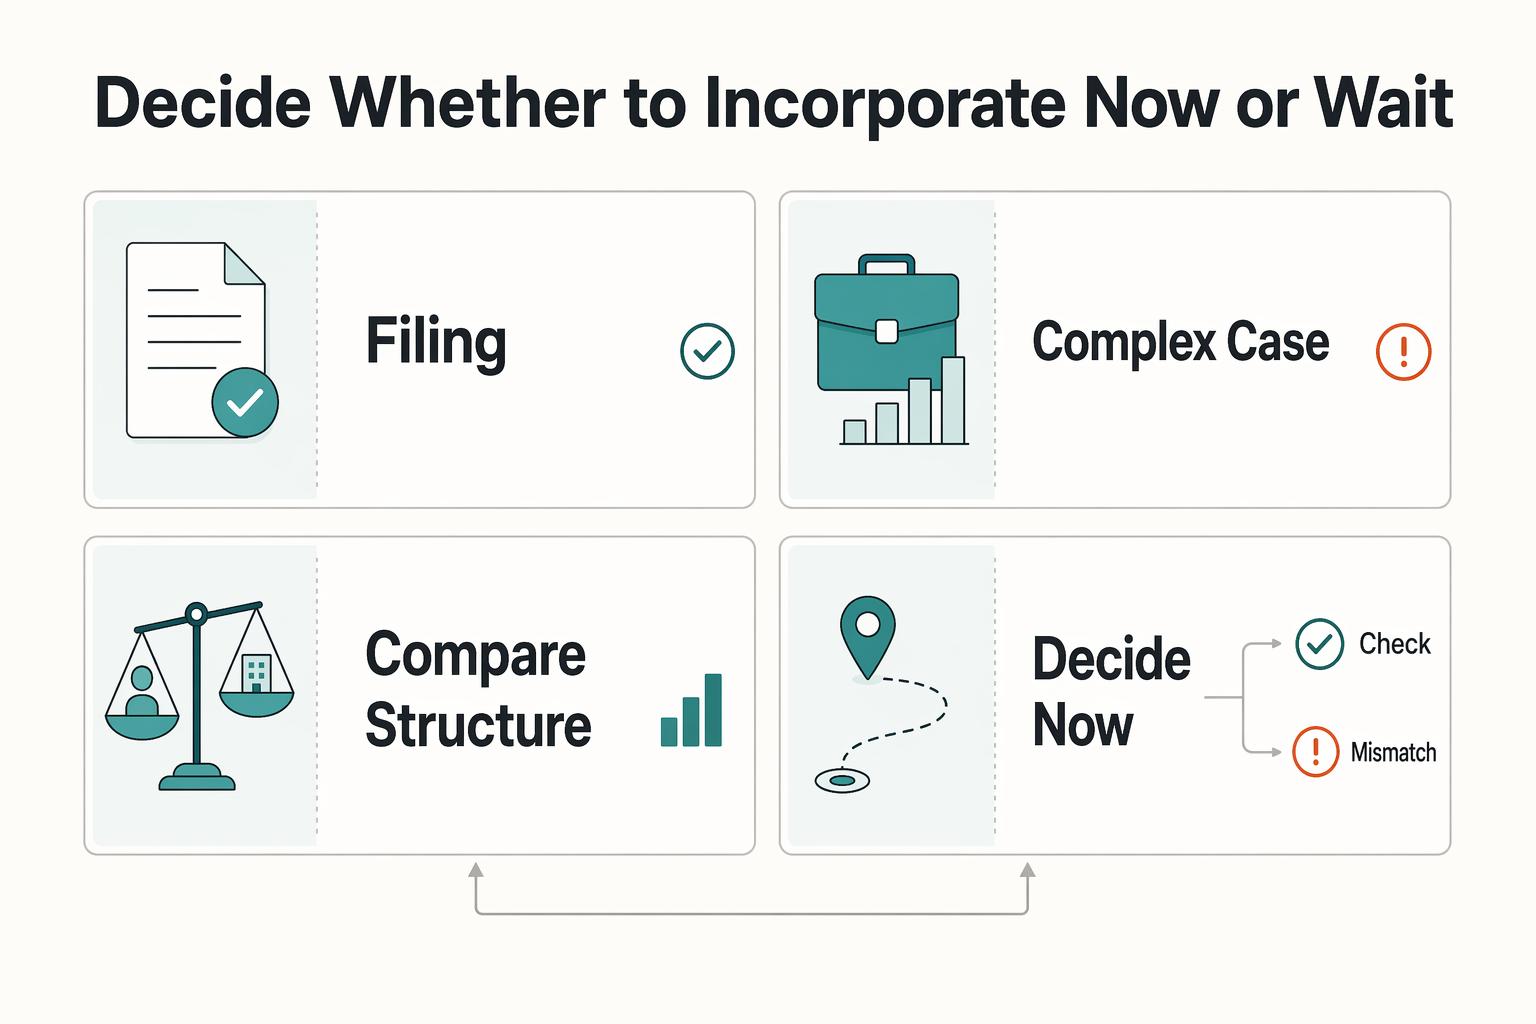
You do not need to incorporate to run a freelance business in Canada, and there is no single timing rule that fits everyone. Use a decision checkpoint instead: if risk, contract stakes, or client entity requirements are rising, moving to a Corporation may fit better. If operations are simple and low-risk, staying a Sole proprietorship can be a rational choice.
The key is to make a decision you can execute cleanly. A weak yes to incorporation can create filing drift. A weak no can create delay if a client asks for a corporate entity at signing.
- Step 1: Check your pressure signals before filing.
Review contract demands, risk exposure, and client entity expectations, then write a short decision note: incorporate now or wait. Keep the note practical and tied to current work, not hypothetical growth stories. Verification checkpoint: your note explains the decision without relying on an income-only rule.
- Step 2: Use the client-entity trigger early.
If a client requires a corporate entity before signing, consider prioritizing incorporation before the deal closes. Keep the contracting entity and invoicing entity aligned from day one to reduce avoidable contract edits and payment delays. Verification checkpoint: the legal name in the contract matches your invoice setup.
- Step 3: Compare structure tradeoffs in plain language.
A Sole proprietorship is a business run by one person. A Corporation is a legal entity separate from its owners. Put both options side by side in your note and state what you gain and what extra admin you accept with each path. Verification checkpoint: your notes show why your current structure matches your current stage.
- Step 4: Decide now, or set a firm review trigger.
If you wait, set explicit triggers for review, such as larger contracts, higher-risk work, or stricter client requirements. Add a date for the next check so the decision does not drift into the background. Verification checkpoint: your trigger list and review date are saved with your structure note.
If you want a deeper dive, read Sole Proprietorship vs. LLC: The Definitive Guide for Global Freelancers.
Choose Federal or Provincial Incorporation#
Choose jurisdiction based on your real business footprint, not habit. Federal incorporation is often considered when multi-province activity is likely, while Provincial incorporation can be simpler when operations are concentrated in one province.
| Option | Usually fits when | Tradeoff you accept | Verify before filing |
|---|---|---|---|
| Federal incorporation | You expect activity across more than one province | Broader scope with more moving parts | Federal requirements and any provincial requirements that apply where you operate |
| Provincial incorporation | You operate mainly in one province | Simpler local setup with narrower scope | Provincial naming, filing, and ongoing obligations |
Treat this as an operating choice, not a branding choice. The goal is to choose the path you can maintain without constant exceptions in contracts, records, and filings.
- Step 1: Map your footprint.
List where you currently work, where near-term clients are, and where contracts are likely to be signed. Add expected expansion locations if they are already visible in your pipeline. Verification checkpoint: your notes name specific provinces tied to current or expected work.
- Step 2: Check client requirements, not assumptions.
An out-of-province client address alone does not automatically require federal incorporation. Confirm whether contracts require a specific entity status or simply a properly registered Corporation. Ask this before contract redlines begin so legal review does not become a last-minute blocker. Verification checkpoint: each key contract requirement is documented.
- Step 3: Verify with the relevant registries before submitting.
Confirm naming and filing requirements with the relevant federal and provincial registries, as applicable. Keep federal and provincial requirements separated in your notes so you do not blend two rule sets into one checklist. Verification checkpoint: one checklist split by federal and provincial items.
- Step 4: Record your rationale in writing.
Write a one-page decision note with your chosen jurisdiction, the footprint it matches, and the tradeoff you accepted. Keep that note with your filing records and share it with anyone helping with banking or tax onboarding. Expected outcome: you can explain your choice clearly using current business facts.
Gather Prerequisites Before You File#
Build one pre-filing packet before you submit anything, and treat unknowns as items to verify, not assumptions. That keeps filing details, tax questions, and ownership intent aligned. It also makes advisor review easier because they can review one record set instead of scattered notes.
| Packet | What it includes | Checkpoint |
|---|---|---|
| Decision packet | Proposed business name, business activities, and the activity you intend to carry on for profit; add a status marker beside each item | One draft packet with no unresolved blanks; each item ties back to a decision you already made |
| Compliance packet | Business records, income reporting, and GST/HST questions you need to confirm; use CRA guidance as informational | Short decision list for CRA or your advisor; each tax item is a clear question to confirm |
| Governance packet | Initial ownership and control intent; who is expected to own what and who approves key decisions | One dated ownership note saved with your packet |
| Submission requirements | Filing forms and submission steps that apply before payment | One final pre-payment checklist confirms each required item is complete |
- Step 1: Build your decision packet first.
Collect your proposed business name, business activities, and the activity you intend to carry on for profit (with notes that support that intention) in one working document. Add a status marker beside each item so unresolved points are obvious before submission day. Expected outcome: one draft packet with no unresolved blanks. Verification checkpoint: each item ties back to a decision you already made.
- Step 2: Build your compliance packet around CRA questions.
List business records, income reporting, and GST/HST questions you need to confirm. Use CRA guidance to frame what you need to track early, and treat that guidance as informational rather than a replacement for legislation. Keep this packet question-led so advisor conversations stay focused on decisions, not broad theory. Expected outcome: a short decision list for CRA or your advisor. Verification checkpoint: each tax item is written as a clear question to confirm.
- Step 3: Build your governance packet before drafting legal records.
Write your initial ownership and control intent now, even if you are starting solo. If you are operating as a sole proprietor, note that there is no legal separation between you and your business and personal responsibility can include debts, losses, and lawsuits. Capture who is expected to own what and who approves key decisions. This helps you avoid signing records that later conflict with how you actually planned to operate. Failure mode to avoid: verbal ownership assumptions that later conflict with signed records. Verification checkpoint: one dated ownership note saved with your packet.
- Step 4: Verify submission requirements before paying fees.
Confirm the filing forms and submission steps that apply before payment so your documents match the process you are using. If any item is unclear, hold payment and close the gap first. Expected outcome: a filing-ready folder with aligned decision, compliance, and governance packets. Verification checkpoint: one final pre-payment checklist confirms each required item is complete.
If you are also tightening client communication and follow-up, The Best Email Marketing Platforms for Freelancers is a useful companion read.
Name the Corporation Correctly the First Time#
Lock your name choices before you file if you can. Name changes can spill into contracts, invoices, and registration steps, and they can create avoidable edits in governance records if legal wording changes after drafting starts.
- Step 1: Build filing-ready name options.
Create one primary name and at least two backups. For each option, write the exact legal form you plan to file and keep one canonical spelling. A clean backup list protects momentum if your first option is unavailable. Expected outcome: three usable names in one exact format each. Verification checkpoint: each name can be pasted unchanged into a contract party clause, invoice header, and signature block.
- Step 2: Validate names through the filing path you will use.
Check name availability through the same filing path you plan to use. Do not rely on a quick web search alone. Use one consistent path for each check so your decisions stay consistent. Expected outcome: one first-choice name and two ready backups. Red flag: a name that needs extra explanation to avoid confusion.
- Step 3: Pressure-test the legal name in operating documents.
Place the full legal name in a draft contract and invoice template to confirm it is usable. Keep the same legal string across registration notes so BN and tax setup can stay aligned. This is where spelling and punctuation issues usually show up, so catch them before filing. Verification checkpoint: exact match across contract, invoice, and tax onboarding notes.
In BC, guidance indicates that registration needs can change if you use a business name different from your legal name, hire staff, or collect GST/HST. The same guidance indicates registration may not be needed in some cases when operating under your legal name without employees. Treat that as province-specific context and confirm the rules that apply to your filing path.
- Step 4: Keep a fallback ladder ready for filing day.
Rank backup names before you start filing. If your first choice is unavailable, move to the next approved option immediately. Keep the ranking with your filing packet so anyone helping you can follow the same order. Failure mode to avoid: last-minute renaming that forces edits across governance and tax setup records.
File Articles and Set the Initial Share Structure#
Before filing, confirm your jurisdiction and legal name. If you choose federal incorporation, that means registering under the CBCA, and local licensing requirements may still apply. Keep one consistent business identity record so later banking and tax setup use the same details.
- Step 1: Reconfirm your filing route and legal name.
Verify that the selected route still matches where you plan to operate. If you chose federal incorporation under the CBCA, confirm any local licensing requirements that may still apply. Expected outcome: a final jurisdiction choice and legal name. Verification checkpoint: filing notes and name records are identical.
- Step 2: File the Articles with one canonical business identity.
When you file Articles of Incorporation, keep core entity details exactly the same across your records. Copy directly from filed records so legal name details stay consistent. Expected outcome: filed Articles tied to one stable legal identity. Verification checkpoint: filing confirmation and internal records match spelling, spacing, and punctuation.
- Step 3: Set initial ownership in writing.
Create a short, dated ownership record that states current ownership and how future changes will be documented. If multiple people are involved, circulate that baseline before signatures to catch disagreements early. Control rule: if ownership changes later, document each change and update all related records. Expected outcome: one clear ownership baseline.
- Step 4: Build one evidence folder before banking and tax setup.
Store your Articles confirmation, ownership record, and filing receipts in one place. Business structure affects the tax returns you file, and not every business needs a BN and CRA program accounts. Expected outcome: a complete evidence pack ready for operations and compliance.
Complete Formation Documents Most Guides Skip#
You do not need to incorporate to run a self-employed business, but if you do incorporate, get to a consistent signed record set before external onboarding. Most cleanup work starts when internal records conflict. Signed records are also easier to review when each document points to the same entity details and ownership baseline.
| Record | How it should align | When to update |
|---|---|---|
| Share Subscriptions | Match subscriptions to one cap table line by line | If ownership changes later, update signed records and the cap table together |
| Share Issuances | Match issuances to one cap table line by line | If ownership changes later, update signed records and the cap table together |
| Cap table | Use one cap table as your source record; it should mirror signed documents, not the other way around | Update with signed records when ownership changes later |
- Step 1: Finalize the governance records you will rely on.
For incorporated businesses, this may include documents such as Corporate Bylaws, Shareholder Resolutions, Director Resolutions, and Director Consents. Confirm what applies to your situation and keep final versions. If draft language changes, replace old versions in your folder so no one acts on stale documents. Verification checkpoint: names, dates, signer roles, and entity details match your filed records.
- Step 2: Align
Share SubscriptionsandShare Issuancesto one ownership source.
If you issue shares, use one cap table as your source record, then match subscriptions and issuances line by line. If ownership changes later, update signed records and the cap table together. The cap table should mirror signed documents, not the other way around. Failure mode to avoid: subscription, issuance, and cap table records that show different ownership.
- Step 3: Set a practical sequence before outside onboarding.
Use a sequence that fits your setup and reduces rework when banks, accountants, or clients ask for proof. One practical approach is to complete core filings and internal records before external onboarding, while adapting the order to your situation. Verification checkpoint: you can provide filed proof and your current internal records in one request.
- Step 4: Keep formation records aligned with tax setup.
Business structure affects the type of tax returns you file, so clean records make tax setup easier. Then confirm what is required with CRA, since not all businesses need a Business Number (BN) and CRA program accounts. Keep a short mapping note that links each CRA decision to your current structure and records. Red flag: starting CRA setup before your structure and ownership records are settled.
- Step 5: Store one evidence pack with simple version control.
Keep filed documents and related signed records in one folder, plus a short change log. Use consistent file names so the current signed version is easy to retrieve. Include a document index at the top of the folder so future reviews are quick.
Set Up CRA Accounts and Tax Reporting Baseline#
Set your CRA baseline from confirmed status and current activity, then match invoicing and reporting to those decisions. When account setup stays aligned with day-to-day billing records, you reduce avoidable filing issues.
- Step 1: Choose your CRA registration path before opening accounts.
Confirm whether you are registering as a resident with a Canadian business or as a non-resident doing business in Canada. The resident path includes individuals with a temporary SIN that starts with 9. Capture the selected path in your onboarding notes so everyone involved uses the same assumption. Expected outcome: one registration path that matches your status. Verification checkpoint: identity and business details match the selected path.
- Step 2: Confirm whether you need a
Business Number (BN)and whichCRA program accountsapply now.
Use Canada Revenue Agency (CRA) guidance directly. Not all businesses need the same account setup, so mark each account as now, later, or not needed yet based on current activity. That simple status label helps you avoid opening accounts without a clear reason. Expected outcome: a clear account decision sheet. Red flag: opening accounts without a maintenance plan.
- Step 3: Set
GST/HSTinvoice behavior only after account decisions are clear.
Your invoice template should reflect confirmed CRA setup. Lock entity name, tax fields, and GST/HST handling in one template. If treatment is unclear, pause rollout until confirmed. Once confirmed, update all active templates at the same time so old versions do not stay in circulation. Expected outcome: one invoice template that matches current tax setup. Verification checkpoint: invoice fields and CRA setup notes are consistent.
- Step 4: Use
Guide T4002andGuide RC4022as your reporting baseline.
Use Guide T4002 for self-employed business income reporting expectations and Guide RC4022 for GST/HST registrant expectations where relevant. Record what documents you keep, where they live, and what you review on a recurring basis. Keep this record short and practical so you can actually follow it each month. Expected outcome: a reporting baseline you can follow. Failure mode to avoid: rebuilding records only at filing time.
- Step 5: Run a recurring compliance check tied to your evidence folder.
Review BN and program account status, invoice consistency, and record completeness on a fixed cadence. Keep each dated checklist with your formation and governance records. Verification checkpoint: each review ends with an updated checklist and document log.
Build a Clean Operating System for the First 30 Days#
Your CRA setup is much easier to execute when daily records stay aligned. In your first 30 days, use one rule: if a payment, invoice, or account action is not documented, treat it as unresolved.
Use the CRA small business checklist as your baseline, including its startup guidance on business structure and first-time registration, and keep first-month controls in the same location as your core business records. This keeps your legal records and operating records connected from day one.
- Step 1: Keep one consistent record flow from day one.
Use one banking record stream, one invoice tracker, and one reconciliation log tied to business details. This is an operating control, not a legal claim about mandatory separate banking. Keep naming and account labels consistent so records are easier to reconcile later. Expected outcome: every incoming and outgoing amount is logged with support. Verification checkpoint: no bank entry is missing an invoice, receipt, or short note.
- Step 2: Lock contract and billing details before long-term client work.
Use one approved legal name across contracts, invoices, and payment instructions. Keep invoice tax fields aligned with your current GST/HST setup notes. If you update one template, update all client-facing templates in the same review cycle. Expected outcome: one contract template and one invoice template used across clients. Failure mode to avoid: invoices under one name while contracts and account records use another.
- Step 3: Run a recurring checkpoint for accounts and records.
On a recurring schedule (for example, monthly), review fiscal obligations, CRA program account status, and document completeness in My Business Account. Confirm business number details and account access still match operations, then log open actions with an owner and due date. A recurring log turns loose tasks into visible commitments. Expected outcome: a dated review log with clear next actions. Verification checkpoint: open items carry forward until closed.
- Step 4: If you work cross-border, keep records traceable and flag import/export account needs.
Track payer country, contract entity, invoice currency, payout destination, and settlement date in one place as an internal control. If you import or export goods, include an RM account gate and keep related nine-digit BN-linked identifiers current. Expected outcome: cross-border transactions are traceable from contract to payout, and import/export account details stay current. Red flag: international payments without matching contract, invoice, and account records. If location planning is part of your client strategy, the Ho Chi Minh City digital nomad guide is a relevant companion read.
Common Mistakes and How to Recover Fast#
Fast recovery usually starts with one move: pause external changes until your core records agree. A short pause reduces the chance that one mismatch spreads across contracts, invoices, and account setup.
Mistake: continuing client activity or new filings while records conflict. Recover fast: consider a short freeze on filings, contracts, and tax-setting changes, then reconcile legal name, entity details, and operating records in one pass. Reopen activity after you verify the corrected record set is complete.
Mistake: fixing items one by one without one record trail. Recover fast: use one correction log and one evidence folder, and record what changed, why it changed, and what still needs review. This makes decisions easier to audit and reduces duplicate fixes.
Mistake: acting on unverified guidance. Recover fast: treat outside advice as prompts only, then confirm any decision that affects filings, governance, or tax setup with the relevant authority before acting. If guidance and official direction conflict, follow the official direction and update your notes.
Resume normal operations once your records and current setup are aligned end to end. If you want a structured next action for incorporate in canada freelancer, Browse Gruv tools.
Know What to Verify With a Professional#
Before you file anything new, get a short written decision record from a qualified professional so incorporation, tax setup, and CRA accounts match your real operations. The meeting is most useful when you bring concrete questions and complete records, not broad what-should-I-do prompts.
| Topic | What to confirm | Useful output |
|---|---|---|
| Province-specific duties | Which filings and ongoing obligations apply, how often, and who owns each task | Checklist form so follow-through is easy |
| Tax-return assumptions | How structure affects the returns you must file each year; review Guide T4002 and Guide RC4022, including GST/HST setup questions | A list of decisions, not just discussion notes |
| Evidence-pack quality | Incorporation documents, key corporate records, and current CRA setup status, including BN and program-account details when applicable | Flag the active version if documents conflict |
| CRA accounts and legal assumptions | Whether the business needs a BN and specific CRA program accounts; ask a Canadian corporate lawyer how liability assumptions apply to your setup | One dated summary aligned with records, invoices, and internal processes |
-
Province-specific duties: confirm which filings and ongoing obligations apply to your business, not generic examples. Ask for a plain list of what is required, how often, and who owns each task. Capture the answer in checklist form so follow-through is easy.
-
Tax-return assumptions: confirm how structure affects the returns you must file each year, then review CRA's structure-specific guidance before making decisions. Use Guide T4002 and Guide RC4022 to prepare questions, including GST/HST setup questions. Leave with a list of decisions, not just discussion notes.
-
Evidence-pack quality: bring your incorporation documents, key corporate records, and current CRA setup status, including BN and program-account details when applicable. If documents conflict, flag the active version so advice is usable in one pass. Missing or conflicting records can lead to delayed or conditional advice.
-
CRA account setup and legal assumptions: verify whether your business needs a BN and specific CRA program accounts, since not all businesses do. If you plan to rely on liability assumptions in contract or risk decisions, ask a Canadian corporate lawyer how those assumptions apply to your setup. Write down where your assumptions changed, then finalize one dated summary and align records, invoices, and internal processes right away.
Your Next Step and Copy Paste Checklist#
Use one written checklist to keep worker status decisions, CRA registration, and day-to-day records aligned before you change filings or invoicing. The goal is not to collect more notes. It is to make each decision visible, verifiable, and easy to maintain.
-
Confirm worker status and write the reason. Decide whether the relationship is employee or self-employed based on the facts of the working relationship as a whole, and keep that note with your contracts and records.
-
If status is unclear, request a CRA ruling before proceeding. Either the worker or the payer can ask CRA for a ruling when classification is uncertain.
-
Tie tax handling to that status decision. Employment status directly affects EI entitlement and can also affect treatment under CPP and the Income Tax Act.
-
If it is an employer-employee relationship, set deductions correctly. Employers are responsible for deducting CPP contributions, EI premiums, and income tax.
-
Treat missed CPP/EI deductions as a high-risk exception. If required deductions are missed, the employer can owe both shares plus penalties and interest.
-
Confirm CRA registration items before changing tax behavior. Verify whether you need a
Business Number (BN)and whichCRA program accountsapply through theCanada Revenue Agency (CRA)registration process. Mark each account as now, later, or not needed yet. -
Use the correct CRA registration path, then run a fixed monthly compliance review. Canadian residents with a valid SIN (including temporary SINs that start with
9) use the resident registration path, while non-residents doing business in Canada use the non-resident path. Close each review cycle with an updated checklist and document log. If you want to validate support for your specific country or program, Talk to Gruv.
Frequently Asked Questions
Do freelancers in Canada need to incorporate, or can I stay a sole proprietor?
No. You can run a self-employed business in Canada without incorporating. A sole proprietorship can be valid, and in some cases registration requirements vary by province or territory. Verify local requirements before finalizing setup, and record what you confirmed so you can revisit it if your footprint changes.
When should a freelancer move from `Sole proprietorship` to `Corporation`?
There is no universal revenue threshold in this guidance. Move when creating a company fits how you need to operate and contract. Before changing structure, confirm how that shift changes the tax returns you must file. If you are undecided, set a review trigger tied to client requirements or contract risk.
What changes immediately after incorporation for taxes and paperwork?
After incorporation, you operate through a corporation that is legally separate from its owners. Structure affects the type of tax returns filed each year. Keep records and account setup aligned with that structure before continuing normal invoicing and filing. Update templates and internal records together so old information does not keep circulating.
How do I choose between `Federal incorporation` and `Provincial incorporation`?
There is no one-rule answer in this FAQ. Confirm the filing path with the relevant registry and a qualified professional based on where and how you operate. Use that confirmed path before submitting documents. Keep your choice rationale in writing so later onboarding decisions stay consistent.
What are the first `Canada Revenue Agency (CRA)` steps after incorporation?
Start by confirming whether you need a Business Number and which CRA program accounts apply, since not all businesses need the same setup. Then confirm how structure affects annual tax-return obligations. Record those decisions so reporting follows the same assumptions.
Do I always need `GST/HST` registration as a newly incorporated freelancer?
Do not assume yes. This article does not support a blanket rule that incorporation always requires immediate GST/HST registration. Confirm your status against current CRA guidance for your setup before changing invoice tax settings. Keep the confirmation date in your records so future reviews have a clear starting point.
Try a related tool
Researched and edited by the Gruv editorial team. Gruv builds cross-border billing, payouts, and finance-operations software for global businesses.
Sources
Includes 3 external sources outside the trusted-domain allowlist.
- oecd.org/content/dam/oecd/en/publications/reports/201...trusted
- sec.gov/Archives/edgar/data/1762301/0001047469190031...trusted
- businessminding.com/federal-vs-provincial-incorporation-a-guide-...external
- homebusinessmag.com/money/taxing-times/ultimate-tax-checklist-ca...external
- montrealassociates.com/uk/resources/blog/canadian-federal-vs--provi...external
Educational content only. Not legal, tax, or financial advice.
Related Posts

Sole Proprietorship vs LLC for Global Freelancers in 2026
For most freelancers in 2026, the practical default is still simple: use the simplest structure you can run cleanly, then formalize when risk actually rises. If your work is still in validation mode and the downside is contained, a sole proprietorship is often the practical starting point. When contract exposure, delivery stakes, or dispute risk starts climbing, forming an LLC deserves earlier attention.

Ho Chi Minh City Digital Nomad Guide for a 30-Day Move (2026)
Ho Chi Minh City is a strong base if your priority is keeping work momentum while relocating. You get density, plenty of places to work from, and a social scene that can help you settle quickly. It is a weaker fit if your best days depend on calm streets, easy walking, and long stretches of quiet. In practice, Saigon tends to reward people who want convenience and activity more than retreat pace.

The Best Email Marketing Platforms for Freelancers
Pick the platform you can still run on a busy Thursday, not the one that looks smartest in a comparison chart. For most freelancers, the decision is not about the longest feature list. It is about whether your email setup stays usable when client work piles up, your list grows, and you need to send without babysitting every step.