
Quick Answer
Use a three-stage operating cycle to handle difficult airbnb guests: screen before accepting, run each incident through one factual on-platform message flow, then close with a claim-ready file and a process update. Keep key rule confirmations in the booking thread, collect evidence before cleanup, and escalate by trigger condition rather than frustration. This approach reduces guesswork and gives you cleaner records for support review.
Your property may perform like a strong asset, but every accepted booking still introduces one variable you do not fully control: the guest. Even experienced operators feel that tension. The answer is not better luck. It is better process.
The shift is from reactive host to asset manager. A host hopes a stay goes smoothly; an asset manager builds conditions that make good outcomes more likely and makes incidents easier to manage when they do not.
Fortification, Control, and Recovery give you a practical way to screen risk, respond to problems, and improve your defenses after each incident. Used together, they turn an unpredictable part of hospitality into a more predictable business process.
Stage 1: The Fortification Phase - Building Your Defenses Before the First Message#
Fortification starts before you accept the reservation. Reduce avoidable risk before a booking is confirmed, and build a clean on-platform record you can rely on later.
Set booking filters with a clear pass or fail#
Set booking filters that produce a clear pass/fail. If you use Instant Book, set the guest requirements there. Airbnb ties options like good track record and a pre-reservation message to Instant Book.
Pass signals: the guest meets your requirement, answers your preset question directly, and confirms trip details clearly. Fail signals: evasive replies, conflicting trip details, or refusal to respond in the Airbnb thread. Verification point: keep the full exchange on-platform and apply the same criteria consistently without using protected characteristics.
Write rules you can enforce and quote#
Use rule clauses you can enforce and reference. Rules only help if you can point to them later. Write house rules in plain language so expectations are visible during booking and in automated guest communications. Guests must agree to house rules before booking. Keep core clauses specific: occupancy limits, undeclared guests, smoking, quiet hours, and no parties or events when applicable.
Some clauses depend on current platform rules or local enforceability. Keep those clauses pending until they have been checked, and do not treat them as operational controls until that review is complete.
Use prevention devices that support compliance#
Use prevention devices that support policy compliance. Prevention tools should back up your rules, not replace them. Use access controls and noise monitoring in a way that matches Airbnb rules. Noise decibel monitors measure sound level and duration, not conversations. As of April 30, 2024, indoor security cameras and hidden cameras are not allowed in homes, and indoor decibel monitors must be disclosed. Do not require guests to use another website or app just to physically access the listing.
| Control | Risk blocked | Evidence trail created | Common failure point |
|---|---|---|---|
| Screening criteria | Poor-fit reservations | Booking settings + message responses | Inconsistent use across guests |
| Rule clause | "I didn't know" disputes | House rules shown during booking + pre-stay communications | Vague wording or unverified local enforceability |
| Device alert | Sustained disturbance or access misuse | Disclosed noise-monitor alerts | Missing disclosure or weak alert setup |
| Message confirmation | Later denial of agreed terms | Timestamped Airbnb message acknowledgment | Moving key discussion off-platform |
Get written acknowledgment before you accept#
Get written acknowledgment before acceptance. Before you accept, ask the guest to confirm the key rules in the Airbnb thread.
| Step | Action |
|---|---|
| 1 | Send the preset question |
| 2 | Review responses |
| 3 | Check guest details |
| 4 | Get acknowledgment of key rules on-platform |
| 5 | Confirm local compliance where required |
| 6 | Accept |
That documented handoff is what Stage 2 depends on.
Stage 2: The Control Phase - Your SOP for In-Stay Incident Response#
When an incident starts, your job is to de-escalate, document, and preserve clear records. Pressure makes inconsistency expensive, which is why a written SOP and disaster plan matter here.
Stage 1 gave you the rules and acknowledgments. Stage 2 is where you apply them under pressure and keep the record clean.
Stabilize first and create one written record#
Stabilize first, then create one clear written record in the booking thread (or your system of record). If you need a quick call or in-person check for a time-sensitive issue, do that first. Then post a short recap right away: what you observed, which rule applies, what correction you requested, and the deadline. Use observable facts, not labels. A reviewer should be able to follow the timeline without guessing.
Use one repeatable incident message#
Use one repeatable message framework every time. A consistent order keeps your communication clear, reduces back-and-forth, and supports escalation if the issue continues. Keep each incident message in this order:
| Order | Message part |
|---|---|
| 1 | Issue observed |
| 2 | Rule referenced |
| 3 | Required correction |
| 4 | Consequence path |
| 5 | Confirmation request |
Collect evidence by incident type#
Collect evidence by incident type, not by habit. Create one reservation folder the same day. Save thread screenshots, photos, notes, invoices, and relevant tool records while details are still fresh. If a claim may be needed, verify the current filing window and requirements before submitting.
| Incident type | Proof to collect now | Why it helps support review |
|---|---|---|
| Noise or disturbance | Message timestamps, complaint notes, alert screenshots (if you use monitoring tools), lawful photos where applicable | Shows the issue was time-specific and raised promptly |
| Occupancy or access issue | Guest-count confirmation messages, access-log anomalies (if available), factual thread recap, lawful photos where appropriate | Connects the issue to a specific reservation term |
| Damage or excessive cleaning | Wide and close photos, dated walkthrough notes, before/after comparisons if available, repair estimates or itemized invoices | Separates normal wear from stay-specific loss and supports amount requested |
| Safety incident or suspected crime | Thread updates, safe-to-capture photos, witness or responder names and times, official report if available | Establishes timeline and shows safety-first handling |
Escalate by trigger condition#
Escalate by trigger cues, not frustration. Use this operating matrix as an SOP template, then adapt it to incident severity, platform terms, and local requirements.
| Trigger condition | Immediate action path | Move to next level when |
|---|---|---|
| First low-severity breach, no immediate safety risk | Send written warning in-thread using the five-part framework; request confirmation | No correction, no reply, or repeat behavior |
| Repeat breach, refusal to cooperate, or meaningful property impact | Open platform support case; submit one clear chronology with attached evidence | Risk increases or facts indicate active harm |
| Immediate safety, medical, fire, or active suspected crime | Contact local emergency services first; then post factual platform recap | Continue platform coordination after urgent response is underway |
Do not rely on assumptions about removal or occupancy enforcement. Confirm local occupancy or removal rules with local counsel.
If an incident forces urgent vendor payments, standardize the flow so every payout has clear status and a traceable record with Gruv Payouts.
Stage 3: The Recovery Phase - Maximizing Claims and Reinforcing Your System#
Your objective in Stage 3 is to close the incident with two outputs: a claim-ready file and a stronger prevention setup for next time. You are not only trying to recover costs. You are also protecting credibility and making future incidents less likely.
By this point, you already have the record. Now turn it into a clean Resolution Center submission, then feed the lessons back into Stage 1.
Build one complete claim file before you submit#
Build one complete claim file before you submit. Start with evidence, not emotion. Your file should make sense to a third party without extra explanation.
| File item | Details |
|---|---|
| Photos | Property condition and specific issues |
| Written records | Guest interactions |
| House rule | The relevant house rule or rules |
| Short chronology | Discovery time, in-thread notice, correction deadline, checkout status, and when proof was collected |
| In-thread recap | Any in-thread recap of urgent off-platform calls from Stage 2 |
Follow the Resolution Center flow in the platform account rather than relying on copied timing notes. Published timelines can change, so verify the active claim window and response steps before you submit.
Map each claim component to the proof it needs#
Map each claim component to required proof. To avoid partial-proof problems, map each part of the claim to support before you submit.
| Claim component | Required support | Helpful optional support | Common weakness |
|---|---|---|---|
| Damage proof | Clear photos of the item or area plus dated notes on discovery | Before and after photos, walkthrough video, inspection note | Only broad photos, or photos taken after cleanup or repair |
| Cost proof | Itemized invoice, receipt, or repair estimate tied to the issue | Comparable replacement listing when receipt is unavailable | One lump-sum total with no breakdown |
| Rule breach proof | Relevant house rule plus booking-thread message where you cited it | Listing excerpt, check-in instructions, dated complaint notes | Rule was not clearly written or shared |
| Guest acknowledgment | Booking-thread message confirming, or not disputing, the issue or rule | Pre-arrival rule confirmation, checkout admission message | Reliance on memory or verbal-only exchanges |
| Timeline | Timestamped thread messages, checkout time, walkthrough notes, invoice dates | Lawful access-log anomalies or third-party timestamps | Gaps that weaken stay-specific attribution |
If your claim includes damage, rule breach, and extra cleaning, present it in that order: what happened, which rule was breached, and what it cost.
Write your review as a factual summary#
Write your review as a factual incident summary, not a verdict. State only what you can document so your review stays consistent with your dispute file and useful to other hosts.
Do:
- State observable behavior, dates, times, and operational impact
- Note concrete outcomes such as late checkout, extra cleaning, unauthorized visitors, or documented damage
Do not:
- Guess intent or use insulting labels
- Use exaggerated language that your evidence does not support
Run the post-incident loop right away#
Run a post-incident loop and update Stage 1 immediately. If you skip this step, you may miss preventable repeat patterns.
Use this five-part loop each time:
- Incident pattern: name it in one line.
- Root cause: state the likely driver.
- Control failure: identify where your process broke, such as screening, rules, messaging, lock settings, or escalation speed.
- Update: change one policy, tool, or process.
- Stage 1 integration: apply that change to your settings and templates.
Example: if no prior review history appears to align with higher risk in your case, treat review history as a screening input in future decisions. In one published case narrative, having no prior Airbnb reviews was described as a warning sign. Your update might be stricter acceptance criteria, a required trip-purpose message, or clearer pre-booking acknowledgment on guest-count and visitor limits.
Target outcome: one closed incident, one system improvement, and one fewer blind spot next time.
From Anxious Host to Confident Operator: Your System is Your Shield#
To handle difficult Airbnb guests with less guesswork, run Fortification, Control, and Recovery as one repeatable operating cycle.
| Stage | Reactive host behavior | Operator behavior |
|---|---|---|
| Fortification | Relies on memory, updates rules only after a bad stay | Keeps legal and financial setup, region-specific compliance checks, guest agreements, house rules, inventory, and damage protocols current before check-in |
| Control | Reacts emotionally, leaves gaps across calls and messages | Sends a factual platform-thread message, logs timestamps, and verifies local process details before escalation |
| Recovery | Cleans first, reconstructs events later | Captures evidence before cleanup, ties each cost to proof, and feeds lessons back into rules and reminders |
Fortification#
What you do now: Before the next booking, review your baseline documents so a third party can understand property condition, guest limits, and your evidence process. What this helps prevent: Disputes tied to vague expectations and missing records.
Control#
What you do now: When an incident starts, send one calm, factual message in the platform thread, quote the rule, state the required fix, and record timing. If you communicate off-platform, add a brief in-thread recap and verify local enforcement steps on an official authority site, such as a .gov site where applicable. What this helps prevent: Timeline gaps that can slow escalation decisions.
Recovery#
What you do now: Build an evidence pack before cleanup with photos, timestamps, message history, the related rule, and itemized receipts, invoices, or estimates. Then update the weak point in Fortification or Control first. What this helps prevent: Weak claim files and repeat incidents from the same process gap.
90-day review checklist#
Use a 90-day cycle to turn lessons into process updates, especially as patterns appear across your first five properties or first few difficult incidents.
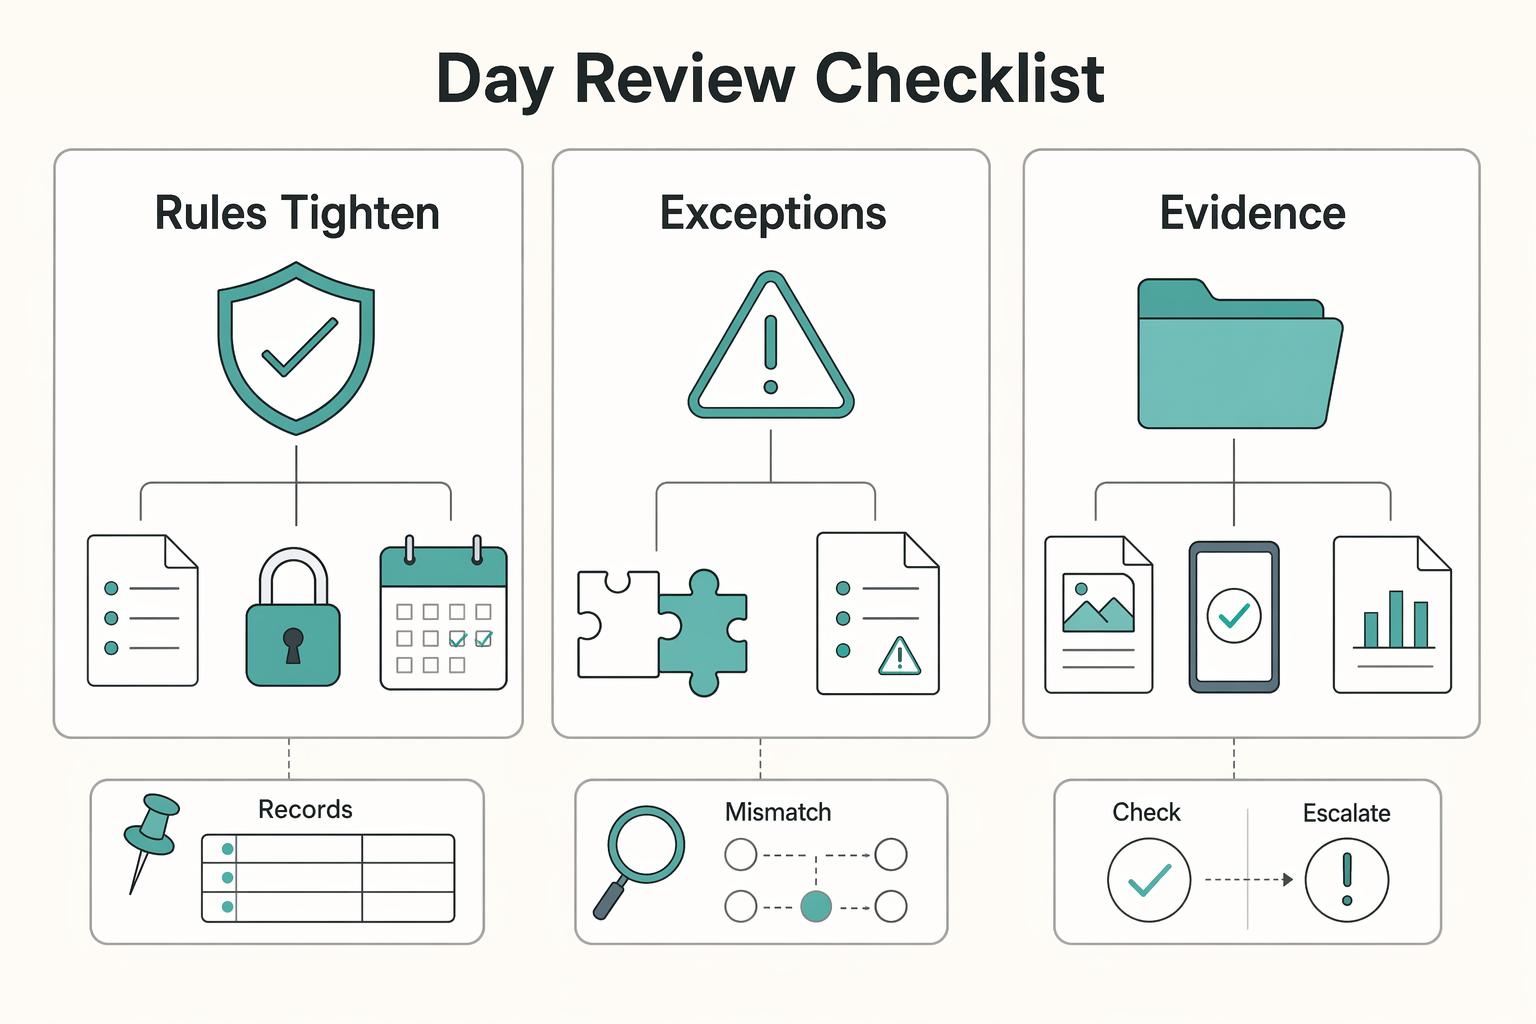
- Rules: tighten guest count, visitors, parties, smoking, quiet hours, and checkout wording, and verify current local policy details.
- Templates: maintain a first-warning template and a checkout or overstay template, and verify the current platform escalation flow.
- Evidence workflow: confirm photo sequence, file naming, receipt storage, and inventory updates before each turnover.
- Feedback loop: after each incident, record what changed in screening, reminders, or documentation, then apply it in the next cycle.
For a step-by-step walkthrough, see How to Handle a Negative Review on Airbnb.
If you want this risk playbook to run like an actual system, map your process and controls in the Gruv docs.
Frequently Asked Questions
What is the very first thing I should do when I realize a guest is a problem?
Start with a calm, factual message in the Airbnb thread so you create a usable record. State what happened, quote the relevant house rule, and tell the guest exactly what to do and by when. If you speak off-platform, post a short recap in-thread right after so your timeline stays complete.
What should I do if a guest will not leave at checkout?
Document the overstay immediately and keep all notices in the message thread. Then confirm the correct local removal process before taking action, because checkout enforcement rules can vary by jurisdiction. Keep timestamps for scheduled checkout, your notice, and the guest response. If safety is at risk, contact emergency services.
How do I create a damage claim that has a real chance of approval?
Build a complete file before submitting: clear photos, message history, the related house rule, a short timeline, and available cost documentation. Capture evidence before cleanup, tie each cost line to a specific issue, and make sure a third party can follow the story without extra context. Then follow the platform's current claim flow and verify the active claim window before you submit.
Which tools actually help prevent parties and other difficult guest incidents?
Choose tools by outcome: screening helps filter poor-fit bookings, automated reminders reinforce rules, and message history gives you records you can use in disputes. If you manage more than five short-term rentals, manual profile screening can become impractical, but automation can still miss bad actors. Keep a human backstop, such as a trusted neighbor or local contact, who can confirm unusual activity if a complaint escalates.
What should be in my house rules so they actually help in a dispute?
Focus rules on high-risk behaviors: guest count, visitors, parties or events, quiet hours, smoking, and checkout expectations. Write each rule so you can quote it in one clear sentence later, because vague wording weakens evidence. Repeat the same key limits in pre-arrival reminders to reduce "I didn't know" disputes.
Try a related tool
Researched and edited by the Gruv editorial team. Gruv builds cross-border billing, payouts, and finance-operations software for global businesses.
Sources
Includes 4 external sources outside the trusted-domain allowlist.
- pmc.ncbi.nlm.nih.gov/articles/PMC8897618trusted
- pmc.ncbi.nlm.nih.gov/articles/PMC8907882trusted
- scholarship.law.tamu.edu/cgi/viewcontent.cgitrusted
- sec.gov/Archives/edgar/data/1803112/0001193125212664...trusted
- airbnb.com/help/article/3061external
- airbnb.com/help/article/484external
- arxiv.org/pdf/2507.21117external
- golocalvr.com/blog/difficult-airbnb-guests-and-how-to-hand...external
Educational content only. Not legal, tax, or financial advice.
Related Posts

Thailand's Long-Term Resident (LTR) Visa for Professionals
For a long stay in Thailand, the biggest avoidable risk is doing the right steps in the wrong order. Pick the LTR track first, build the evidence pack that matches it second, and verify live official checkpoints right before every submission or payment. That extra day of discipline usually saves far more time than it costs.
Canada Digital Nomad Visa Planning for Visitor Status and Work Permits
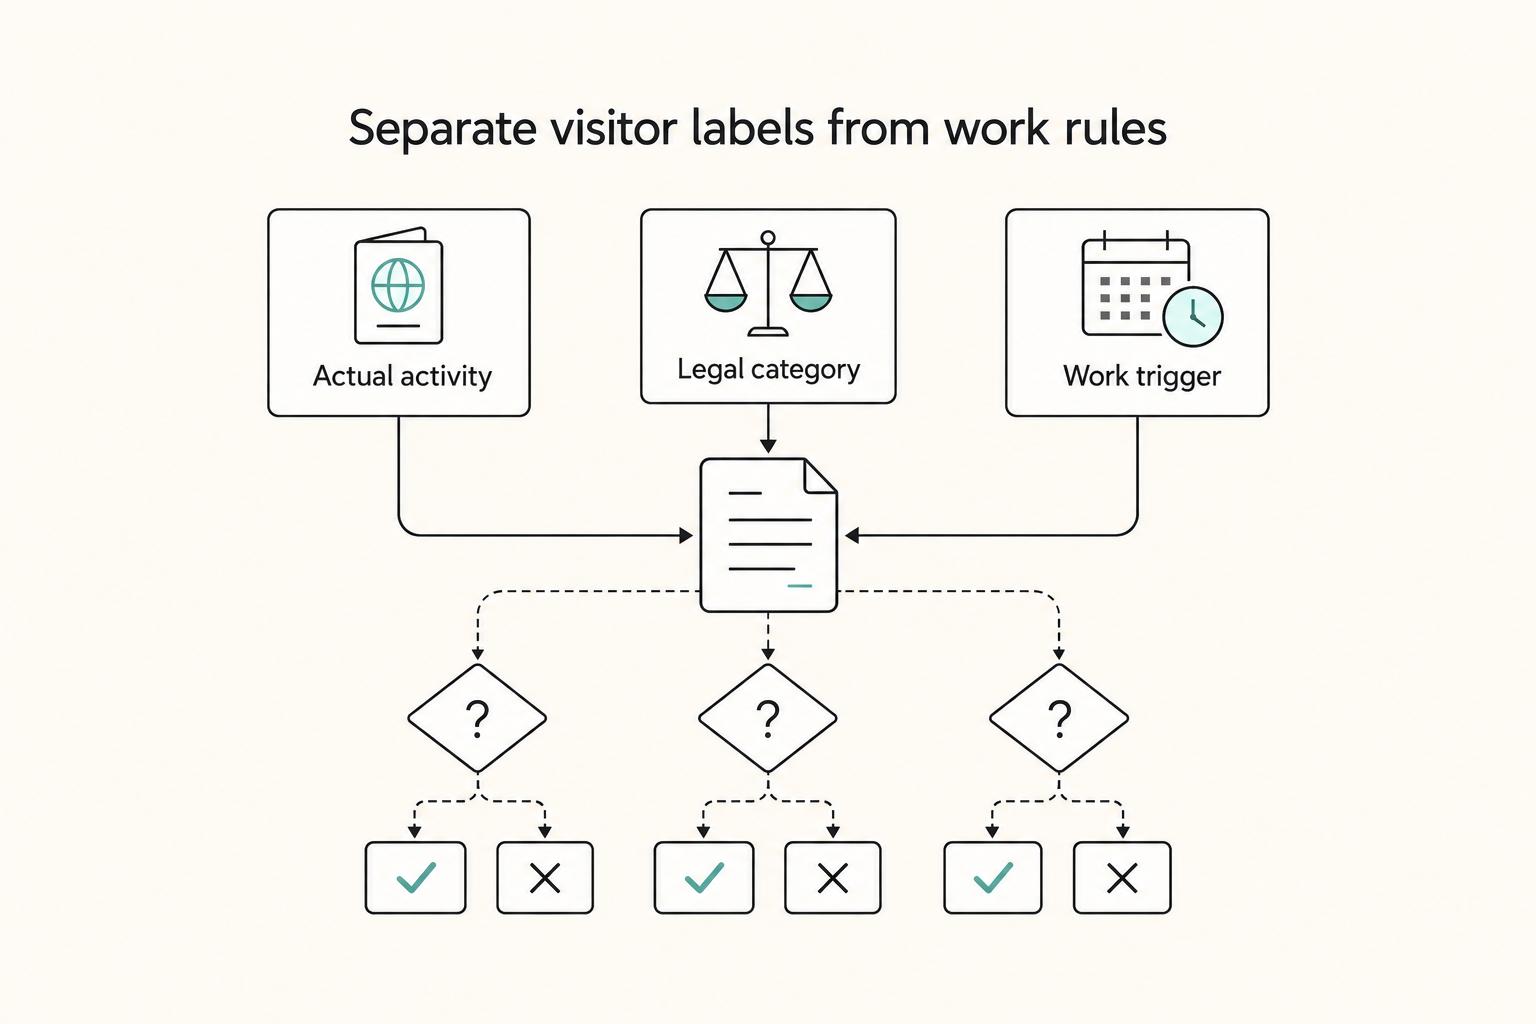
The phrase `canada digital nomad visa` is useful for search, but misleading if you treat it like a legal category. It is shorthand for existing Canadian status options, mainly visitor status and work permit rules, not a standalone visa stream with its own fixed process. That difference is not just technical. It changes how you should plan the trip, describe your purpose at entry, and organize your records before you leave.
The Pros and Cons of Short-Term vs. Long-Term Rentals
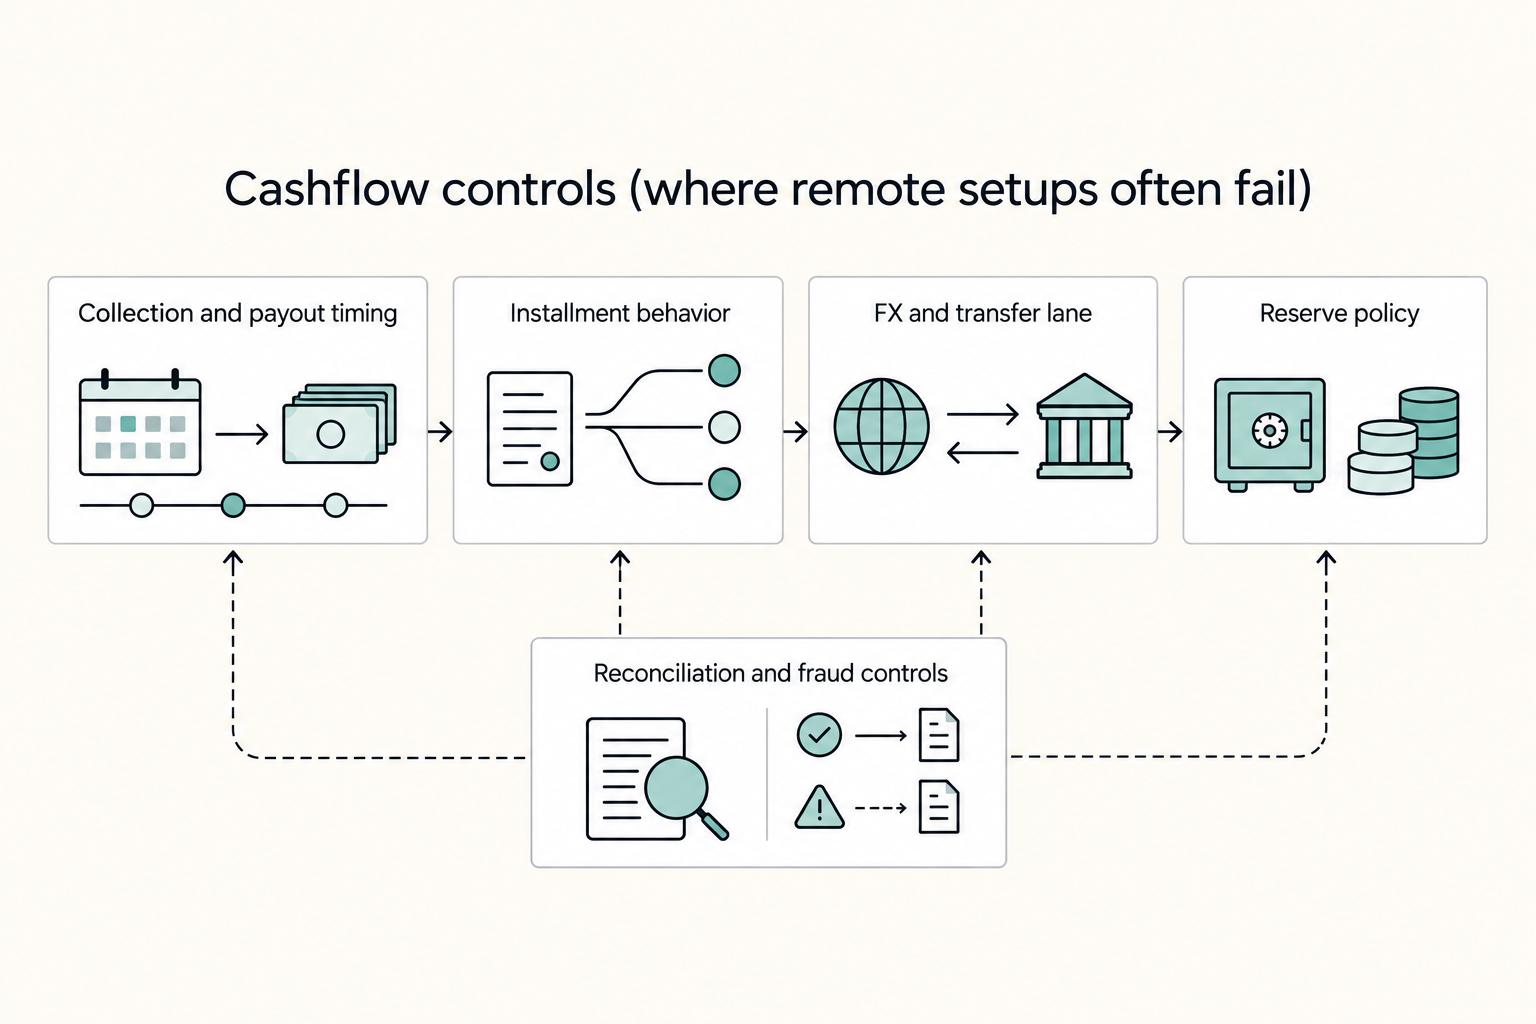
You are probably not chasing the biggest headline revenue number. You want rent that arrives, stays collected, and does not turn into a second job or a cross-border tax headache. For an owner living internationally, the real choice between a short stay and a long-term lease is about risk first. Which model gives you lower compliance exposure, less remote operating drag, and more cash left after fees, taxes, and reporting?