
Quick Answer
To find a doctor abroad, use a repeatable playbook instead of searching ad hoc in a stressful moment. Prepare your records before departure, run an urgency gate when symptoms appear, choose the fastest qualified channel, and keep a backup route ready. Before booking, verify coverage and payment terms, then leave with complete visit and payment records so follow-up and reimbursement stay manageable.
Your doctor abroad playbook for the moments that usually trigger panic#
| Phase | Primary objective | Success check |
|---|---|---|
| Before departure | Build your care file and fallback routes | You can access key records offline |
| First month abroad | Set up local care options before you need them | You have primary and backup options |
| Active health event | Route fast, book fast, document everything | You move from search to treatment without rework |
To find a doctor abroad under pressure, run a simple system with clear decision gates, clean documentation, and backup paths. You are not hunting random listings. You are running a repeatable process you can use for routine care, travel disruptions, and true emergencies.
Anxiety is your body's response to an actual or perceived threat. When it spikes on the road, treat it as a signal to run the checklist, not as proof you are doing something wrong.
| Phase | Primary objective | Success check |
|---|---|---|
| Before departure | Build your care file and fallback routes | You can access key records offline |
| First month abroad | Set up local care options before you need them | You have primary and backup options |
| Active health event | Route fast, book fast, document everything | You move from search to treatment without rework |
Step 1. Build your timeline. Decide what you will do in each phase before stress hits. This becomes your personal health control panel.
Step 2. Run the triage gate. If symptoms feel severe, escalate to emergency care first. If symptoms feel urgent but stable, book the fastest qualified channel. If care can wait, choose the provider that gives you the best continuity for follow-up.
Step 3. Lock documentation discipline. Keep one folder with ID, insurance details, medication list, and emergency contacts. If you use travel insurance, store your policy details in that same folder so you do not split information across apps. When you rely on official U.S. guidance, confirm a .gov domain and an HTTPS lock before you act.
Step 4. Pre-plan recovery moves. Assume one channel will fail and decide your backup now. Example: you start with a remote consult, hit a language mismatch, then switch to your preselected local clinic route with your documents ready.
Copy paste checklist#
- Define your three-phase care timeline.
- Set one primary route and one backup route for each phase.
- Keep insurance, meds, and contacts in an offline-ready file.
- Verify official pages with
.govand HTTPS before acting. - Use triage first, booking second, payment proof third.
- Keep this playbook open whenever you need to find a doctor abroad.
Related reading: The Crypto Cautionary Tale: Why Freelancers Should Be Wary of Crypto Payments.
What should you prepare before you search for a doctor abroad?#
Prepare a pressure-ready packet before you search, so you can find a doctor abroad fast when stress is high. The goal is simple: do the setup once, then reuse it whenever you need care.
Before you start#
| Packet item | What to capture now | Verification point |
|---|---|---|
| Identity and insurance | Insurance ID, policy numbers, passport copy | You can open files offline on phone and laptop |
| Clinical essentials | Medication list and active prescriptions | You can show this in under one minute |
| Emergency routing | Emergency contacts and insurer support line | You know who to call first |
Treat this as risk control. Build your travel health kit before departure, and include items that may be hard to find after arrival. If travel vaccines are part of your move plan, align this packet with A Guide to Travel Vaccinations for Digital Nomads.
| Packet item | What to capture now | Verification point |
|---|---|---|
| Identity and insurance | Insurance ID, policy numbers, passport copy | You can open files offline on phone and laptop |
| Clinical essentials | Medication list and active prescriptions | You can show this in under one minute |
| Emergency routing | Emergency contacts and insurer support line | You know who to call first |
-
Assemble core records. Put your insurance ID, policy numbers, medication list, and emergency contacts in one folder. Save it in two offline accessible locations. Expected outcome: You can share the full packet without internet.
-
Check medication rules before packing. Some countries restrict what medications travelers can bring. Check the U.S. Embassy for the country you are traveling to, then save those pages for quick access. Expected outcome: You avoid airport or pharmacy surprises.
-
Confirm your insurer route in plain language. From your own policy materials, note your login path, support contact, and any claim documents you may need. Expected outcome: You can explain your first insurance step in one sentence.
-
Separate immigration exams from normal care. Use USCIS policy resources for immigration context, and keep routine doctor searches on a separate track. If you check regulatory notices, verify against official legal editions before acting on Federal Register prototype text. Expected outcome: You avoid booking the wrong appointment type.
The win here is speed without chaos. When you wake up sick abroad, you open one folder, choose the right channel, and book care without rework.
How do you choose the right care channel in 10 minutes?#
Start with urgency, then pick the channel that matches what you actually need. A simple decision sequence plus a small "prep packet" helps you move fast without overthinking.
Run this decision sequence#
| Situation | Primary channel | Backup channel |
|---|---|---|
| Severe symptoms | Emergency services or hospital | Insurer support in parallel |
| Urgent but stable | Telehealth first | In-person clinic |
| Unclear digital listings | Local official resources or insurer support | Embassy/consulate guidance if available |
-
Step 1. Run the urgency gate. If you think it may be an emergency or symptoms feel severe, contact local emergency services or go to the nearest hospital now. Don't burn time comparing apps or ratings.
-
Step 2. Route non-emergency care by context. For a quick consult, consider telehealth. For hands-on exams, imaging, or procedures, book an in-person clinic. Choose the option that fits the situation and is actually available where you are.
-
Step 3. Confirm provider fit before you pay. Match specialty to symptom, confirm language comfort, and confirm visit format (telehealth vs clinic, and any on-site visit options if offered).
-
Step 4. Use fallback channels if digital options stall. If one platform can't book you, switch to whatever reliable resources you've saved (for example: insurer support, local health resources, or embassy/consulate guidance where available).
-
Step 5. Run a confidence gate. Scan independent reviews for pattern risks, then validate key details directly with the clinic. Treat ratings as a screening input, not clinical proof.
| Situation | Primary channel | Backup channel |
|---|---|---|
| Severe symptoms | Emergency services or hospital | Insurer support in parallel |
| Urgent but stable | Telehealth first | In-person clinic |
| Unclear digital listings | Local official resources or insurer support | Embassy/consulate guidance if available |
Hypothetical example: you wake with escalating pain. The telehealth slot fails, so you switch to your fallback list in minutes. You book care and arrive with your documents ready.
If you want a deeper dive, read The 2025 Global Digital Nomad Visa Index: 50+ Countries Compared.
How do you set up your first 30 days abroad without scrambling later?#
Set up a simple, reusable care setup in your first month, and you will stop scrambling when symptoms hit. You already know how to triage and choose a channel. Now you turn that into local infrastructure you can reuse, even under pressure.
Before you start#
| Packet item | What to capture now | Verification point |
|---|---|---|
| Identity and insurance | Insurance ID, policy numbers, passport copy | You can open files offline on phone and laptop |
| Clinical essentials | Medication list and active prescriptions | You can show this in under one minute |
| Emergency routing | Emergency contacts and insurer support line | You know who to call first |
Create one working file that you can open offline. Keep provider contacts, booking notes, and post-visit records in one place. When you save U.S. government reference pages, look for a .gov domain and an HTTPS connection.
Step by step for your first 30 days#
| Setup step | What to do | Expected outcome |
|---|---|---|
| 1 | Map your local care options | You can pick a route quickly for routine issues, sudden pain, or emergencies |
| 2 | Validate your plan assumptions from your own policy documents | You stop guessing what your plan allows and who to contact first |
| 3 | Store two booking paths for each care type | You keep momentum when one channel fails |
| 4 | Keep your own visit notes and documents | Your next visit starts with context, not repeated intake |
| Care type | Route A | Route B | Switch rule |
|---|---|---|---|
| Primary care | Plan or assistance support path (if available) | Pay-direct clinic | No timely appointment |
| Dental | Plan or assistance support path (if available) | Pay-direct dentist | Coverage unclear at booking |
| Urgent issue | Plan or assistance support path (if available) | Nearest urgent clinic or hospital | Delay increases risk |
-
Map your local care options. Identify a few realistic options you can actually reach, including the kinds of care you're most likely to need (for example primary care, dental, and urgent help). Expected outcome: You can pick a route quickly for routine issues, sudden pain, or emergencies.
-
Validate your plan assumptions from your own policy documents. Record the exact member support path and any booking requirements shown in your documents. Expected outcome: You stop guessing what your plan allows and who to contact first.
-
Store two booking paths for each care type. Keep one route that goes through your insurer or assistance process (when applicable) and one pay-direct route, then define your switch rule.
| Care type | Route A | Route B | Switch rule | | --- | --- | --- | --- | | Primary care | Plan or assistance support path (if available) | Pay-direct clinic | No timely appointment | | Dental | Plan or assistance support path (if available) | Pay-direct dentist | Coverage unclear at booking | | Urgent issue | Plan or assistance support path (if available) | Nearest urgent clinic or hospital | Delay increases risk |
Expected outcome: You keep momentum when one channel fails.
- Keep your own visit notes and documents. Save what you can from each visit (your summary, meds, follow-up instructions, and any billing or payment records you receive) so you're not rebuilding the story under stress. Expected outcome: Your next visit starts with context, not repeated intake.
Hypothetical example: you wake up with a sharp dental problem, and your first clinic cannot see you. You switch to your backup route immediately because your records and contact list are already in place.
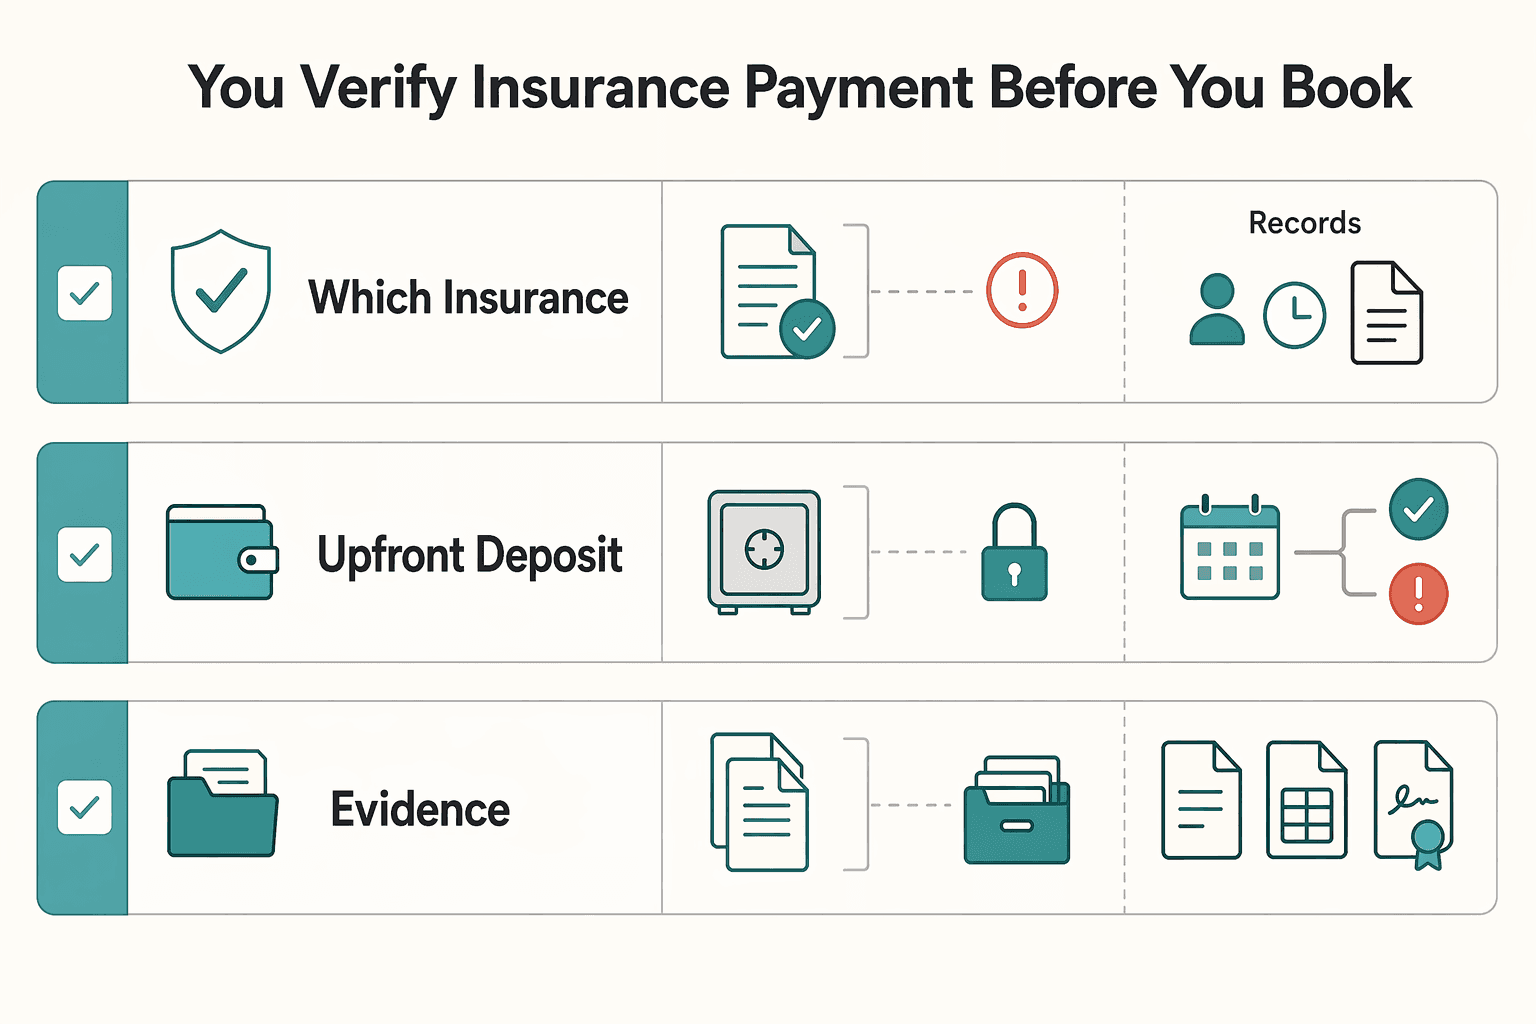
How do you verify insurance and payment before you book?#
| Booking question | Why it matters | What to record |
|---|---|---|
| Which insurance plans do you accept for this visit type? | Clinics may accept a brand name but reject your exact plan or process. | Staff name, timestamp, exact wording |
| What upfront deposit do you expect before treatment? | Deposit rules change by clinic and visit type. | Deposit condition and trigger point |
| Which reimbursement documents do you issue after the visit? | Claims can fail when documentation is incomplete. | Document names and delivery timing |
Verify coverage and payment terms before you confirm the appointment, so you control cost risk and still get timely care. This is how you avoid turning a health problem into a billing problem.
- Step 1. Ask the three booking questions every time.
| Booking question | Why it matters | What to record | | --- | --- | --- | | Which insurance plans do you accept for this visit type? | Clinics may accept a brand name but reject your exact plan or process. | Staff name, timestamp, exact wording. | | What upfront deposit do you expect before treatment? | Deposit rules change by clinic and visit type. | Deposit condition and trigger point. | | Which reimbursement documents do you issue after the visit? | Claims can fail when documentation is incomplete. | Document names and delivery timing. |
Expected outcome: You can compare providers on payment risk, not just appointment speed.
-
Step 2. Verify your plan against official materials, not memory. Check your current plan documents and your exact coverage terms before you book. Match what the clinic says against your plan language and your member support process. Treat travel medical coverage and general travel insurance as separate checks, because travel insurance doesn't necessarily include health insurance, so it's important to read the conditions or restrictions carefully. Expected outcome: You stop assuming coverage and start making book-now decisions from confirmed rules.
-
Step 3. Set a non-coverage default if Medicare is your base coverage. Plan as if you will self-pay abroad in most cases. Medicare generally does not cover care outside the U.S., and limited foreign-hospital exceptions exist only in specific scenarios. Build your workflow around reimbursement readiness, not guaranteed direct billing. Expected outcome: You avoid treatment delays caused by coverage assumptions that fail at check-in.
-
Step 4. Build an audit-ready reimbursement file before you leave the clinic. Collect an itemized invoice and proof of payment, plus any clinical documentation the clinic can provide for what was done and why. If a visit shifts from simple care to additional procedures, this record set keeps your claim cleaner and your follow-up easier. Expected outcome: You can submit claims quickly and respond to disputes with a complete record.
-
Step 5. Approve treatment scope in writing before add-ons or referrals. Ask the clinic to confirm what is included in today's billed scope and what requires separate approval. Lock this in writing before labs, imaging, or specialist referrals get added. Expected outcome: You prevent billing drift and keep control of what you authorize.
What changes when you need a dentist abroad instead of a doctor?#
| Checkpoint | General care default | Dental care default |
|---|---|---|
| Provider fit | Confirm broad specialty fit | Confirm procedure-specific dental fit |
| Visit structure | Often can be handled in one visit | Split diagnostics and treatment when feasible |
| Financial control | Approve visit scope | Approve materials, add-ons, and follow-up terms |
Use your usual booking workflow, but tighten specialty checks and stage decisions where you can before you approve dental work. Dental treatment may require follow-up sooner than you expect, so you want more control upfront.
Dental care abroad often falls under medical tourism (travel to another country for treatment), which can include cosmetic and dental procedures. People may choose care abroad for lower cost or quicker access, but serious complications are still possible. Treat dental bookings as higher-commitment work, not routine admin.
| Checkpoint | General care default | Dental care default |
|---|---|---|
| Provider fit | Confirm broad specialty fit | Confirm procedure-specific dental fit |
| Visit structure | Often can be handled in one visit | Split diagnostics and treatment when feasible |
| Financial control | Approve visit scope | Approve materials, add-ons, and follow-up terms |
-
Step 1. Verify procedure-specific dental expertise. Ask what exact procedure the dentist performs regularly, then confirm the clinic can document diagnosis, treatment plan, and aftercare instructions in writing. This protects continuity if you move between cities. Expected outcome: You book a provider based on procedure fit, not only availability.
-
Step 2. Confirm dental pathways in your own booking channels. Check your plan materials and any assistance or routing options you use (if available) for your current location before you commit. Do not assume a general doctor pathway automatically covers dental routing. Expected outcome: You choose a booking path that matches your real coverage and workflow.
-
Step 3. Stage treatment into two decisions when possible. Request one visit for diagnostics and one for treatment, so you can review findings and compare a second opinion before irreversible work (when clinically appropriate). Hypothetical example: a clinic recommends immediate cosmetic work, and you pause, collect records, and confirm necessity first. Expected outcome: You keep decision control before permanent treatment.
-
Step 4. Escalate fast when trust breaks. If communication fails, records stay unclear, or provider legitimacy feels uncertain, switch to your pre-saved embassy or consulate contact information and your backup clinic route. Expected outcome: You keep momentum without gambling on a weak provider.
-
Step 5. Treat elective and cosmetic care as high payment risk. Approve scope in writing before billing starts. Require clear pricing, materials used, and follow-up terms before you authorize add-ons. Keep this standard even outside emergency care. Expected outcome: You prevent payment drift and protect any reimbursement process where applicable.
Which mistakes cause the biggest delays and how do you recover fast?#
| Common delay trigger | Fast recovery move | Verification point |
|---|---|---|
| Mixed immigration and routine care tasks | Split into two tracks immediately | Each task has one owner and one channel |
| Mismatched terminology in messages | Use the right terms for the process you are actually in | Your request matches the correct context |
| Online booking assumptions | Confirm what the visit covers and what records you will receive before you pay | Written confirmation saved in your file |
| Missing payment records | Request corrected records before exit | File includes invoice plus clinical summary |
| Single-option dependency | Keep more than one route to care and follow-up live | You can switch routes quickly |
Recover fast by separating immigration paperwork from routine care, checking official .gov guidance, and locking documentation before you leave each visit. This section is your failure plan for when the process breaks mid-trip.
| Common delay trigger | Fast recovery move | Verification point |
|---|---|---|
| Mixed immigration and routine care tasks | Split into two tracks immediately | Each task has one owner and one channel |
| Mismatched terminology in messages | Use the right terms for the process you are actually in | Your request matches the correct context |
| Online booking assumptions | Confirm what the visit covers and what records you will receive before you pay | Written confirmation saved in your file |
| Missing payment records | Request corrected records before exit | File includes invoice plus clinical summary |
| Single-option dependency | Keep more than one route to care and follow-up live | You can switch routes quickly |
-
Step 1. Separate immigration requirements from day-to-day care. Route immigration requirements to official USCIS guidance on .gov (including the USCIS Policy Manual), and route regular needs to local clinics or telehealth. Do not blend them in one booking thread. Expected outcome: You stop procedural confusion before it delays treatment or paperwork.
-
Step 2. Use process-specific terms only in the right context. Keep immigration-process terminology inside immigration workflows only. For routine visits or emergencies, use normal provider booking language. Expected outcome: You reduce back-and-forth caused by mismatched terminology.
-
Step 3. Verify online availability before you pay. If you book through a platform, confirm the clinician's credentials, what the visit type includes, and what documentation you will receive in writing before prepayment. Save that message with your booking record. Expected outcome: You avoid paying for care that does not match your need.
-
Step 4. Collect complete records before leaving the clinic. Ask for an itemized invoice, diagnosis note, treatment summary, and payment proof before you walk out. Hypothetical example: after an urgent visit, the invoice misses the diagnosis, so you request a corrected copy on the spot. Expected outcome: You keep claims and follow-up care moving without rework.
-
Step 5. Keep a follow-up plan ready. Procedures abroad can have serious complications, and follow-up services or specialists can be harder to access in a new country. Keep at least one backup option for follow-up care and switch early instead of waiting. Expected outcome: You preserve momentum when your first option fails.
Use this operating model and book care with confidence#
Use a simple three step system: prepare before departure, build first month redundancy, then run triage and payment gates before every appointment. The goal is not to predict every scenario. It is to remove decision friction when time and clarity disappear.
Run the model in clear steps#
| Gate | What you confirm | Safe default |
|---|---|---|
| Triage gate | Severity and care setting for travel medical needs | Escalate fast if symptoms worsen |
| Coverage gate | Plan terms for this location and visit type | Assume variation by market and program |
| Payment gate | Upfront cost terms and issued documents | Do not proceed until terms are explicit |
Step 1. Build your control pack before you travel. Collect your insurance card details, medication list, allergy notes, and emergency contacts. Keep one offline copy on your phone and one printed copy in your bag. If you manage family care, separate adult care notes from any pediatric referral pathway. Programs like the SickKids International Patient Program focus on specialized pediatric coordination.
Step 2. Create first month redundancy. Preselect one remote triage route (where available) and one in-person clinic route for your destination so you can reach care without last-minute searching. Save the official program websites you rely on so you can verify guidance through official channels when advice conflicts.
Step 3. Execute booking gates every time. Ask the clinic to confirm accepted coverage, expected upfront payment terms, and what documents they can provide before treatment starts. When a guide and an official website disagree, treat the official site as current and recheck same-day details.
| Gate | What you confirm | Safe default |
|---|---|---|
| Triage gate | Severity and care setting for travel medical needs | Escalate fast if symptoms worsen |
| Coverage gate | Plan terms for this location and visit type | Assume variation by market and program |
| Payment gate | Upfront cost terms and issued documents | Do not proceed until terms are explicit |
Hypothetical scenario: you wake with sharp abdominal pain during a work trip. You start with a triage step (remote if available), then move to in-person emergency care when the clinician flags risk. You preserve payment and visit notes for your records.
Copy and paste checklist
- Before departure collect insurance docs, medication list, and emergency contacts.
- Save the official websites you rely on for your destination and program.
- Preselect one remote triage option (where available) and one in-person clinic option.
- Confirm coverage and upfront payment terms for each booking.
- Keep receipts and visit notes after every appointment.
Frequently Asked Questions
How do I find a doctor abroad quickly when I need care the same day?
Run the urgency gate, then commit to a channel. If symptoms look severe, go to emergency care now and contact insurer support in parallel. For non-emergency issues, use your fastest reliable route and keep a local clinic backup ready so you can switch without restarting the search.
Can I use my existing insurance abroad or should I assume I will pay first?
Assume rules vary by plan, provider, and location. Confirm accepted insurance, expected upfront payment, and reimbursement paperwork before every booking. Treat direct billing as possible, not guaranteed. Keep payment proof ready in case you need reimbursement.
What should I do if I need treatment before local insurance is active?
Use your self-pay route and document everything from the first visit. If available, ask for an itemized invoice, a brief clinical summary, and a payment receipt. Prioritize safe treatment first, then handle the reimbursement workflow.
How do I find an English-speaking doctor or dentist abroad?
Confirm language support during booking, not at check-in. Finding a reliable doctor who speaks your language isn’t always obvious, so ask the clinic to state whether the clinician can conduct the visit in your preferred language. If your case needs deeper care, ask whether they can route you to a specialist.
What documents should I carry to a medical appointment abroad?
Bring ID and whatever medical and insurance information helps explain your case (for example, current medications, allergies, and relevant recent records). Keep key details accessible in case plans change quickly. Before departure, schedule a pre-travel medical visit at least a month before traveling, and stay up-to-date on routine vaccines (such as MMR, tetanus, and flu). Vaccine and medication needs can vary by destination and what you’ll be doing. For planning support, see A Guide to Travel Vaccinations for Digital Nomads.
What is the difference between an immigration medical exam and regular medical care abroad?
Treat them as separate workflows. Immigration medical exam requirements vary by country and program, while regular medical care is about evaluating and treating your symptoms and follow-up needs. Follow the official instructions for your application, and use standard clinical care when you’re sick or need ongoing treatment.
Should I choose telehealth first or book an in-person clinic visit first?
Choose based on symptom risk, exam needs, and speed to safe care. Telehealth can accelerate triage and next steps, while in-person care fits problems that require physical examination or procedures. Keep both available, and switch immediately if symptoms worsen or guidance changes.
Try a related tool
Researched and edited by the Gruv editorial team. Gruv builds cross-border billing, payouts, and finance-operations software for global businesses.
Sources
- pmc.ncbi.nlm.nih.gov/articles/PMC9566178trusted
- pmc.ncbi.nlm.nih.gov/articles/PMC9566178trusted
- travel.state.gov/en/international-travel/planning/guidance/me...trusted
- uscis.gov/green-card/green-card-processes-and-procedur...trusted
- uscis.gov/book/export/html/68600trusted
- wwwnc.cdc.gov/travel/page/pack-smarttrusted
Educational content only. Not legal, tax, or financial advice.
Related Posts

The 2026 Global Digital Nomad Visa Index for 50+ Countries
Start with legal fit, not lifestyle filters. The practical order is simple: choose a route you can actually document, then decide where you want to live. That single change cuts a lot of wasted comparison work and stops you from falling in love with places that were never a real filing option.

Freelance Crypto Payments That Protect Cashflow and Reduce Disputes
Crypto payments make sense only when they improve how reliably you get paid after you plan conversion, compliance, and recordkeeping up front. They can reduce friction in some international setups where traditional platforms add fees, restrictions, or extra steps. They also move risk onto conversion timing, exchange-fee exposure, and documentation quality, so use a simple acceptance test before you agree:

A Guide to Travel Vaccinations for Digital Nomads
**You are not behind, and you need a repeatable system to handle vaccinations on the road, not another generic vaccine list.**