
Quick Answer
Yes, you can launch a help center with notion using native publishing for public FAQs and basic documentation. For client work, switch to private access by assigning member vs. guest roles and checking access on the exact pages and database entries that hold approvals or deliverables. Before launch, review the site while signed out and click through linked views so only intended content is visible.
The Foundational Choice: Is Native Notion "Good Enough" or Do You Need "Professional Grade"?#
If you're building a help center in Notion, start by matching the tool to the job instead of chasing a nicer front end. Native publishing can be enough for internal docs or low-risk public reference content, depending on what you need. If the same space also needs tighter control over publishing, access, branding, and visibility into use, treat that as an upgrade decision now, not a cleanup task later.
Step 1 Decide what the site must do before you compare tools#
Get specific before you evaluate tools. Vague complaints like "this feels unprofessional" are hard to act on. Write down the exact job your docs need to do over the next few months. That might mean publishing public answers, hosting client onboarding, sharing project material, gating access by audience, or showing you what readers are trying to find.
That precision matters because bad tool choices often start with a one-step mindset. It is the same mistake as asking for a quick draft, getting something generic back, and then rewriting the whole thing anyway. If you choose based only on "can I publish this page," you can end up rebuilding when client support, branding, or controlled access become part of the real job.
Use a simple checkpoint before you go further. Open your draft site in a private browser and ask someone else to complete one task. Can they find the right answer in under a minute? Is it obvious whose documentation they are reading? Can they reach only the content they should? If those answers are fuzzy, your requirements probably are too.
Step 2 Stress test the native path against real client risk#
For internal docs and simple public pages, the native route has a practical advantage: less setup. Fewer layers usually mean less maintenance and fewer moving parts. Mixing approaches can also make systems more complicated over time.
The trouble starts when teams assume that simplicity holds up in every client context. Once your docs become client-facing support, onboarding, or a place that may hold confidential project context, you need more than a publish button. You need clear answers on domain mapping, authentication options, permissions, search, analytics, and who on your side will maintain the setup. If you cannot verify those points with confidence, native may still work, but it is no longer something you should treat as obviously good enough.
Permissions can be the deciding factor. You need to know whether access is broad, selective, or audience-based, and what happens when a client contact changes. A good test is simple: remove access in a staging setup and confirm what still remains visible.
Step 3 Evaluate a third party layer like an operator, not a shopper#
What makes an added layer feel professional is not the sales page. It is whether you can answer a short checklist with evidence.
| Scenario | Suggested path | Decision check |
|---|---|---|
| Internal notes, SOPs, collaborator docs | Use native now | Re-evaluate when outside readers need a branded experience or separate access rules |
| Public FAQ or basic knowledge base with low risk content | Use native now | Re-evaluate when search, domain control, or reader analytics become important to support |
| Client onboarding hub that shapes first impressions | Evaluate an upgrade now | Do not wait if brand control and clean publishing are required for the service |
| Client specific project docs or confidential context | Upgrade now, or pause until you can verify controls precisely | Escalate if you cannot document how access is granted, changed, and removed |
| Mixed setup with several add-ons solving one issue each | Simplify first, then choose one path | Upgrade or consolidate when maintenance starts creating duplicate pages or unclear ownership |
When you compare tools, keep the list short and note exactly where each one sits in your publishing flow. One vetted option with a clear owner is often better than several overlapping services. Mixing approaches usually makes the setup harder to maintain, and that is where errors and confusion show up first.
Your evidence pack should be boring and specific. Include a test site, screenshots of access settings, notes on domain setup, one sample analytics view, and a list of who maintains what. Once you make that platform decision, the next job is to use it to strengthen authority and make the client experience feel intentional from the first click. If you want a deeper dive, read Value-Based Pricing: A Freelancer's Guide.
Pillar 1: How to Project Unquestionable Authority & Control#
Authority is operational: people should be able to find your official answer quickly in one place, without waiting in chat. If clients cannot tell what is public guidance versus client-specific material, trust drops and support load rises.
Step 1 Choose a clear home for official information#
Start by deciding where your official help content lives and how it is named, then keep that structure stable. A custom domain can help reinforce that this is part of your system, but the bigger win is consistency and clear boundaries between public guidance and client-only material.
Use this split as a working rule:
- Public docs: broadly shareable onboarding basics, process explainers, and common support answers.
- Client-gated docs: engagement-specific decisions, approvals, billing context, and confidential delivery details.
Before sharing links, run a quick access check in a private browser: can someone immediately tell where they are, what this area is for, and whether they are in the right place?
Step 2 Make consistency do the trust-building work#
Your help center should sound and behave like the rest of your business. Keep voice, navigation labels, terminology, and support language aligned so clients do not have to relearn your system inside the docs.
A practical first-pass structure is:
- Onboarding
- Delivery process
- Communication
- Billing
- Support boundaries
Treat this as a starting framework, not a fixed standard. The checkpoint is simple: can a new contact pull up the official answer directly from the knowledge base, or do they still need to ask in chat?
| Area | Authority-building setup | Credibility-eroding setup |
|---|---|---|
| Domain | Stable, recognizable docs home tied to your brand | Inconsistent or confusing destination |
| Branding consistency | Same voice, labels, and terms across site and docs | Mixed naming, tone shifts, conflicting wording |
| Navigation clarity | Task-based sections that match real client questions | Page dump organized around internal habits |
| Feedback loop | Repeated questions trigger doc updates | Same questions keep returning with no doc changes |
Step 3 Run a simple friction review loop#
Review the same signals on a regular cadence: repeated questions in chat or email, pages people revisit before asking for help, and answers you keep resending manually. These patterns usually mean the information is hard to find, unclear, or both.
Prioritize updates that reduce repeat asks first: rename unclear pages, rewrite the opening lines so the answer comes first, and add the exact next action. Disorganized information drains time because people end up searching for answers instead of moving work forward.
For a step-by-step walkthrough, see Notion vs. Coda: which is better for building internal tools?.
Pillar 2: How to Automate Your "Admin Tax" and Reclaim Billable Hours#
If onboarding keeps pulling you into repeated inbox replies, use one repeatable path and one official answer location. Your help center should guide clients step by step so they can self-serve first and contact the right person when needed.
Step 1 Build one onboarding portal template and use it every time#
Set up one template that follows the client journey in order:
- Access and setup: links, permissions, shared folders, and first actions
- Communication rules: channels, meeting cadence, and response window pending owner confirmation
- Delivery workflow: milestones, where drafts appear, and approval flow
- Feedback loop: required comment format, revision request path, and signoff method
- Billing and admin: billing contact, invoice route, and payment terms pending owner confirmation
- Escalation path: who to contact when the FAQ does not resolve the issue
Write answers as short pages for recurring questions. Include a contact-routing page (staff-directory style) so clients know exactly who handles billing, delivery questions, and urgent issues.
| Area | Manual onboarding workflow | Systemized Notion help center workflow |
|---|---|---|
| Handoffs | Questions move through ad hoc email/chat threads | Portal pages route setup, answers, and contacts from the start |
| Response consistency | Answers vary by person and timing | One approved answer page is reused consistently |
| Owner effort | Ongoing effort to resend links and restate process | More setup effort upfront, less repeated admin effort later |
Step 2 Convert real questions into short, stage-based pages#
Do not guess. Pull recurring questions from real touchpoints: inquiry emails, kickoff calls, revision rounds, billing messages, and post-meeting follow-ups. Then map each page to a stage: pre-kickoff, active delivery, feedback, or billing.
Keep each page operational:
- owner
- trigger
- next action
- escalation route if self-serve is not enough
This avoids two common failures: a long "overview" page that still generates support messages, and a portal pilot that exists but gets bypassed in practice.
Step 3 Launch a first-week activation checklist and run a tight optimization loop#
In your first client message, link the portal and assign clear actions:
| Owner | Action |
|---|---|
| Client | confirm access and bookmark the portal |
| Client | review communication rules and confirm the verified response window |
| Client | schedule or confirm kickoff details |
| Client | review how feedback must be submitted |
| Client + you | confirm billing contact, invoice email, and required admin details |
| You | verify escalation contacts are current |
Then review usage and support signals on a regular cadence. Update high-friction pages first: pages with repeated visits that still trigger tickets or manual replies. That is the practical way to reduce admin drag without lowering service quality.
We covered this in detail in How Agencies Run Notion Teamspaces as a Client System of Record.
Pillar 3: Use the Client Hub to Govern Scope, Changes, and Approvals#
To reduce scope drift, treat the client hub as your governance layer, not a storage dump. It should hold the current operating truth for the engagement.
Define the hub as the place where the current truth lives#
Use the client-specific hub for the items that need one shared, current answer: active scope, current approvals, open and closed change requests, and decision history. If someone asks, "Are we doing this?" or "Who approved it?", the hub should answer quickly.
Keep other materials in their proper systems. Signed contracts, redlines, invoices, and tax/legal records stay in contract or admin files. Project chat can stay in email or messaging tools, but important outcomes should be summarized back into the hub. If the answer exists only in chat, scope control is weak.
Write scope rules in direct, testable language#
Your scope page should read like operating instructions. For each engagement, define:
| Scope rule | Define |
|---|---|
| In scope | deliverables, formats, channels, revision rounds, and owners |
| Out of scope | requests that add new deliverables, new platforms, extra revision cycles, or unplanned research |
| Assumptions | what you need from the client, by when, and in what format (for example, "Client supplies source files by the confirmed handoff date") |
| Dependencies | items that can delay work if late or incomplete |
| Acceptance criteria | what "approved" means for each deliverable, with review criteria confirmed before client rollout |
Quick test: ask someone not involved in the project to classify a sample request as in-scope or out-of-scope. If they cannot, tighten the language.
Route every scope change through one intake path#
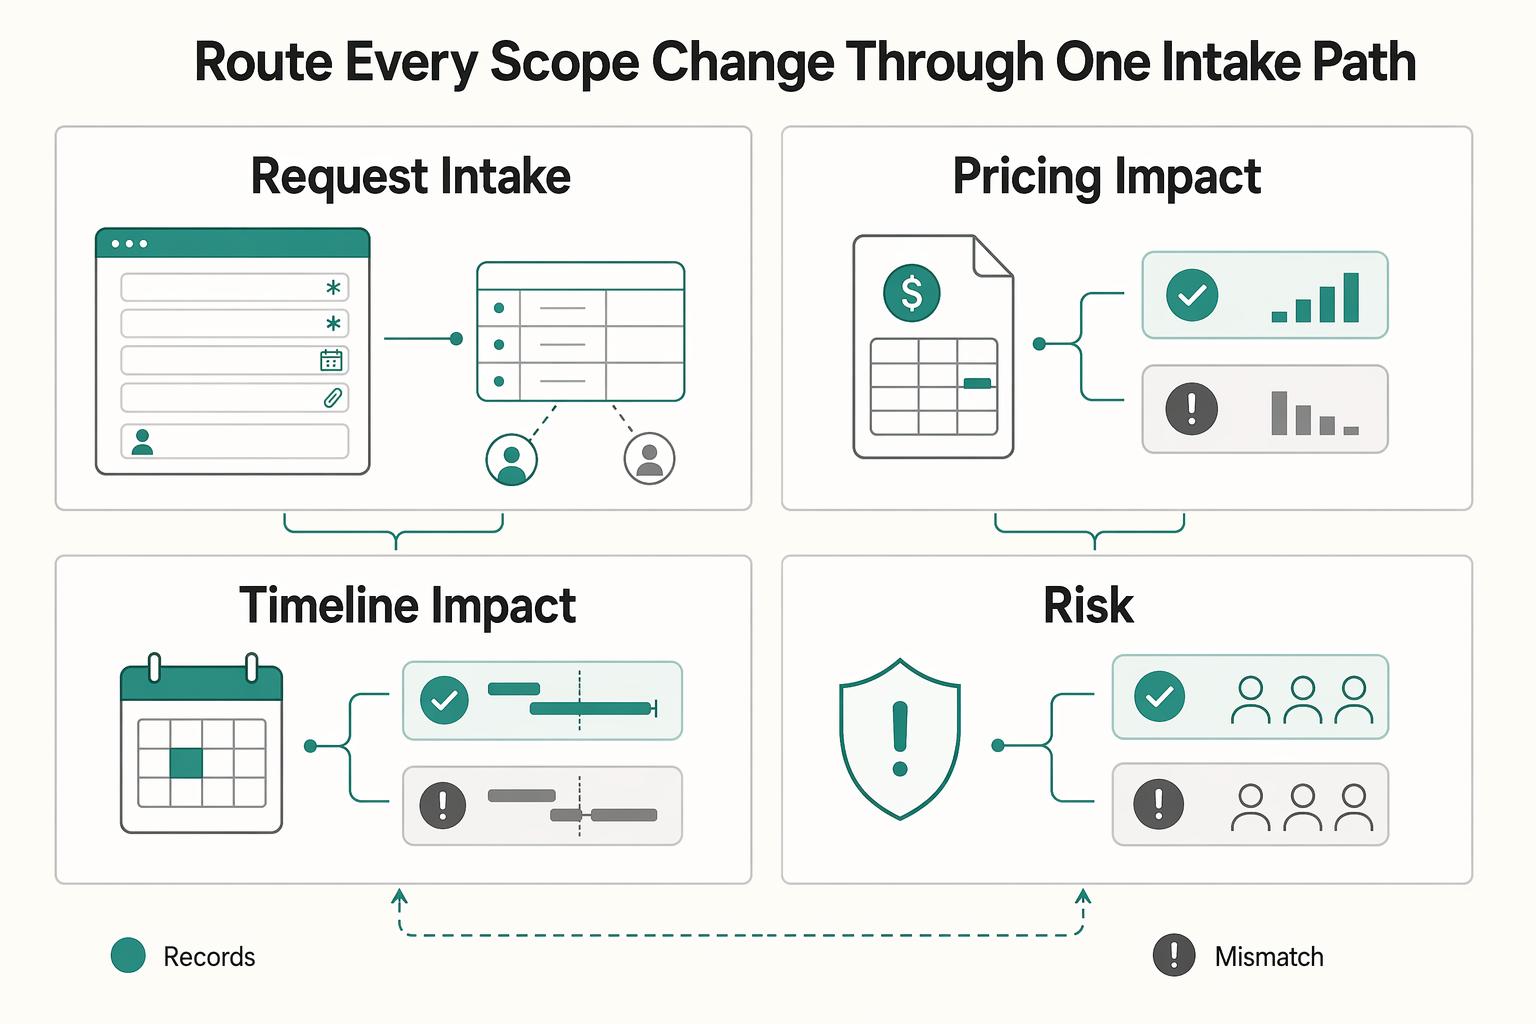
Use one intake path for scope changes. In Notion, create a form with /form and connect it to a database so each question maps to a property. Forms can be shared with people outside your workspace, including non-Notion users.
Use required fields for: requested change, business reason, affected deliverable, requested date, files/links, requester name, and expected pricing or timeline impact notes. A Respondent property is auto-created for attribution. You can allow anonymous responses, but named submissions are usually better for accountability.
Define a status property with labels you manage, such as Submitted, Needs clarification, Under review, Approved, Repriced, Rejected, and Held open (for deferred items). Use this operating procedure:
- Requester (client): submits form with required fields.
- Reviewer (you/project owner): checks request against active scope and dependencies.
- Reviewer: records pricing and timeline impact, including any approval threshold your policy requires.
- Approver (named client approver): confirms outcome.
- Owner (you): marks effective date and links updated scope, estimate, and approval note.
Build and customize forms on desktop, since form creation and customization are not currently available on mobile. If you need branching questions, confirm your plan supports conditional logic before you rely on it.
| Area | Ad hoc scope handling | Documented scope governance |
|---|---|---|
| Request intake | Requests arrive in chat, email, or calls | One form feeds one database with named fields |
| Pricing impact | Extra work is discussed late or not at all | Impact is recorded before approval |
| Timeline impact | Dates slip without a clean record of why | Delays and dependencies are tied to the request |
| Dispute risk | People rely on memory and screenshots | Shared records show what changed and when |
Keep a decision log for anything that changes scope, sequence, or approval#
Use one reusable decision-log template:
- Decision
- Context
- Options considered
- Approver
- Effective date
- Linked artifacts (scope page, form entry, call summary, final file version)
Record dates precisely when timing affects delivery or approvals. Consistent logging reduces ambiguity during handoffs and conflicts because everyone can see both the decision and the context behind it. Log decisions that change work, budget, order, or acceptance, not every minor comment.
You might also find this useful: How to Create a Knowledge Base for Your SaaS Product.
Conclusion: Your Business is Now a System, Not a Series of Tasks#
If you set this up well, you stop running client delivery from memory, inbox search, and scattered page links. You start running it from one operating model: clear documentation for trust, connected task tracking for repeat admin, and named records for approvals and scope changes.
| Step | Action | Key detail |
|---|---|---|
| 1 | Publish the core pages | Finalize onboarding, FAQs, active scope, and the decision log. Confirm any response commitments before you share anything. |
| 2 | Connect tasks to the docs | Link active deliverables to a Projects and Tasks database so work and reference material stay together. If you want Notion's Projects and tasks template, start it from the Notion app because it is only available there. |
| 3 | Add AI carefully | If you are on Business or Enterprise plans, test Notion AI or Notion Agent on one low-risk admin task first. On Free and Plus, plan around a limited number of complimentary AI responses. |
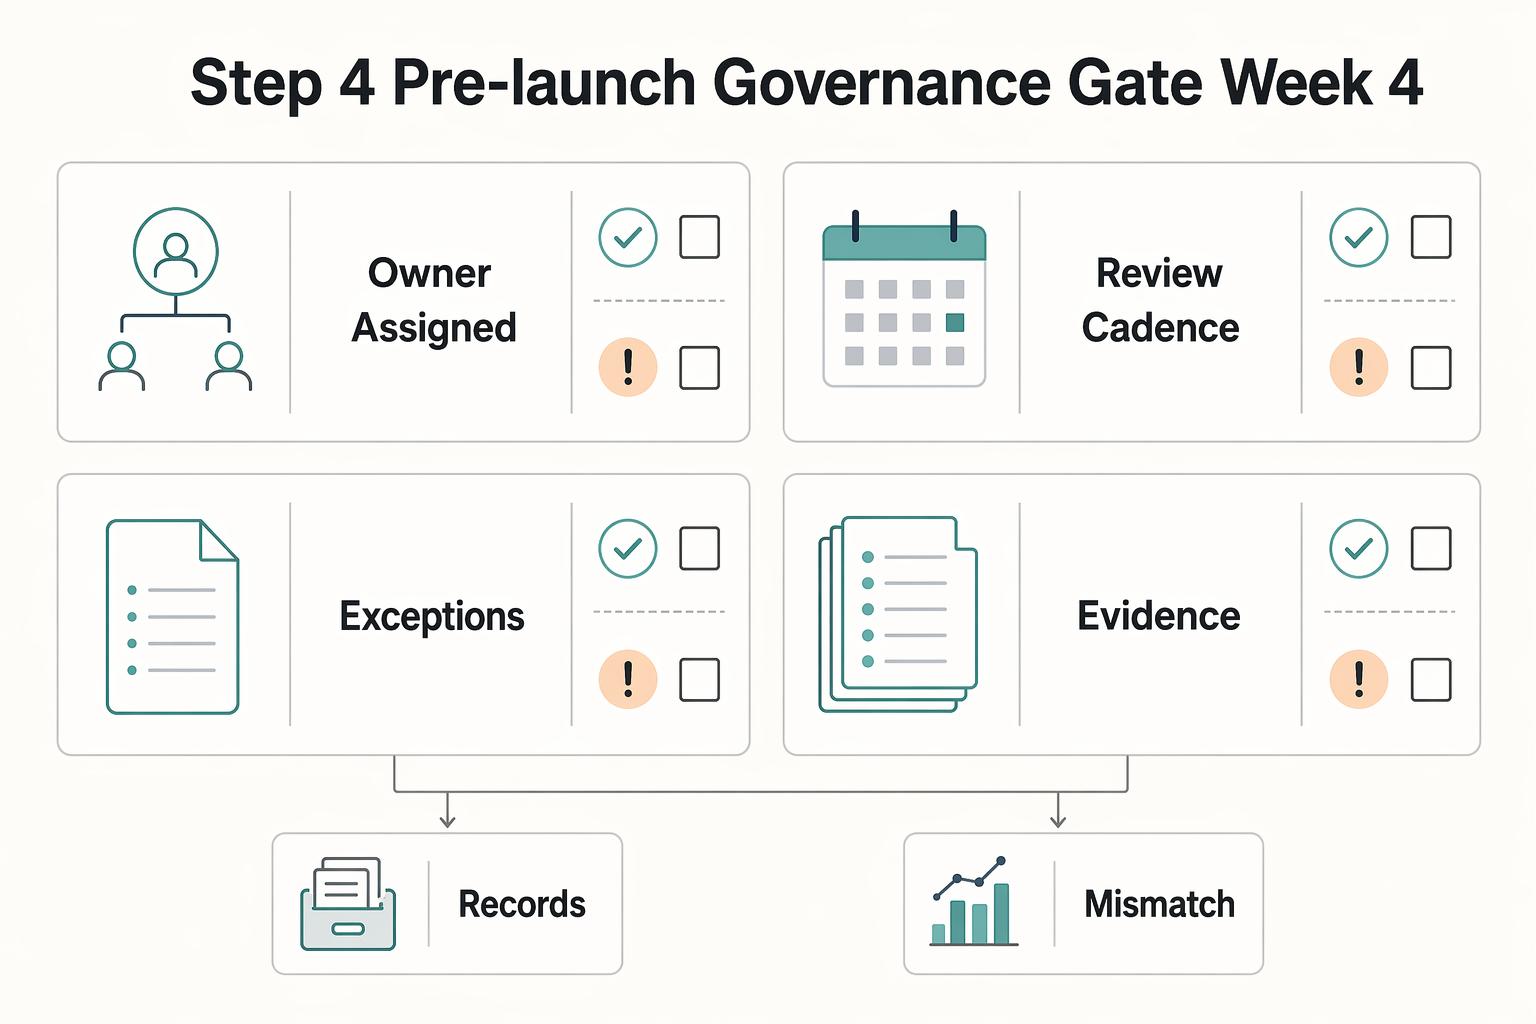
| 4 | Review one client hub end to end | Check permissions, forms, links, owners, statuses, and timestamps before wider rollout. |
That can show up in daily work. Clients can get more consistent answers because your onboarding and reference pages say the same thing every time. You may spend less time rewriting the same explanations because docs, projects, and knowledge live in the same workspace, which is what Notion is designed for. And when work changes, you often have a cleaner record of what was requested, what was approved, and what the change affected.
Use one final verification point before you call the setup done. Can you trace a real client request from documentation, to task, to approval, to final delivery without relying on memory? If yes, the setup is doing its job. If no, the usual failure mode is still the same: important details live in chat, deadlines sit in someone's head, and work gets missed or forgotten.
The FAQ below covers the setup and tooling edge cases that usually come up right before you publish. Related: A Guide to Notion for Freelance Business Management.
Frequently Asked Questions
Can you launch a help center with Notion without extra tools?
Yes, for public content. Notion explicitly presents public websites and knowledge bases as things you can build, so native sharing can work for simple docs and FAQ-style pages. Publish only pages you would be comfortable treating as public, then verify the live version while signed out and click every linked page and database view before launch. | Approach | Good fit | What to verify first | Main tradeoff | |---|---|---|---| | Native public Notion | Public FAQ or basic documentation | Which pages and database views are visible to non-members | Public content should be treated as public | | Lightweight publisher | Public docs with a more structured presentation | Exact feature set (for example, branding, access gating, analytics) | Features vary by tool, so validate one by one | | Client-only access | Private client hub, approvals, decision records | Member vs. guest roles, plus page and database page-level permissions | More ongoing access reviews and offboarding work |
Is native Notion sharing appropriate for sensitive client information?
Not if you are using public sharing. Keep public publishing separate from private client material. For private access, decide who should be a workspace member and who should be a guest. Then confirm page access or database page-level access on the exact records that hold deliverables, approvals, and decision logs.
When should you use a publisher instead of native Notion?
Use native Notion when public access is the goal and your needs are straightforward. Use a lightweight publisher when you want a different public help-center presentation, but verify tool capabilities feature by feature before committing. If you need client-only access, prioritize member/guest setup and record-level permission checks.
What should you maintain after launch?
Keep the structure simple and reviewable. Categories like How to, FAQ, Tips, and Billing are a practical starting point, but the key checkpoint is ownership: each page should have an owner and review date. Watch for recurring failure patterns such as duplicated submissions, reset/refresh connection issues, or missing tables, because those are the issues that quietly make support docs stale.
Try a related tool
Researched and edited by the Gruv editorial team. Gruv builds cross-border billing, payouts, and finance-operations software for global businesses.
Sources
- academia.edu/35224142/Dictionary_of_Banking_and_Finance_pdftrusted
- cfa.gov/records-research/record-cfa-actions/2023/04/...trusted
- chaskamn.gov/faqtrusted
- clame.nyu.edu/virtual-library/E0BIJF/312945/MidjourneyAiPr...trusted
- docs.un.org/en/JIU/REP/2016/4trusted
- eac.gov/sites/default/files/TestingCertification/Vol...trusted
- lofgren.house.gov/sites/evo-subsites/lofgren.house.gov/files/e...trusted
- lofgren.house.gov/sites/evo-subsites/lofgren.house.gov/files/e...trusted
Educational content only. Not legal, tax, or financial advice.
Related Posts
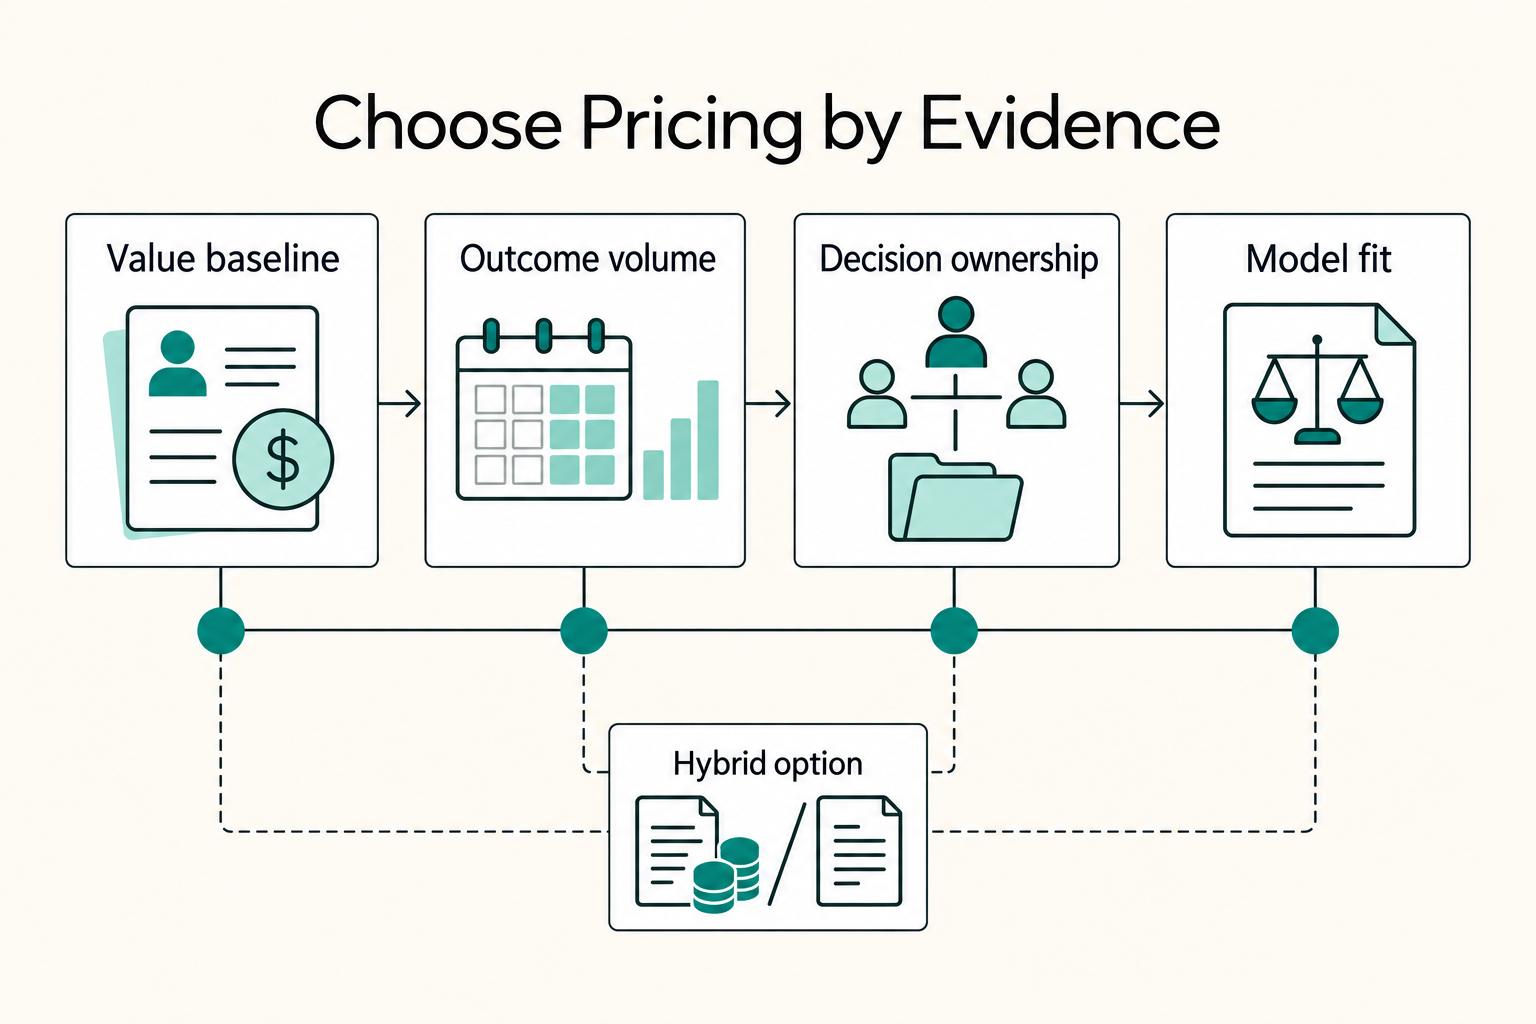
Value-Based Pricing for Freelancers Under Real Payment Risk
Value-based pricing works when you and the client can name the business result before kickoff and agree on how progress will be judged. If that link is weak, use a tighter model first. This is not about defending one pricing philosophy over another. It is about avoiding surprises by keeping pricing, scope, delivery, and payment aligned from day one.

A Guide to Notion for Freelance Business Management
If your workspace feels busy but fragile, you do not need more pages. You need one connected system. Treat your freelance business like a business-of-one and use Notion as the control layer that connects client decisions, delivery, and billing in one place.
How to Create a Knowledge Base for Your SaaS Product
Treat your SaaS knowledge base as part of your support system. As volume rises, answers often get scattered across docs, saved replies, and team chat. When guidance fragments, work slows down and small mistakes pile up.