
Quick Answer
Run a freelance project post-mortem at closeout by documenting the timeline, testing major claims against dated records, and capturing client feedback in writing. Then convert recurring issues into concrete next-project edits, such as tighter proposal language, clearer approval steps, and cleaner handoff rules. The practical output is a usable project recap plus a short action list with owners, so lessons do not disappear after delivery.
Why a client post-mortem is your growth engine#
A client post-mortem turns finished work into better future delivery. It is not admin for the sake of admin. It is the step that helps you keep what worked, fix what failed, and reduce repeat friction before the next engagement starts.
Freelance work often combines changing expectations, tight timelines, and variable scope. With multiple active clients, important context can disappear after handoff unless you capture it on purpose. A structured review gives you a written project recap, surfaces communication gaps that contributed to scope creep or delays, and helps you define practical changes for proposals, communication, and delivery.
The value is not the meeting itself. The value is what changes after the review. If nothing changes in your next scope, next contract, or next handoff process, the review stayed theoretical. If one or two concrete changes go live immediately, the review is doing its job.
Use a simple evidence-led sequence:
- Record what happened from kickoff to handoff, including key events and decisions.
- Separate wins from misses so you can preserve strengths while fixing weak points.
- Turn each recurring issue into one clear prevention action for the next project.
Keep the tone factual and blameless. Focus on observable events, documented decisions, and specific next actions. That helps keep the conversation calm when topics are sensitive and makes outcomes easier to trust.
A simple test: after each project, can a teammate read your closeout record and explain what changed for next time? If yes, your review is working. If no, tighten your recap, tighten your action list, and make the next review easier to run.
Treat the post-mortem as a growth habit, not a one-off event. The compounding effect comes from repetition. One review gives you one correction. A steady review habit gives you a clearer record of what to repeat and what to change on the next client project.
Define the post-mortem so everyone uses the same standard#
Set the standard before the meeting starts. Reviews break down when people use different terms, different goals, and different definitions of done.
| Element | What to define | Detail |
|---|---|---|
| Labels | Use "project postmortem meeting" for the end-of-project discussion | "project debrief" and "project retrospective" may overlap in practice |
| Completion criteria | Document a written project recap and clear follow-through actions | Give each action an owner and a tracking location |
| Evidence expectations | Map major claims to dated records where possible | approval notes, delivery files, or message threads |
| Who belongs in the room | Include key team members who can explain decisions, scope changes, approvals, and handoff details | Consider limiting observers if sensitive issues are involved |
| Conversion rule for improvement | Capture what went well and what should improve next time | Log any possible SLA updates as separate follow-up items |
- Define labels before closeout.
Use project postmortem meeting for the end-of-project discussion. Terms like project debrief and project retrospective may overlap in practice, so label the session clearly in your calendar and notes. That naming choice reduces confusion about purpose.
- Define completion criteria in writing.
Document a written project recap and clear follow-through actions. Give each action an owner and a tracking location so it does not disappear.
- Define evidence expectations.
Agree that major claims should map to dated records such as approval notes, delivery files, or message threads where possible. A practical reference for evidence handling discipline is the U.S. Courts evidence rules material at uscourts.gov. That keeps the group aligned on facts instead of memory alone.
- Define what belongs in the room.
Include the key people who can explain decisions, scope changes, approvals, and handoff details. If sensitive issues are involved, consider limiting observers so participants can stay direct and specific.
- Set a conversion rule for improvement.
A post-mortem should capture what went well and what should improve next time. Keep the discussion blameless and focused on practical improvements to workflow, collaboration, client management, or delivery habits. If you use a Service Level Agreement (SLA), log any possible SLA updates as separate follow-up items rather than a requirement to close the review.
This standard supports consistency across projects. It also makes the review fairer, because every project gets the same bar rather than the mood of the week.
Clarity up front also cuts meeting drag. When everyone knows what counts as evidence and what counts as done, you spend less time debating format and more time deciding what changes next.
Prepare the evidence pack before any meeting#
Before you ask why something happened, lock down what happened. A clean evidence pack keeps the review objective and helps difficult topics stay blameless and focused on learning.
Use a clear, blameless template so the discussion stays centered on what happened, how you responded, and what to improve next.
Start with one prep folder that gathers core artifacts such as timeline notes, scope and decision records, approvals, handoff details, and follow-up items. Keep the structure predictable so you do not hunt through scattered files while discussing a critical decision. One practical layout can be:
01_timeline_and_milestones02_scope_and_change_records03_approvals_and_signoffs04_handoff_and_closeout05_feedback_and_followup
You do not need complex tooling. You need consistency. Reusing a familiar structure across projects usually makes retrieval faster and leaves more attention for context and decisions.
Keep diagnosis and sentiment clearly separated in your review materials. You can use separate documents or distinct sections in one document, as long as internal analysis and external feedback are easy to distinguish.
Bring the agreement and scope context that shaped outcomes, along with records of what changed over time. That helps you compare what was intended, what shifted, and what was delivered.
Open your lessons learned log before the meeting. A simple format such as keep/fix/test next project makes note taking more action-oriented. If you want a paired intake artifact, Freelance Client Onboarding Checklist helps keep the next project start aligned with post-mortem decisions.
Verification checkpoint: someone who was not in every conversation should be able to open the evidence pack and explain the timeline, scope changes, and approvals. They should also be able to identify unresolved questions without asking you to fill gaps.
If they cannot reconstruct the project quickly, improve the pack before the meeting. A thin evidence pack leads to long conversations and weak outcomes.
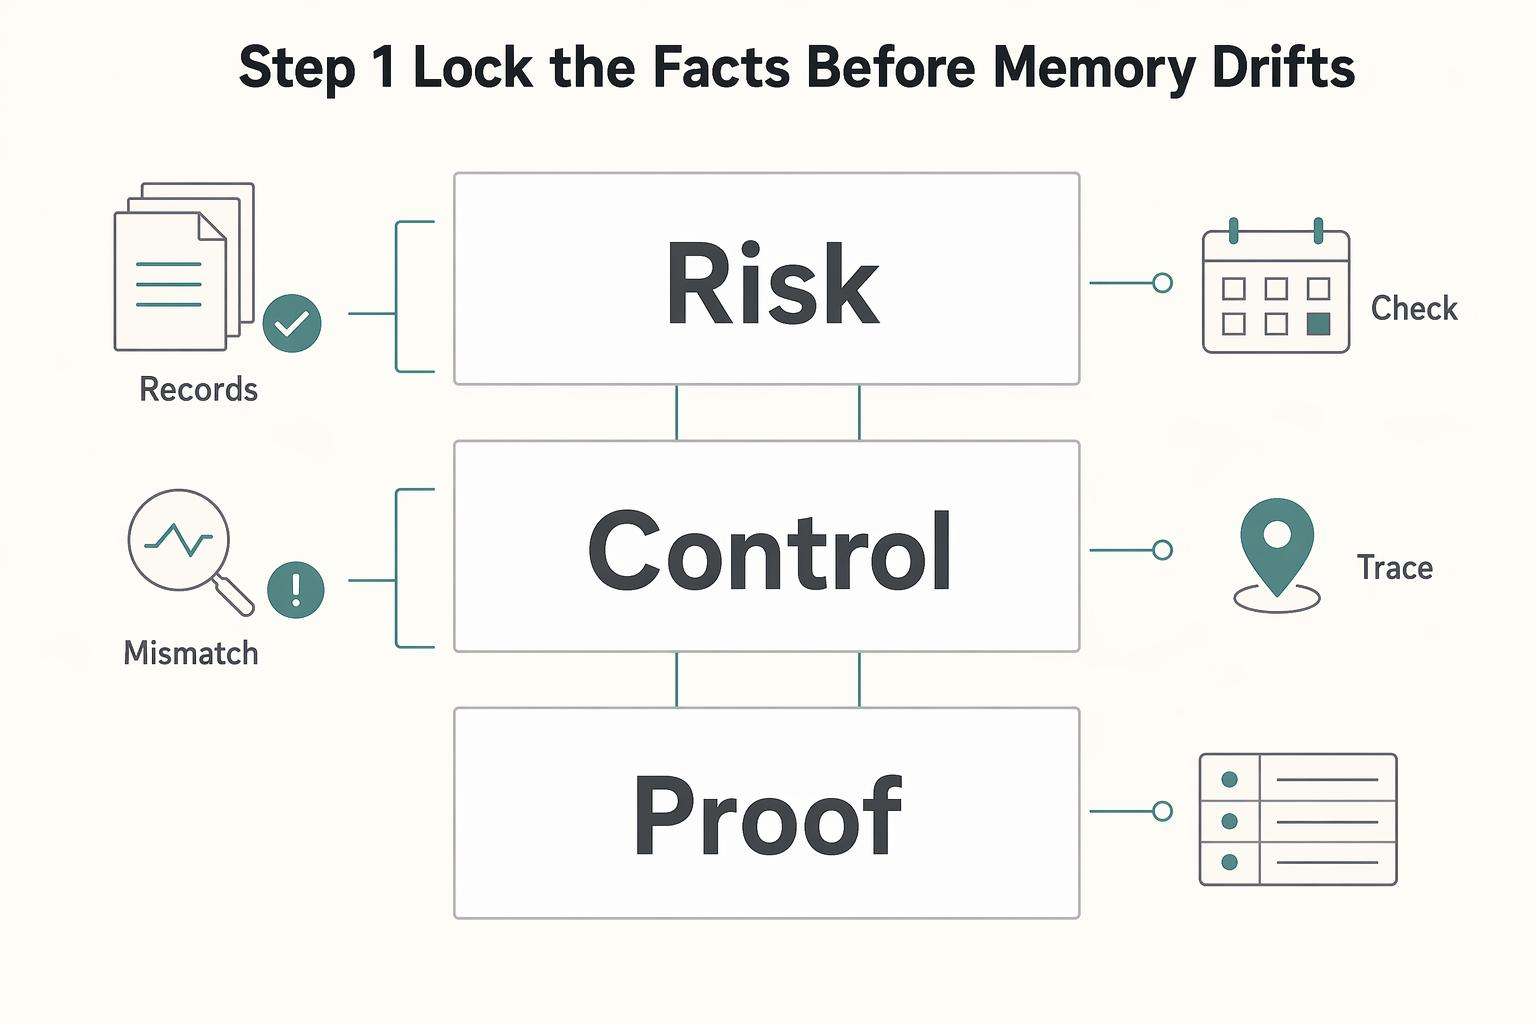
Step 1 lock the facts before memory drifts#
Lock the sequence before you discuss causes. If the timeline is uncertain, cause-and-effect analysis becomes guesswork.
- Reconstruct the project in order.
Log dated milestones from kickoff to handoff: key decisions, approvals, revisions, and delivery events. Keep each entry short and neutral.
- Record expectation shifts as events.
When client or platform changes shift scope, record the date, request, impact, resulting decision, and change-control step. Avoid motive language. Stick to what you can verify.
- Attach proof to major claims.
Use timestamped records such as message threads, approval notes, and file history entries. For high-impact events, include a traceable record.
- Flag evidence gaps clearly.
If evidence is incomplete, call it out explicitly and avoid filling gaps with assumptions.
A helpful timeline format is:
- Event
- Date
- Artifact
- Impact
- Status (confirmed or evidence gap)
This structure helps resolve disagreements because everyone is reviewing the same fields.
Red flag: if your timeline is mostly narrative text with few records, you may be relying too much on memory. Slow down, add records, and then move to root cause analysis.
Once the timeline is stable, your cause-and-effect discussion is clearer, and the client debrief can start from a shared baseline.
A practical move here is to capture one line per event first, then enrich only the events that changed scope, timing, or approval status. That keeps momentum while protecting accuracy where risk is highest.
Step 2 run your internal diagnosis before talking to the client#
Run your internal, blameless diagnosis before you talk to the client so the discussion stays focused on improvement. Start with core causes, not surface symptoms.
- Separate symptom from cause for top misses.
Write each issue in two lines: symptom, then likely cause. Keep asking what allowed this to happen until you reach something you can redesign. Work through core structural conflicts before secondary issues because sequence matters.
- Tag each issue so the fix is specific.
Use practical labels such as scope creep, execution error, and expectation gap. Treat tags as working categories that guide action, not permanent identity statements about a client or teammate.
- Flag approval-control gaps when work expands.
If work expanded without clear approval, classify it as a missing approval control and define what step failed. This keeps the discussion concrete and points directly to a process fix.
- Assign one prevention action per issue.
In the lessons learned log, record the fix, owner, trigger point, and destination document. Without all four, actions drift.
- Prioritize by repeat risk.
If two issues compete for attention, fix the one most likely to recur across clients first. This keeps your improvement effort practical when time is limited.
A useful internal test: if someone asks what exactly changes next time and you answer with a broad sentence, your diagnosis is not finished. Good diagnosis produces edits to templates, clauses, checklists, or handoff steps.
Another red flag is overusing personality explanations. If your notes rely on statements about people rather than dated events and missing controls, you will struggle to create durable fixes.
Finish this step only when each priority issue has a cause statement, a working tag, and one owned prevention action that you can verify on the next project.
Before the client call, scan your action list for overlap. If two actions solve the same failure, merge them into one clearer action with one owner. Fewer, sharper actions are easier to execute than a long list of vague intentions.
Step 3 hold a focused client debrief that protects the relationship#
Take your internal diagnosis into a structured client conversation. The goal is alignment and forward fixes, not winning an argument.
| Step | What to do | Note |
|---|---|---|
| Prep note | Share the timeline, latest project recap, and the artifacts you may reference | Include a shared notes template |
| Agenda and timebox | Move in order: wins, friction points, next-time changes, future-fit | Use a firm timebox |
| Client-facing language | Describe what changed, when it changed, and what confirmation was missing | Replace internal labels with concrete statements tied to events |
| Use records in disagreements | Match disputed points to dated artifacts in real time | If evidence is missing, mark the point unresolved and assign who will verify it after the call |
| Close with ownership | Read back each agreed change, owner, and trigger point | Send a short written summary promptly |
- Send a short prep note before the meeting.
Share the timeline, latest project recap, and the artifacts you may reference. Include a shared notes template so decisions land in one format and can be reviewed later without translation. A blank template or filled example can reduce blank-page friction.
- Run a clear agenda with a firm timebox.
Move in order: wins, friction points, next-time changes, future-fit. This sequence helps set context before harder topics.
- Translate internal language into client-facing language.
Replace labels with concrete statements tied to events. For example, describe what changed, when it changed, and what confirmation was missing. This keeps the tone professional and keeps the discussion on decisions.
- Use records when disagreement appears.
Match disputed points to dated artifacts in real time. If evidence is missing, mark the point unresolved and assign who will verify it after the call.
- Close with explicit ownership.
Before ending, read back each agreed change, owner, and trigger point. Then send a short written summary promptly so verbal alignment becomes documented alignment.
Use a timing standard so improvements do not stall: send the recap within 24 hours, confirm owner acceptance within 72 hours, and convert high-priority fixes into template or clause updates within 14 days. First close the record, then secure ownership, and finally lock prevention changes.
One failure mode is spending too long on one pain point and running out of time before action planning. Handle that by parking deep dives that need separate analysis and assigning follow-up.
Another failure mode is closing with broad goodwill but no documented next move. Use a hard close question: which exact change will appear in the next proposal or handoff? If the room cannot answer, keep one follow-up task open.
This kind of debrief protects the relationship by combining accountability with clarity.
If tension rises, return to sequence and records. Event first, impact second, improvement action third. That order helps keep the tone stable and the conversation focused on decisions.
Step 4 gather written feedback you can compare across projects#
Capture written feedback as part of the post-mortem debrief. A consistent written record makes lessons easier to reuse across projects instead of leaving them in memory.
- Use two feedback depths.
Send a short client feedback form for broad sentiment, then use a deeper postmortem questionnaire for stakeholders closest to delivery decisions when needed. This helps you gather both high-level and detailed feedback.
- Ask concrete questions tied to moments.
Focus on response speed, revision clarity, handoff quality, and confidence to rehire. Ask about specific moments in the project, not generic satisfaction statements.
- Use one rule for conflicting signals.
If verbal praise conflicts with weaker written feedback, treat it as a signal to clarify. Follow up once with a narrow question linked to the specific low or unclear item.
For a practical questionnaire format, this remote post-mortem guide can provide a starting structure before you tailor prompts to your workflow.
- Normalize answer structure for comparison.
Use the same core questions each project so reflection stays focused and trends are easier to spot over time. You can still add one project-specific question when needed, but keep the core stable.
- Log responses in one place.
Add each key point to your lessons learned log under keep, fix, or test next project, and assign an owner for follow-through. Link entries to the related recap or debrief note when useful.
Verification checkpoint: after logging feedback, you should be able to answer two questions quickly: what must stay because clients value it, and what must change because clients repeatedly flag it?
Red flag: feedback records that contain only narrative comments and no action mapping. If that happens, convert comments into decisions before closing the project. Otherwise, the same issues may reappear in the next cycle.
This step helps turn feedback into proposal improvements, tighter communication, and cleaner scope decisions. Keep your prompts plain and specific so responses are easier to compare and act on.
Step 5 turn lessons into contract and scope controls#
This is where post-mortem value becomes real: repeated friction turns into clearer terms. If your notes do not change proposal language, similar disputes can return under new project names.
| Control | What to set | Grounded in |
|---|---|---|
| SLA clauses | response expectations, revision rounds, and acceptance criteria | recurring issues from your debrief, recap, and questionnaire |
| Change-order triggers | explicit trigger events and written confirmation of impact before new work continues | scope shifts after approval |
| If-then rules | if scope changes after approval, pause delivery and issue a written change request before resuming | proposal text |
| Clause trace check | each new clause should map to a documented friction point | before sending proposals |
| Quote language | what is included, what triggers changes, and how approvals work | consistent templates and clear wording |
- Map patterns to specific SLA clauses.
Use recurring issues from your debrief, recap, and questionnaire to clarify response expectations, revision rounds, and acceptance criteria. Tie each clause to one recurring issue so the edit has a clear purpose.
- Define change-order triggers for variable scope.
Set explicit trigger events, such as scope shifts after approval, and require written confirmation of impact before new work continues. This helps protect timeline and accountability.
- Write short if-then rules in proposal text.
Use plain rules where decisions happen. Example: if scope changes after approval, pause delivery and issue a written change request before resuming.
- Run a clause trace check before sending proposals.
Each new clause should map to a documented friction point. If you cannot trace a clause back to one, revise or remove it so the contract stays practical.
- Update quote language for clarity.
Use consistent templates and clear wording so clients can understand what is included, what triggers changes, and how approvals work. This helps reduce misaligned expectations before work starts.
A practical way to execute this step is to keep a short before-and-after clause note in your lessons log. Note the old wording, the new wording, and the issue that triggered the change. This makes review quality easier to track over time.
If you need examples of SLA structure, revisit How to Create a Service Level Agreement (SLA) for Your Freelance Services. Apply only the parts that map to documented friction in your own projects.
Do one final read as if you were the client seeing your proposal for the first time. If a scope shift or revision request can still be interpreted in multiple ways, tighten the sentence before sending. For scope boundary wording examples, compare your draft with How to Write a Scope of Work for an SEO Campaign.
Step 6 close the project with clean offboarding and records#
Do not mark the project closed until the closeout record is complete, retrievable, and easy for a teammate to follow.
- Complete a final delivery index and offboarding log.
List delivered items, storage locations, and acceptance proof. Record credential transfer status, new access owner, transfer date, and whether your access was removed.
- Finalize the project closeout checklist.
Capture invoice status, payment confirmation, and archive location. If payment is pending or archive location is unclear, keep status as closing. If the checklist is outdated, update it before closeout so it does not create false confidence.
- Store one retrievable closeout record.
Keep the project recap, signed artifacts, and client feedback form together with a short index and last-updated field. Use consistent file naming so retrieval does not depend on memory.
- Run a transfer checkpoint.
Ask a teammate to review the package and confirm they can explain what was promised, what was delivered, who has access, and what support is still active (if any).
- Close only after verification.
If the reviewer cannot explain key decisions without help, reopen the closeout record and fill the missing context before marking complete.
This step protects continuity and your future self. Missing notes or files can create continuity gaps and delays during handoff.
A common tradeoff appears here: speed versus completeness. Closing quickly feels efficient, but incomplete records create cleanup later. Keep the closeout bar consistent even on projects that seemed smooth.
Before archiving, check that your final recap and your final invoice language do not conflict. Mismatched wording can create back-and-forth when the project should already be closed.
Common failure patterns and how to recover quickly#
Repeat problems usually come from skipped follow-through. Use this table as a quick recovery reference during closeout.
| Failure pattern | What it looks like in practice | Fast recovery action | Verification checkpoint |
|---|---|---|---|
| Skipping review after a project felt good enough | Project closes with no written recap and no follow-up actions | Run a short blameless postmortem | Written note includes impact, mitigation or resolution actions, causes, and follow-up actions to prevent recurrence |
| Using one catch-all label for every issue | Notes overuse one label and fixes stay vague | Identify all contributing causes first, then classify issue type | Each issue has a clear cause and a matching prevention follow-up |
| Asking for vague feedback | Feedback arrives as broad comments you cannot compare | Use a structured blameless postmortem template | Responses map to concrete follow-up actions |
| Repeating friction without formal learning | Similar issues recur with no documented changes | Add postmortem follow-up actions and track them to completion | Follow-up actions are assigned and tied to the recurring issue |
When a failure pattern appears, recover in the same project-close cycle if possible. Delaying recovery increases the chance that the same issue carries into the next project.
Use a short recovery log with three fields: failure pattern, fix applied, and where that fix now lives. This makes recovery visible and prevents repeat discussion without action.
Failures are normal, but recurrence is the costly part. The review works when each pattern ends with a concrete change. Treat this table as a trigger, not a scorecard. If you want to turn one recovery action into a repeatable checklist, Browse Gruv tools.
Leave every project with proof and a better next contract#
Use this closeout checklist every time so your review creates a clear written record and stronger terms for the next engagement.
- Complete the project closeout checklist and save the final project recap.
Record final scope, delivery, approvals, and out-of-scope items in one concise recap. Confirm that key timeline events and handoff decisions are easy to trace.
- Run a blameless post-mortem and update the lessons learned log.
Capture what happened, how your response performed, and what you will change next time. Assign each action an owner and a destination document.
- Hold the project post-mortem meeting and send the client feedback form.
Review wins and misses together, then convert feedback into keep, fix, and test actions. Follow up once on unclear feedback so open questions do not carry into the next proposal.
- Update quote and template language before the next proposal.
Turn repeated friction into clearer quote and template language so expectations are easier to read before work starts. In one freelancer marketplace dataset, about 50% of clients accepted the cheapest offer, which is a practical reminder that clarity can matter alongside price.
- Finish project offboarding and archive all artifacts in one searchable record.
Store closeout checklist, recap, feedback notes, and final agreement files in one location with consistent naming so key decisions are easy to retrieve.
Final checkpoint before you move on: can a teammate open your closeout record and understand what happened? Can they explain what changed for the next project without asking you for context? If yes, your post-mortem did its job.
Keep this discipline every time, including projects that feel straightforward. Smooth projects still contain decisions worth capturing, and those decisions can improve clarity in your next proposal.
Frequently Asked Questions
What is a freelance project post-mortem, and how is it different from a regular client check-in?
A freelance project post-mortem is an end-of-project review focused on learning and improvement. It covers what went well, what went wrong, and what should change before the next project. Compared with a regular client check-in, it is generally a project-close reflection rather than a live status update.
When should I run a project post-mortem if I’m a solo freelancer?
Run it at project close. Post-mortems are end-of-project reviews where you examine what went well and what can be improved for the next project. This guide does not prescribe a required duration or format.
What should I include in a postmortem questionnaire and client feedback form?
Include questions on both successes and problems. Focus on what worked, what created friction, and what should improve next time. Keep the output tied to process and workflow improvements for future projects.
How is a freelance post-mortem different from a team sprint retrospective?
In practice, labels overlap, and many teams use post-mortem, debrief, and retrospective similarly. In this context, a post-mortem is an end-of-project review of what went well and what to improve for next time. Use the clearest label for your team and client.
How do I handle negative feedback without damaging client retention?
Treat negative feedback as improvement input, and review it alongside successes. Post-mortems are most useful when they cover both what failed and what worked. The goal is to improve workflows and future client satisfaction.
How do I turn post-mortem notes into better SLA and change order terms?
Post-mortem lessons can help improve future processes, but do not assume they define specific SLA or change-order requirements. Use recurring issues to clarify expectations in future agreements where appropriate.
What is the minimum post-mortem process I can run on small projects?
A lightweight option is a short end-of-project review with three prompts: what went well, what did not, and what to improve next time. Make sure you capture both successes and problems. This guide does not require a fixed format.
Try a related tool
Researched and edited by the Gruv editorial team. Gruv builds cross-border billing, payouts, and finance-operations software for global businesses.
Sources
Includes 2 external sources outside the trusted-domain allowlist.
- blogs.ischool.berkeley.edu/i290ma-f12/files/2012/08/EffectiveProjectMan...trusted
- digitalcommons.wcl.american.edu/cgi/viewcontent.cgitrusted
- uscourts.gov/sites/default/files/2022-10_evidence_rules_c...trusted
- meegle.com/en_us/advanced-templates/freelance_managemen...external
- opentimeclock.com/docs/blog2/december-2025/how-to-run-a-projec...external
Educational content only. Not legal, tax, or financial advice.
Related Posts

Thailand's Long-Term Resident (LTR) Visa for Professionals
For a long stay in Thailand, the biggest avoidable risk is doing the right steps in the wrong order. Pick the LTR track first, build the evidence pack that matches it second, and verify live official checkpoints right before every submission or payment. That extra day of discipline usually saves far more time than it costs.
How to Build a One-Page Freelance Service Level Agreement
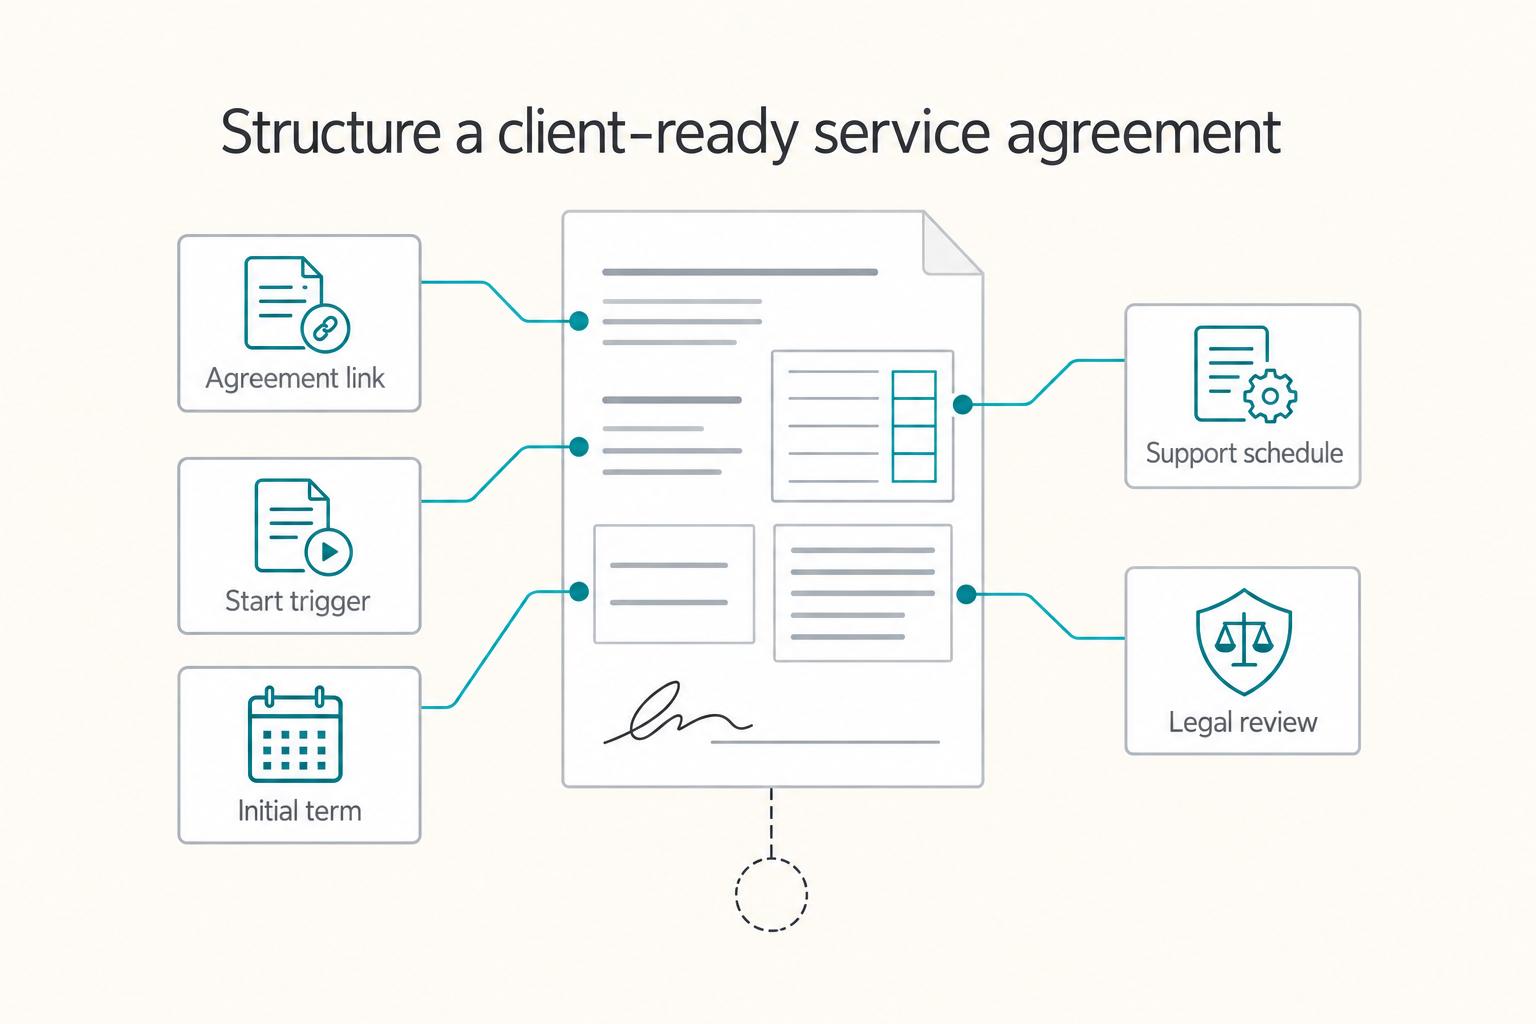
A **freelance service level agreement** can document service expectations, but it does not determine worker status or tax treatment on its own.

The Freelance Payment Penalty: A Modeled Audit of Platform Fees, FX Spreads, and Payout Delays
The money rarely disappears through a single, easy-to-spot fee. The real loss is stacked. A marketplace takes its commission, a processor adds a charge for international cards, a bank or payment company converts the currency at a spread, a platform holds the funds before release, and a wire sheds a little to intermediaries on the way in. Each layer looks defensible on its own, but the worker feels the combined result as a smaller deposit and a later payday.