
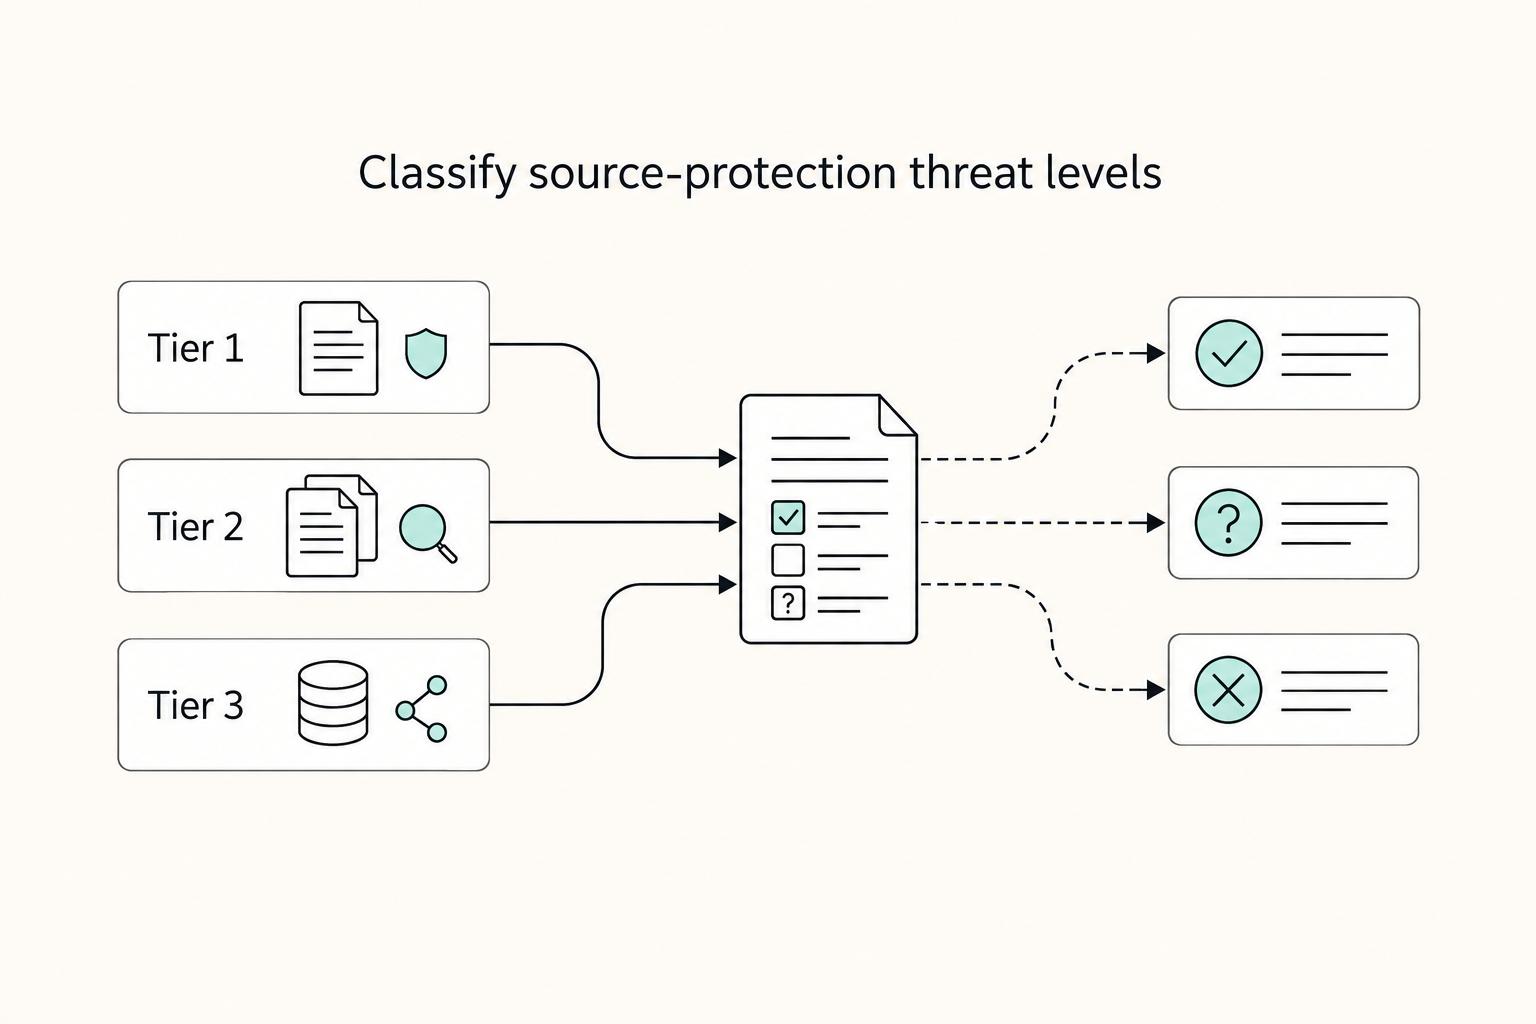
Quick Answer
Start by assigning each source conversation to Tier 1, Tier 2, or Tier 3 based on likely harm if exposed. Use Signal and Proton Mail for baseline reporting, but verify a Signal safety number before sensitive exchanges and treat Proton headers as visible metadata. For higher-risk work, reduce retained records, sanitize files before sending, and isolate the project from personal accounts. Move to SecureDrop or Tor-based separation when direct contact could endanger a source.
Beyond the Apps: A Threat-Based System for Source Protection#
If you promise confidentiality, you need the discipline that makes that promise real. Source protection starts with a risk decision, not an app download. Protecting confidential sources is a core ethical duty, and no single tool removes all communication risk.
A tool-first setup can fail because it treats every story the same. A threat-model approach is more useful. You decide what you need to protect, who might try to get it, how likely that is, and how serious the consequences would be if they succeed. That frame shapes the decisions ahead.
| Decision point | Tool-first approach | Threat-model approach |
|---|---|---|
| Workflow | Pick popular apps and use them by habit | Start with assets, adversaries, likelihood, impact, and a contingency plan |
| Common failure point | Sensitive details can drift back into ordinary email, SMS, or cloud docs because that is where the conversation already is | More setup up front, but the communication channel matches the story risk |
| When it breaks down | The source risk changes, the assignment changes, or a stronger adversary appears | It needs updating for each new story and when facts on the ground change |
In practice, your assets are usually information such as emails, files, contacts, and text messages. Your adversaries are the people or entities that pose a threat to that information, including anyone who gains access to a device or account. Use a simple checkpoint. If you cannot name the asset, the adversary, and the likely impact of exposure, you are not ready to invite a source into that channel.
Treat this like daily operations, not a one-time setup. Keep a short written risk note for each sensitive story. Document who you discussed it with, and add a contingency plan for account lockout, device seizure, or accidental disclosure. If the likely harm rises, tighten your controls instead of trusting habit or app popularity.
Step One: Define Your Threat Model#
Define your threat model before you pick tools: identify the asset, the likely adversary, and the consequence, then assign a working tier for this story. A specific reporting risk needs a specific plan.
1. What do you need to protect?#
Start with concrete prompts: What would cause harm if exposed? What traces already exist? What must stay confidential, and what can stay ordinary? If the story is broad, pick one thing to protect first.
| Asset type | Examples |
|---|---|
| People | source identity, aliases, editors, fixers, translators, anyone copied or introduced |
| Files | tips, notes, drafts, recordings, screenshots, contact sheets |
| Communication traces | emails, texts, DMs, call logs, social posts, calendar invites |
| Account access | email, cloud drives, shared folders, phone backups, newsroom logins |
| Location signals | photo metadata, check-ins, IP-linked account activity, travel patterns visible in messages or uploads |
For this story, write down the actual people, files, traces, accounts, and location signals involved. Be exact about where each asset lives: device, account, file, or channel.
2. Who could realistically target it?#
Ask: Who benefits from identifying this source or blocking this story? What can they actually do? What access do they already have? You do not need proof of active targeting to plan.
| Adversary category | Described risk |
|---|---|
| employer-side legal pressure | aimed at identifying a source |
| workplace insiders | with access to accounts, schedules, or internal systems |
| coordinated harassment | trying to expose you or your source through public traces |
| state actors, domestic or foreign | with broader collection capabilities |
For freelance reporting, one or more of these categories is usually enough to frame the risk. Choose based on capability, not drama. A routine phishing path or records access can matter more than a dramatic but unlikely scenario.
3. What are the consequences, and what tier does that imply?#
Now decide impact: If this asset is exposed, who is harmed, how badly, and through which likely attack path? Then map the result to Tier 1, Tier 2, or Tier 3.
| Tier | Use when | What the article says |
|---|---|---|
| Tier 1 | When your threat model points to normal professional risk | Tier 1 is your default: set four controls once, verify them regularly, and use them every day before a source shares anything sensitive. |
| Tier 2 | Move to Tier 2 when exposure could harm your source, not just slow your reporting | At this level, you are managing risk on purpose: tighter habits, fewer assumptions, and regular checks so one mistake does not undo the work. |
| Tier 3 | Use Tier 3 when your threat model says exposure could plausibly lead to severe harm, including arrest or physical harm | At this level, source safety takes priority over your convenience, speed, and normal workflow. |
Use a short risk note for handoff:
| Asset | Primary adversary | Likely attack path | Consequence | Required tier |
|---|
This keeps your next step operational without pretending there is a fixed formula.
Common mistakes to avoid
- over-collecting sensitive data you do not need
- ignoring metadata exposure paths (who contacted whom, when, and from where)
- assuming one app solves every threat
If you cannot name one likely attack path for each high-risk asset, pause channel selection and refine this step. Repeat this assessment as the story changes phase.
For a step-by-step walkthrough, see How to Secure Your Devices for International Travel.
Tier 1: The Baseline for Professional Operations#
When your threat model points to normal professional risk, Tier 1 is your default: set four controls once, verify them regularly, and use them every day before a source shares anything sensitive.
Step 1. Which channels should handle routine reporting?#
Use an end-to-end encrypted messenger for routine source communication. If you cannot meet in person, it is usually the next best option. Signal is a practical baseline because encryption is always on.
Before sensitive exchanges, verify identity, not just profile names. Compare the Signal safety number in person or through a separate trusted channel, since Signal does not verify that a profile name matches a real-world identity. If a safety number changes, treat it as a pause-and-verify event before continuing.
Enable Signal Screen Lock so access requires your phone PIN, passphrase, or biometric. Keep your Signal PIN available in your secure records too: with registration lock enabled, forgetting it can lock you out for up to 7 days.
| Channel | Metadata exposure | Ease of adoption | Best use |
|---|---|---|---|
| SMS or default email | High. Content is not end-to-end encrypted by default, and sender/recipient/timing data is exposed | Very easy | Scheduling and low-risk logistics only |
| Encrypted messenger (Signal) | Lower for message content, but timing, contact patterns, and device access still matter | Medium | Routine reporting, interviews, quick follow-ups, moving sources off SMS |
| Encrypted email (Proton Mail) | Mixed. Stronger when both sides use Proton, but headers/metadata are not fully encrypted, and non-Proton exchanges are not always end-to-end encrypted | Medium | Longer written context, document exchange, editor coordination |
Step 2. How do you lock down email, devices, and account recovery?#
Treat encrypted email as useful, not invisible. Proton Mail can improve day-to-day security, especially between Proton accounts, but headers and metadata remain exposed, and messages involving non-Proton providers are not always end-to-end encrypted. If subject lines, recipients, or timing could expose a source, switch to a safer channel.
Your baseline setup is simple: unique password, two-factor authentication, and a recovery method you control and have tested. Recovery only helps if it still works when you are under deadline pressure or traveling.
Lock every reporting device with a strong passcode. On iPhone, setting a passcode turns on data protection with 256-bit AES encryption. On Android, devices launched with Android 10 and higher are required to use file-based encryption. Confirm after restart that passcode entry is required before device access.
Step 3. How should you treat unknown networks?#
Treat public Wi-Fi as uncertain, not automatically safe or automatically disastrous. On networks you do not control, avoid first contact with sensitive sources, account-recovery changes, and transfers that could identify people. Wait for a trusted connection or use your own hotspot when exposure consequences are meaningful.
If you need a fast setup, use this minimum viable baseline in order:
- Install Signal, enable Screen Lock, and verify one key contact's safety number.
- Set up Proton Mail with 2FA and a tested recovery method.
- Add a strong passcode on your phone and verify device encryption is active.
- Stop sensitive outreach and file transfer on public Wi-Fi.
Tier 1 reduces common exposure, but it is still a baseline. If your threat model includes retaliation, legal pressure, travel, or identifiable documents, move to Tier 2. If exposure could cost a source their liberty or physical safety, go straight to Tier 3. Related: A Guide to Secure Messaging Apps for Client Communication.
Tier 2: Protecting Sensitive Investigations#
Move to Tier 2 when exposure could harm your source, not just slow your reporting. At this level, you are managing risk on purpose: tighter habits, fewer assumptions, and regular checks so one mistake does not undo the work.
Step 1. When should you use disappearing records?#
If you use disappearing messages, set them before the first sensitive exchange, then confirm both sides understand the limits. Treat this as a retention control, not a guarantee.
Use message threads for coordination and short updates, but keep core reporting records in your controlled workflow. Then verify behavior in practice: check that older messages actually age out, and assume copies can still exist outside the thread.
Step 2. How do you reduce metadata before sending files?#
For Tier 2 work, choose the lowest-exposure format that still serves the reporting need. Decide before you send.
| File-sharing option | Use when | Main tradeoff | Verify before sending |
|---|---|---|---|
| Original file | Full context or evidentiary value is required | Can carry extra context you did not intend to share | Review file details and visible context before transfer |
| Sanitized export | The recipient needs content, not full history | May still reveal identifying context in the content itself | Reopen the exported copy and review what remains |
| Screenshot-derived copy | Only a narrow excerpt is needed | Loses context and can reduce usefulness later | Check the image for unintended on-screen details |
Quick pre-send check:
- Confirm filenames and visible labels are safe to share.
- Remove or avoid unnecessary context in the shared version.
- Review what the recipient actually needs, then send only that.
- Pause if you are unsure and create a lower-exposure copy first.
Step 3. How do you isolate the project from your personal digital life?#
Use a clear project boundary: a separate workspace, separate accounts, and no personal sync in that environment. Keep the app set minimal so the project surface stays small and easier to review.
Daily, verify the boundary is still intact: no personal profiles, no mixed storage, no casual crossover logins. At closeout, keep only what you must retain, document what you kept, sign out, and decommission the project environment before reuse. Even careful reporters can make mistakes, so Tier 2 is about reducing consequences when that happens. You might also find this useful: The Best Bank Accounts for Kids and Teens.
Tier 3: Securing High-Risk Sources#
Use Tier 3 when your threat model says exposure could plausibly lead to severe harm, including arrest or physical harm. At this level, source safety takes priority over your convenience, speed, and normal workflow.
Before you promise confidentiality, confirm what you can actually promise. Organizational policy may require sharing source identity with editors, and local legal process may affect notebooks or equipment. If those constraints are unclear, pause and verify before you continue.
Because surveillance pressure is higher and confidentiality is harder to maintain, keep this tier narrow and strict. The goal is a clear path with explicit stop points, not a long list of tools.
| Contact pathway | Likely traceability pattern | Operational burden | If it fails |
|---|---|---|---|
| Direct channel | Often easier to connect activity back to both sides | Lower | Can expose the relationship itself |
| Pseudonymous digital relay | Can reduce direct linkage if separation is maintained | Medium to high | A single mix-up can reconnect identities |
| Indirect physical relay | May reduce digital linkage but introduces physical exposure points | High | Can expose locations, intermediaries, or handling chain |
Step 1. Anonymous intake protocol#
If an anonymous intake path (for example, SecureDrop) is available through your newsroom or publishing partner, prefer it for first contact. Confirm access boundaries, record handling, and policy/legal constraints before using it in a live case.
Operator discipline: keep the source in the agreed channel and avoid convenience switches into personal email, text, or social DMs.
Stop if unsafe: pause immediately if you cannot explain confidentiality limits clearly, or if process constraints conflict with what the source is being led to expect.
Step 2. Tor-based isolation protocol#
If you use Tor, treat it as part of a broader risk-first workflow, not as a guarantee. Run it inside your investigation compartment and keep your reporting identity separated from routine identity throughout the project.
Operator discipline: do not blend personal and investigation activity in the same workflow, and do not normalize shortcuts under deadline pressure.
Stop if unsafe: if separation breaks or cannot be maintained consistently, pause reporting and reset the plan before further contact.
Step 3. No-direct-contact contingency protocol#
If direct contact itself creates unacceptable risk, move to a no-direct-contact path. Stay inside anonymous intake longer, or use an indirect relay only after you define who is involved and what each person may handle.
Operator discipline: keep the circle minimal, role-based, and explicit.
Stop if unsafe: pause when the plan depends on improvisation, unclear responsibility, or unverified assumptions about local rules.
Step 4. Escalate or abort#
Treat this tier as a team decision, not a solo judgment call. Involve the minimum responsible people early: your editor and, where available, legal or digital security support. Seek country-specific guidance before proceeding when legal or surveillance risk is material.
Pause reporting when requested guarantees are unverified, when policy conflicts with your promise, or when compartment boundaries fail. Abort the current contact path when you cannot reduce harm risk to a level you can defend professionally and ethically.
This pairs well with our guide on How to Create a Communication Policy for a Remote Team.
Conclusion: Security as a Professional Standard#
Source protection is part of the reporting process, not a side interest in digital security. The job is to threat model first, choose risk-appropriate practices next, and then execute the tools and practices in your plan consistently.
Step 1. Set the standard before intake#
Before a source sends anything, answer the four basic questions that shape risk. Identify what must stay private, who may want it, how they might get it, and what the consequences would be. Then turn that into a written security plan that everyone on the story can understand and follow. The verification point is simple: if you cannot explain the plan clearly to an editor or collaborator, it is not ready.
Step 2. Follow one shared plan during communication#
During reporting, keep your defaults consistent and adjust them when source or story risk changes. Think process, not technology. One weak-link behavior, such as a weak password or a careless click on a phishing link, can wipe out stronger protections elsewhere. The broader guidance in this area is often inconsistent, which makes having one clear, shared plan even more important.
Step 3. Review and improve as a repeatable workflow#
Treat source handling as a repeatable workflow. Review where your process held up, where deadline pressure caused drift, and what adjustments your team should make next time. Update the written plan so the standard stays clear and usable.
That is how trust becomes real in practice. Sources and collaborators learn that you handle intake, communication, and follow-through with the same ethical consistency each time. Reliability, not branding, is what makes your source handling credible.
For communication structure, see How to Use the Pyramid Principle for Client Communication.
Frequently Asked Questions
1. What do you need to protect?
Start with concrete prompts: What would cause harm if exposed? What traces already exist? What must stay confidential, and what can stay ordinary? If the story is broad, pick one thing to protect first. Asset type; Examples Asset type: People; Examples: source identity, aliases, editors, fixers, translators, anyone copied or introduced Asset type: Files; Examples: tips, notes, drafts, recordings, screenshots, contact sheets Asset type: Communication traces; Examples: emails, texts, DMs, call logs, social posts, calendar invites Asset type: Account access; Examples: email, cloud drives, shared folders, phone backups, newsroom logins Asset type: Location signals; Examples: photo metadata, check-ins, IP-linked account activity, travel patterns visible in messages or uploads For this story, write down the actual people, files, traces, accounts, and location signals involved. Be exact about where each asset lives: device, account, file, or channel.
2. Who could realistically target it?
Ask: Who benefits from identifying this source or blocking this story? What can they actually do? What access do they already have? You do not need proof of active targeting to plan. Adversary category; Described risk Adversary category: employer-side legal pressure; Described risk: aimed at identifying a source Adversary category: workplace insiders; Described risk: with access to accounts, schedules, or internal systems Adversary category: coordinated harassment; Described risk: trying to expose you or your source through public traces Adversary category: state actors, domestic or foreign; Described risk: with broader collection capabilities For freelance reporting, one or more of these categories is usually enough to frame the risk. Choose based on capability, not drama. A routine phishing path or records access can matter more than a dramatic but unlikely scenario.
3. What are the consequences, and what tier does that imply?
Now decide impact: If this asset is exposed, who is harmed, how badly, and through which likely attack path? Then map the result to Tier 1, Tier 2, or Tier 3. Tier; Use when; What the article says Tier: Tier 1; Use when: When your threat model points to normal professional risk; What the article says: Tier 1 is your default: set four controls once, verify them regularly, and use them every day before a source shares anything sensitive. Tier: Tier 2; Use when: Move to Tier 2 when exposure could harm your source, not just slow your reporting; What the article says: At this level, you are managing risk on purpose: tighter habits, fewer assumptions, and regular checks so one mistake does not undo the work. Tier: Tier 3; Use when: Use Tier 3 when your threat model says exposure could plausibly lead to severe harm, including arrest or physical harm; What the article says: At this level, source safety takes priority over your convenience, speed, and normal workflow. Use a short risk note for handoff: Asset; Primary adversary; Likely attack path; Consequence; Required tier This keeps your next step operational without pretending there is a fixed formula. Common mistakes to avoid over-collecting sensitive data you do not need ignoring metadata exposure paths (who contacted whom, when, and from where) assuming one app solves every threat If you cannot name one likely attack path for each high-risk asset, pause channel selection and refine this step. Repeat this assessment as the story changes phase. For a step-by-step walkthrough, see How to Secure Your Devices for International Travel.
Step 1. Which channels should handle routine reporting?
Use an end-to-end encrypted messenger for routine source communication. If you cannot meet in person, it is usually the next best option. Signal is a practical baseline because encryption is always on. Before sensitive exchanges, verify identity, not just profile names. Compare the Signal safety number in person or through a separate trusted channel, since Signal does not verify that a profile name matches a real-world identity. If a safety number changes, treat it as a pause-and-verify event before continuing. Enable Signal Screen Lock so access requires your phone PIN, passphrase, or biometric. Keep your Signal PIN available in your secure records too: with registration lock enabled, forgetting it can lock you out for up to 7 days. Channel; Metadata exposure; Ease of adoption; Best use Channel: SMS or default email; Metadata exposure: High. Content is not end-to-end encrypted by default, and sender/recipient/timing data is exposed; Ease of adoption: Very easy; Best use: Scheduling and low-risk logistics only Channel: Encrypted messenger (Signal); Metadata exposure: Lower for message content, but timing, contact patterns, and device access still matter; Ease of adoption: Medium; Best use: Routine reporting, interviews, quick follow-ups, moving sources off SMS Channel: Encrypted email (Proton Mail); Metadata exposure: Mixed. Stronger when both sides use Proton, but headers/metadata are not fully encrypted, and non-Proton exchanges are not always end-to-end encrypted; Ease of adoption: Medium; Best use: Longer written context, document exchange, editor coordination
Step 2. How do you lock down email, devices, and account recovery?
Treat encrypted email as useful, not invisible. Proton Mail can improve day-to-day security, especially between Proton accounts, but headers and metadata remain exposed, and messages involving non-Proton providers are not always end-to-end encrypted. If subject lines, recipients, or timing could expose a source, switch to a safer channel. Your baseline setup is simple: unique password, two-factor authentication, and a recovery method you control and have tested. Recovery only helps if it still works when you are under deadline pressure or traveling. Lock every reporting device with a strong passcode. On iPhone, setting a passcode turns on data protection with 256-bit AES encryption. On Android, devices launched with Android 10 and higher are required to use file-based encryption. Confirm after restart that passcode entry is required before device access.
Step 3. How should you treat unknown networks?
Treat public Wi-Fi as uncertain, not automatically safe or automatically disastrous. On networks you do not control, avoid first contact with sensitive sources, account-recovery changes, and transfers that could identify people. Wait for a trusted connection or use your own hotspot when exposure consequences are meaningful. If you need a fast setup, use this minimum viable baseline in order: Install Signal, enable Screen Lock, and verify one key contact's safety number. Set up Proton Mail with 2FA and a tested recovery method. Add a strong passcode on your phone and verify device encryption is active. Stop sensitive outreach and file transfer on public Wi-Fi. Tier 1 reduces common exposure, but it is still a baseline. If your threat model includes retaliation, legal pressure, travel, or identifiable documents, move to Tier 2. If exposure could cost a source their liberty or physical safety, go straight to Tier 3. Related: A Guide to Secure Messaging Apps for Client Communication.
Step 1. When should you use disappearing records?
If you use disappearing messages, set them before the first sensitive exchange, then confirm both sides understand the limits. Treat this as a retention control, not a guarantee. Use message threads for coordination and short updates, but keep core reporting records in your controlled workflow. Then verify behavior in practice: check that older messages actually age out, and assume copies can still exist outside the thread.
Step 2. How do you reduce metadata before sending files?
For Tier 2 work, choose the lowest-exposure format that still serves the reporting need. Decide before you send. File-sharing option; Use when; Main tradeoff; Verify before sending File-sharing option: Original file; Use when: Full context or evidentiary value is required; Main tradeoff: Can carry extra context you did not intend to share; Verify before sending: Review file details and visible context before transfer File-sharing option: Sanitized export; Use when: The recipient needs content, not full history; Main tradeoff: May still reveal identifying context in the content itself; Verify before sending: Reopen the exported copy and review what remains File-sharing option: Screenshot-derived copy; Use when: Only a narrow excerpt is needed; Main tradeoff: Loses context and can reduce usefulness later; Verify before sending: Check the image for unintended on-screen details Quick pre-send check: Confirm filenames and visible labels are safe to share. Remove or avoid unnecessary context in the shared version. Review what the recipient actually needs, then send only that. Pause if you are unsure and create a lower-exposure copy first.
Step 3. How do you isolate the project from your personal digital life?
Use a clear project boundary: a separate workspace, separate accounts, and no personal sync in that environment. Keep the app set minimal so the project surface stays small and easier to review. Daily, verify the boundary is still intact: no personal profiles, no mixed storage, no casual crossover logins. At closeout, keep only what you must retain, document what you kept, sign out, and decommission the project environment before reuse. Even careful reporters can make mistakes, so Tier 2 is about reducing consequences when that happens. You might also find this useful: The Best Bank Accounts for Kids and Teens.
Try a related tool
Researched and edited by the Gruv editorial team. Gruv builds cross-border billing, payouts, and finance-operations software for global businesses.
Sources
- cisa.gov/resources-tools/resources/emergency-services...trusted
- cisa.gov/sites/default/files/2024-12/guidance-mobile-...trusted
- cltc.berkeley.edu/wp-content/uploads/2021/01/Online_Security_G...trusted
- consumer.ftc.gov/node/78344trusted
- data.journalism.columbia.edu/sites/default/files/content/DigitalSecurityF...trusted
- fcc.gov/sites/default/files/the-information-needs-of...trusted
- justice.gov/jm/jm-1-7000-media-relationstrusted
- justice.gov/nsd/media/1382521/dltrusted
Educational content only. Not legal, tax, or financial advice.
Related Posts
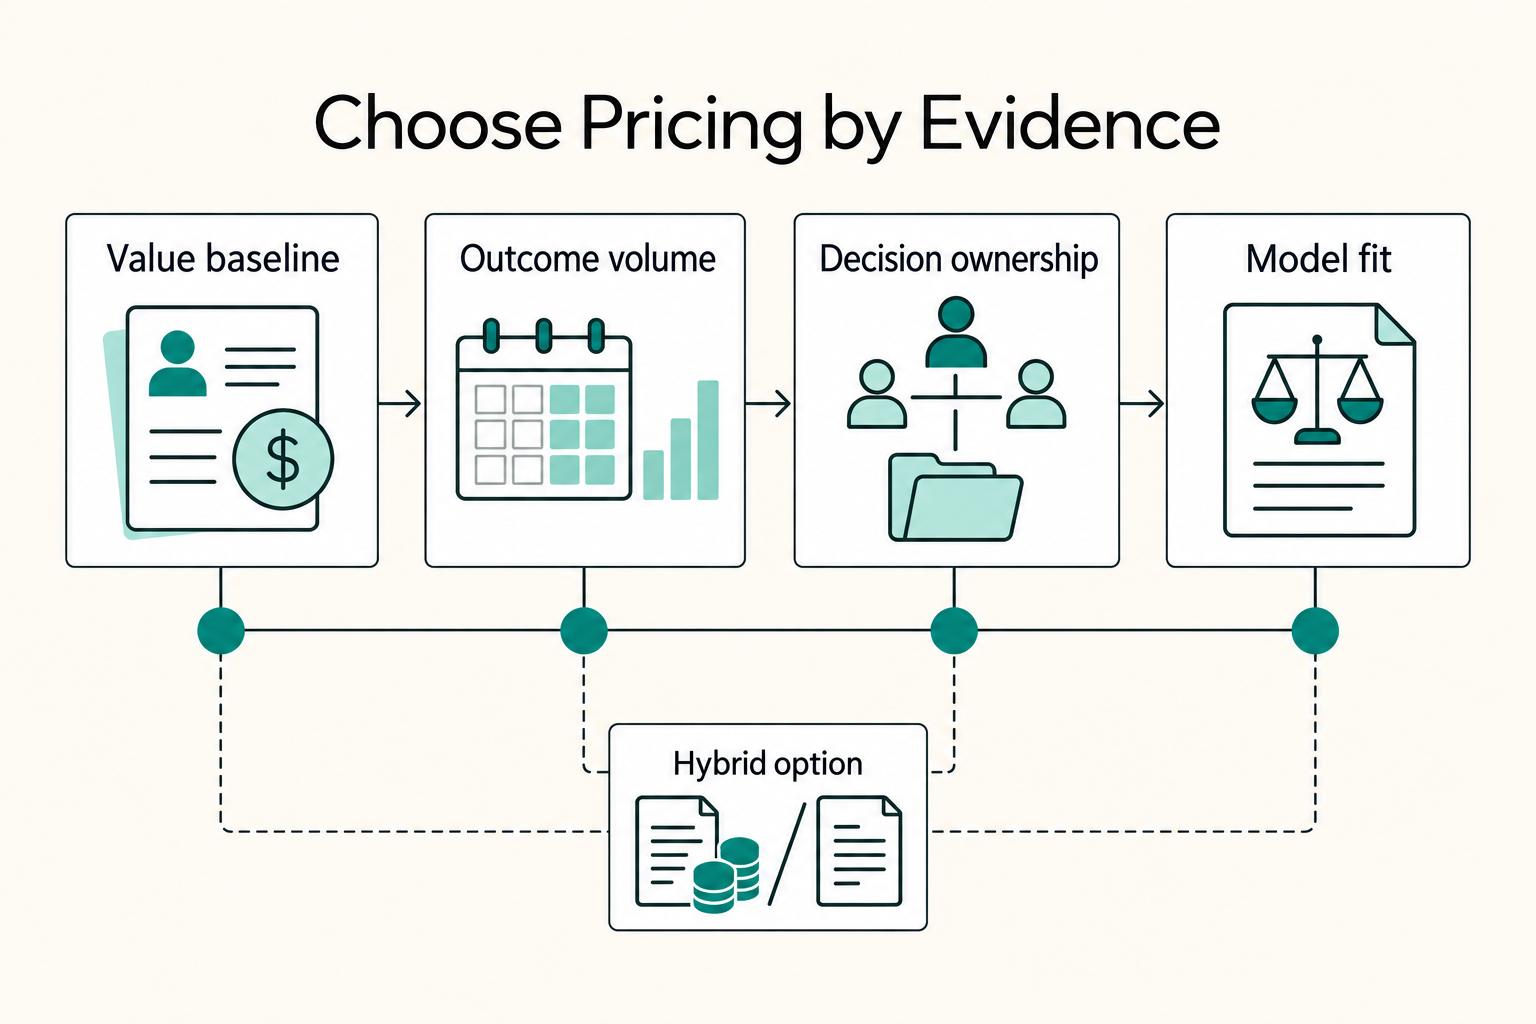
Value-Based Pricing for Freelancers Under Real Payment Risk
Value-based pricing works when you and the client can name the business result before kickoff and agree on how progress will be judged. If that link is weak, use a tighter model first. This is not about defending one pricing philosophy over another. It is about avoiding surprises by keeping pricing, scope, delivery, and payment aligned from day one.
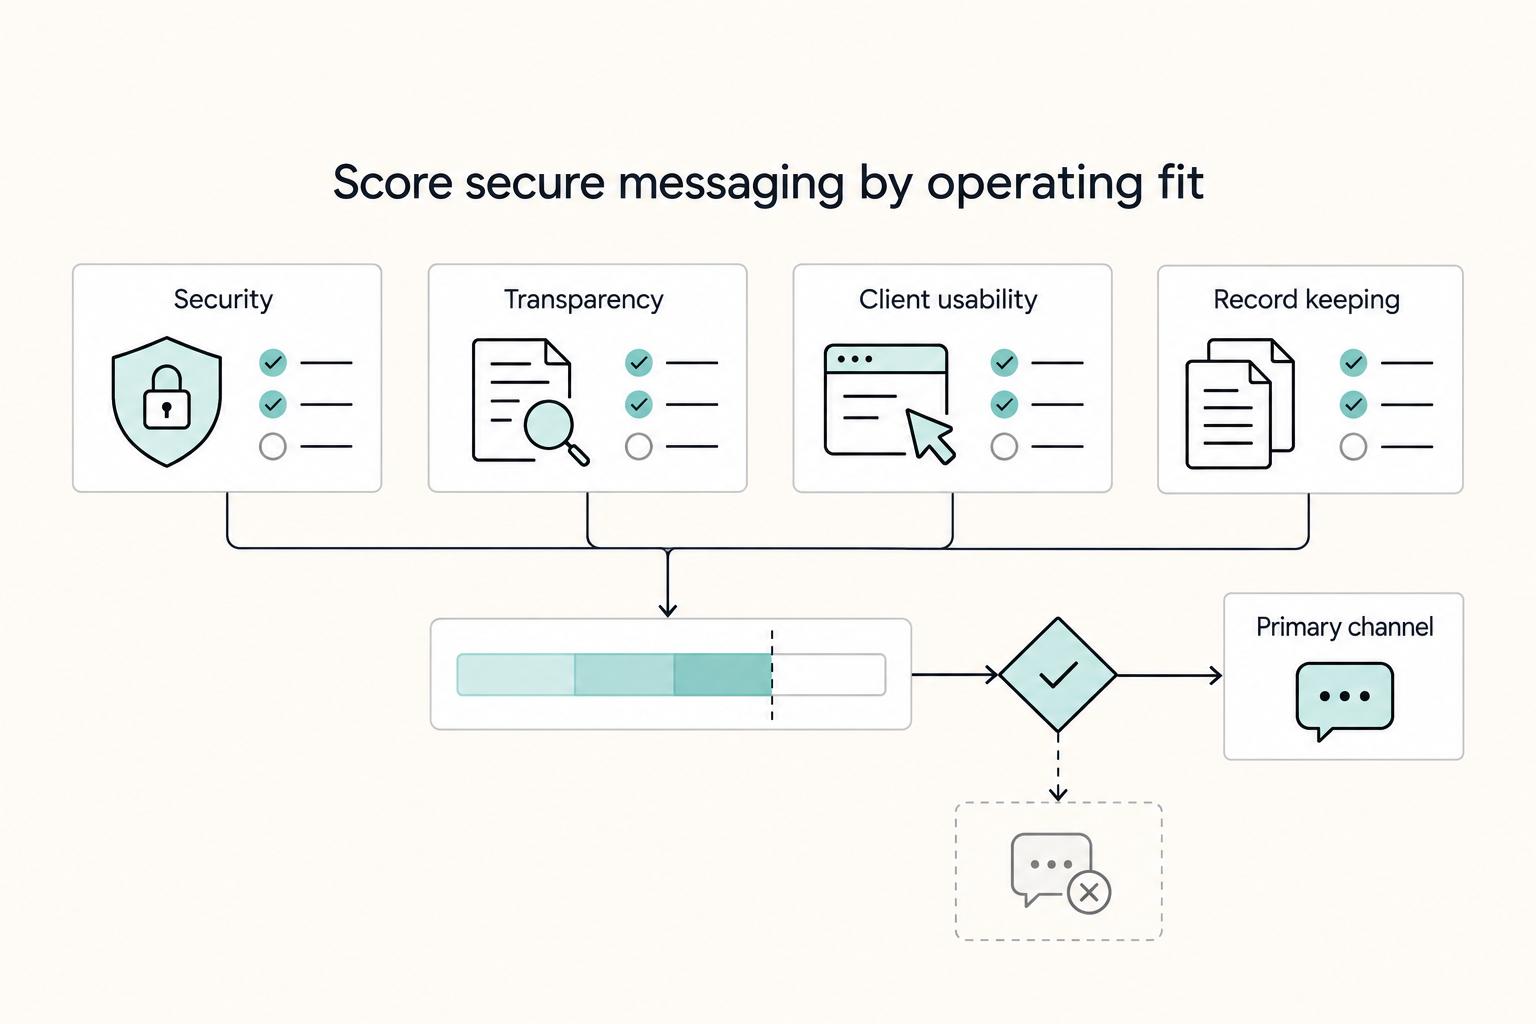
Secure Messaging Apps for Client Communication That Hold Up Under Pressure
Client work goes more smoothly when you set messaging rules before pressure hits: one primary channel, one fallback, and a short written policy.
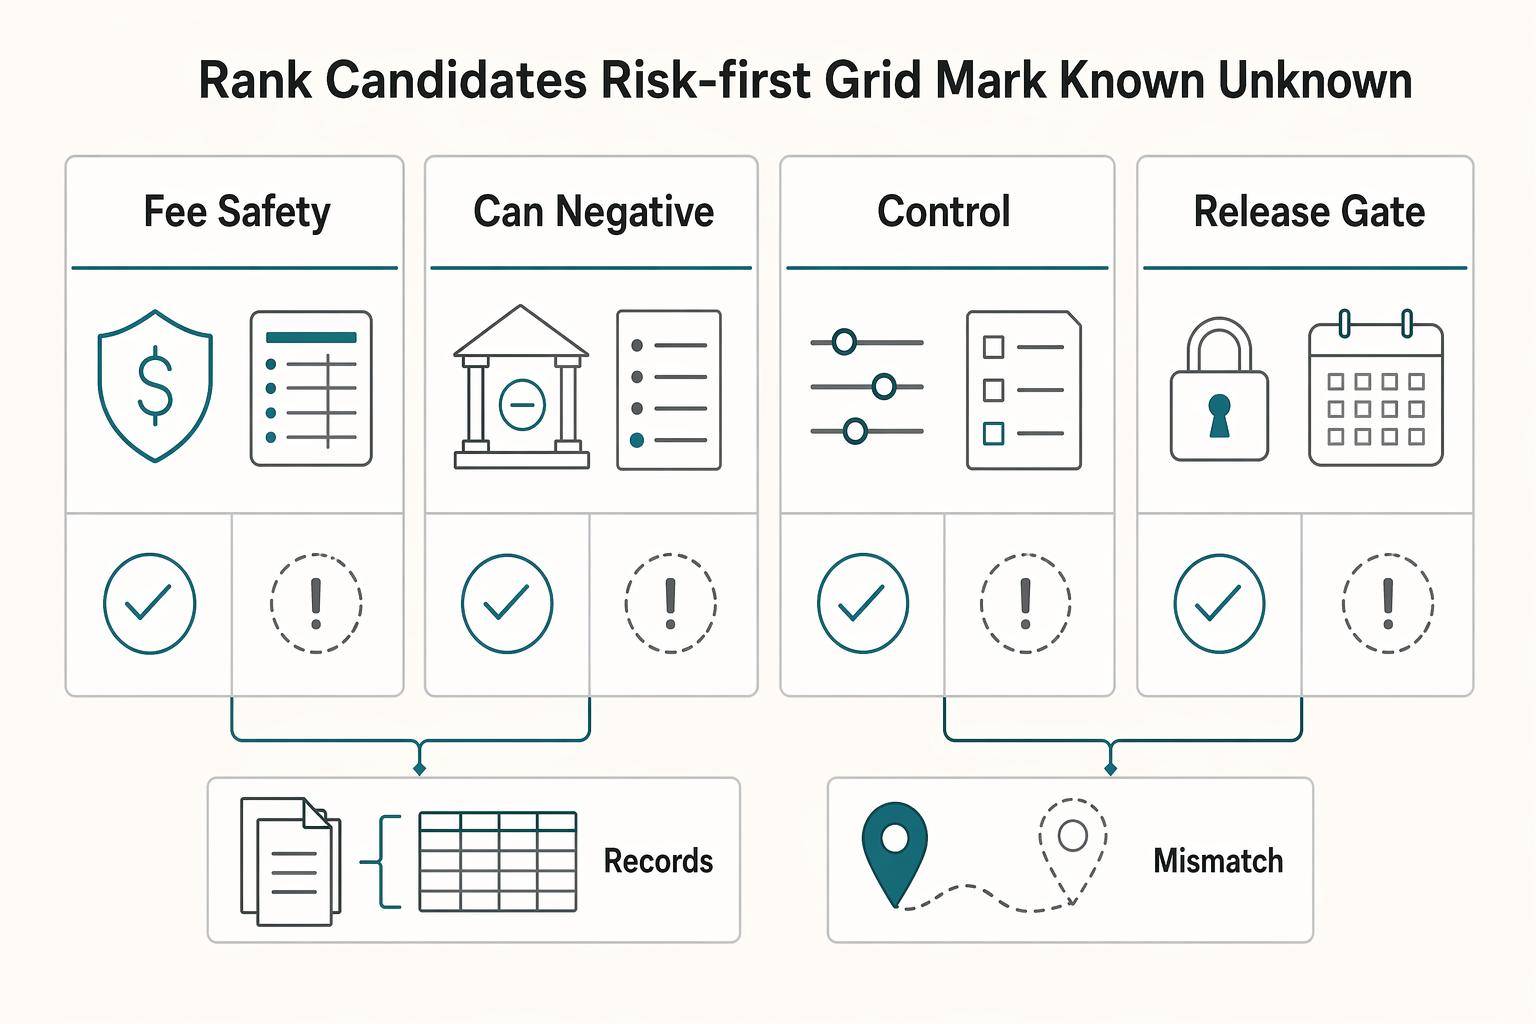
The Best Bank Accounts for Kids and Teens
**Design a controlled money workflow first, then pick the product whose official terms match it.** You are not shopping for a shiny "best kids account." You are building a predictable system where money flows in, spending stays bounded, savings stays protected, and you can review activity without turning it into a daily fight.