
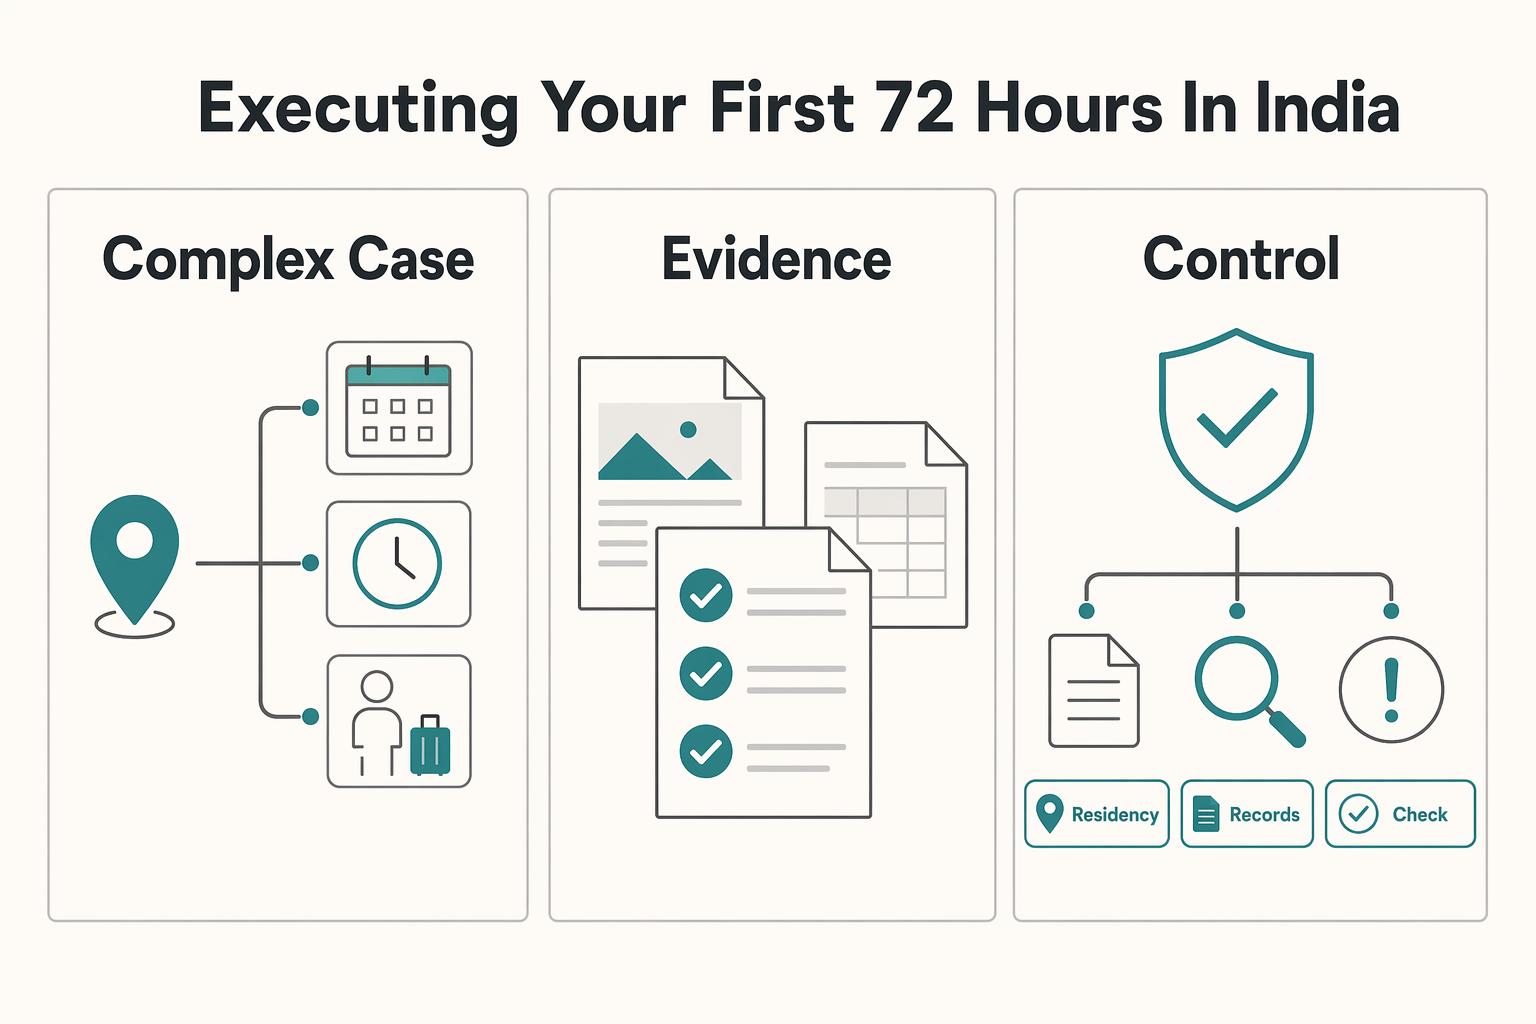
Quick Answer
Begin frro registration india as soon as you enter India: confirm your visa endorsement, file through e-FRRO or C-FRO, and keep passport, visa page, arrival stamp, and address records aligned. For many long-stay cases, the filing clock is tied to the 14-day window after arrival, so delays create avoidable queries. Stay on portal, email, and SMS updates until your Residential Permit is issued and stored with backups.
Your First Operational Priority in India: Getting Registration Right#
Your first operational priority in India is getting registration right, early. Treat it as a structured project and you can cut avoidable delays while making the rest of your compliance work easier to manage.
A completed registration gives you a formal record of lawful stay and a Residential Permit (RP). When timing, address evidence, or uploads do not line up, it can trigger queries, rework, and slower follow-on immigration services.
The real output is the Residential Permit#
Your target is the RP. It is issued at registration and is valid only for the stay period specified in your visa.
In practice, this is the document that anchors your lawful stay in the registration process. It also sets your forward timeline. If you plan to stay beyond the current validity, MHA guidance says RP extension requests should be filed at least two months before expiry.
| Decision point | Prepared start | Reactive start |
|---|---|---|
| Scope check | You confirm whether your nationality, visa duration, and intended stay trigger registration. | You assume the common rule applies and discover exceptions after arrival. |
| Residence evidence | You align address documents and host or accommodation support before filing. | You submit first, then fix mismatches after queries. |
| Submission follow-up | You keep documents, application details, and status checks organized from day one. | You scramble for missing items and lose time. |
What to verify before you land#
Registration is governed by the Registration of Foreigners Rules, 1992. The registration authority is FRRO, or district police acting as FRO where FRRO is not present. The filing route is online through C-FRO or e-FRRO, and many routine services are handled online, but do not assume an in-person appearance is never required.
| Case | Visa/stay length | Registration timing |
|---|---|---|
| Non-Pakistan and non-Afghanistan nationals | Visa up to 180 days | Generally do not need registration |
| Non-Pakistan and non-Afghanistan nationals | Visa over 180 days | Register within 14 days of arrival |
| Entry on a visa up to 180 days | Stay extends beyond 180 days | Register within 14 days after day 180 |
For scope and timing, run a final 2026 check before you rely on any one summary, because official texts use different wording. MEA guidance states:
- Non-Pakistan and non-Afghanistan nationals on visas up to 180 days generally do not need registration.
- Non-Pakistan and non-Afghanistan nationals on visas over 180 days must register within 14 days of arrival.
- If entry was on a visa up to 180 days but stay extends beyond 180 days, registration is required within 14 days after day 180.
A separate MHA text uses different timing language for intended stays over 180 days, so confirm the currently enforced wording before relying on a single deadline.
The operator details that save you trouble#
Two early checks can save you a lot of trouble. First, match your exact visa terms and intended continuous stay against the current official rule text. Second, lock your residence trail before you file. If you stay with a host or at a hotel, Form C reporting can matter, and BOI guidance says host-side reporting is within 24 hours of arrival.
Common friction points include mismatches in visa details, arrival information, address evidence, and host-side reporting timelines. Build a clean file before submission so the next phases stay in execution mode instead of recovery.
If you want a deeper dive, read The 2026 Global Digital Nomad Visa Index: 50+ Countries Compared.
Phase 1: Preparing a Submission-Ready File Set Before Departure#
The pre-flight objective is simple: land with a submission-ready file set, a verified visa position, and no unresolved document dependencies.
If you leave this for arrival week, you usually lose time to missing scans, unclear visa terms, or gaps in your document set. Many long-stay professionals are working against a reported 14-day registration window after arrival, so front-loading is the safer move.
Start with the one check that changes everything#
Verify your exact visa terms first. Your printed Indian visa may state whether you must register and on what terms, and official material itself shows category and nationality differences, so do not assume one universal timeline.
Also treat older explainers as prompts, not final authority. One commonly referenced FRRO overview is dated July 27, 2015, so if your visa wording, employer guidance, and current official guidance conflict, resolve that before travel.
Build one digital dossier, organized by owner#
Set up one secure cloud folder with clear filenames and ready-to-upload color scans so you can submit without digging through messages or devices.
| Category | Document or file |
|---|---|
| You own | Passport bio page scan |
| You own | Scan of the page with your Indian visa |
| You own | Highest degree certificate |
| You own | Other professional qualifications tied to your case |
| You own | Any additional personal files required by your visa terms |
| Your employer owns | Signed employment contract |
| Your employer owns | Any additional employer-issued documents required for your case |
| Address documentation to line up before travel | Documentation for your initial arrival address |
| Address documentation to line up before travel | A clear record of your initial address and any planned near-term move |
At minimum, keep the folder split by owner: documents you control, documents your employer must issue, and address material you need lined up before travel. Also verify the current portal upload rules before travel, including file format, file size, and photo requirements.
Before departure, open every file on both phone and laptop, check readability, and confirm your passport and visa scans match the documents you will carry.
| Preparation timing | Delay risk | Likely rework | Your control |
|---|---|---|---|
| Before departure | Lower | Mostly file cleanup and naming fixes | High |
| After arrival | Higher | Re-scans, missing letters, address mismatches, repeated uploads | Lower |
| Mixed prep | Moderate | Usually employer or accommodation follow-up | Medium |
Treat accommodation as a real dependency#
Address documentation is not a side task. It can slow progress if your first-stay details are unclear, so lock it early. If you start in temporary accommodation, make sure your stay details are documented clearly at check-in.
If you expect to move quickly into long-term housing, prepare your address trail early so your registration file stays consistent. If your first stay and intended filing address differ, document both clearly to reduce avoidable queries.
If you are also reviewing agreements around your move, see 10 Freelance Contract Red Flags That Scream 'Run Away'.
Phase 2: Executing Your First 72 Hours in India#
Use your first 72 hours to get the application live and ready to submit, not just started. For many long-stay cases, registration is tied to stays over 180 days and a 14-day arrival window, but some lanes are shorter. If you are a Pakistan national, guidance lists 24 hours, and for Pakistan nationals on a medical visa it lists 7 days. Country-specific conditions can change, so verify the current rule set before you submit.
| Day | Primary goal | Key actions |
|---|---|---|
| Day 1 | Lock identity and address inputs before you enter portal data | Re-check your visa details against your passport and arrival stamp, set up the email and phone contact details you will monitor consistently, confirm your accommodation evidence in writing, and match the exact address format across all documents |
| Day 2 | Start the portal and build the application in a fixed sequence | Create your user ID or account, enter profile data exactly as shown on passport and visa records, upload photo then passport and visa pages then residence proof then category-specific supporting files, and save your progress after each step |
| Day 3 | Use a quality-control gate before final submit | Re-verify name order and spelling, passport number and validity-page details, visa number and category, arrival date and port, residential address, and that each uploaded image or page is complete, upright, and readable |
Day 1. Lock identity and address inputs before you enter portal data#
Day 1 is about locking identity and address inputs before you enter portal data. Get those two inputs stable first, then fill the application.
- Re-check your visa details against your passport and arrival stamp, including any stay stipulation, instead of relying only on visa expiry.
- Set up the email and phone contact details you will monitor consistently for account access and follow-ups.
- Confirm your accommodation evidence in writing.
- If you are in a hotel or lodge, request a Form C copy. * If you are in rented housing, collect the signed lease or license agreement and the linked address proof documents.
- Ask for the exact address format you should use in the application and match it across all documents.
Day 2. Build the application in a fixed sequence#
Start the portal on Day 2 and build the application in a fixed sequence. That helps you catch mismatches early, before you have to revisit multiple fields and uploads.
- Create your user ID or account.
- Enter profile data exactly as shown on passport and visa records.
- Upload in this order: photo, passport and visa pages, residence proof, then any category-specific supporting files.
- After each step, save your progress and re-check entries before moving on.
For passport and visa uploads, check the required pages carefully: photo page, validity page, arrival-stamp page, and visa endorsement page. A one-character mismatch in passport number, visa number, date of birth, or arrival date can lead to avoidable follow-up checks.
| Complete now | Can wait until post-submission | Why |
|---|---|---|
| Account creation and core personal data | File renaming or folder cleanup | Filing accuracy and timing matter first |
| Photo, passport and visa pages, residence proof | Optional explanatory notes, unless requested | These are the core items listed for fresh registration |
| Form C copy (hotel/lodge) or rental residence documents (lease/license and linked address proof) | Broader relocation admin setup | Residence proof is part of the core upload set |
| Originals organized in one physical set | Non-registration planning tasks | You may still be asked for originals |
Day 3. Run the quality-control gate before final submit#
Day 3 is your quality-control gate before final submit. Treat it as a deliberate re-check, not a quick skim.
- Re-verify name order and spelling against the passport bio page.
- Re-verify passport number and validity-page details.
- Re-verify visa number, visa category, and any endorsement or stay stipulation.
- Re-verify arrival date and port against the immigration stamp.
- Re-verify your residential address against lease, bill, or Form C copy.
- Re-check that each uploaded image or page is complete, upright, and readable.
Keep original documents ready even though the flow is online. One official source describes e-FRRO as generally requiring no office visit except special cases, while another process note mentions submitting original supporting documents after online filing.
Before final submit, verify the current payment methods and any live submission rule shown in the portal.
If this phase slows down, re-check residence-proof details and document consistency first.
You might also find this useful: A Guide to India's Data Protection Law (DPDP Act) for Foreign Companies.
Deep Dive: De-Risking Your "Proof of Residence"#
Residence proof can easily become a friction point, so treat it as a consistency check, not a paperwork scramble. In the first 72 hours, choose the housing path that can give you a clear written occupancy record quickly, because your 14-day registration clock keeps running.
This sits inside the broader registration process aimed at securing your Residential Permit (RP).
Do not assume a single mandatory list exists for every nationality and housing type; use the framework below to choose a path, then verify the exact current requirement for your case.
Practical decision rule#
Pick the option that gives you matching name, address, and stay dates in writing now. If a host says documents will come later, assume delay risk and plan around it.
| Residence-proof option | Document stack to prepare before upload | Who provides each item | First check before you file |
|---|---|---|---|
| Leased housing | Verify the currently required residence-proof item in the FRRO workflow for your case | Varies by property and filing setup; confirm before upload | Name, address, and stay dates match across your form entry and uploaded files |
| Serviced stay | Verify the currently required residence-proof item in the FRRO workflow for your case | Varies by property and filing setup; confirm before upload | Name, address, and stay dates match across your form entry and uploaded files |
| Hotel or guesthouse | Verify the currently required residence-proof item in the FRRO workflow for your case | Varies by property and filing setup; confirm before upload | Name, address, and stay dates match across your form entry and uploaded files |
What to standardize before submission#
Standardize three things before you upload anything, and keep them identical across the workflow and your document pack:
- your full name
- your residential address
- your check-in or lease-start date
If a reviewer cannot trace your passport and visa details to one current residential address without guessing, pause and fix the residence pack before you submit. That usually saves more time than rushing a weak file.
We covered this in detail in How to Get a PAN Card as a Foreign National in India.
Before you submit, run your document pack against this visa cheatsheet so you can catch missing items early.
Phase 3: The Monitoring Stage - After You Click 'Submit'#
Submission is the start of active operations, not the end of the process. After you submit in e-FRRO, check your portal dashboard and email regularly, and monitor email/SMS alerts daily until your case closes.
Status labels are not uniform across all services, but this response map is a useful working guide when you see similar labels:
| Status you may see | What it often means for you | What to do next |
|---|---|---|
| Submitted | Your application has been filed and is awaiting scrutiny. | Save the acknowledgement and begin daily checks across portal, email, and SMS. |
| Under Process | Your file is under review by the concerned FRRO authority. | Keep your passport, visa, address proof, and upload-ready files organized in case you are asked for a correction. |
| Query | You have an action request, for example correction, re-upload, clarification, or a payment step. | Respond quickly and precisely to the exact ask, then keep monitoring until your update is reflected or acknowledged. |
| Granted | Your service has been approved; follow the portal/email communication flow for next steps and document access. | Check the issued output promptly and verify key details: name, passport details, address, and validity. |
Treat a Query as a precision task, not a failure:
- Read the request literally and correct only what was asked.
- Upload the correction under the exact requested document type.
- Check the file before upload for legibility, full page capture, and correct orientation.
- After upload, recheck portal, email, and SMS until the correction is visible or acknowledged.
If post-submit progress stalls, troubleshoot in order:
- Missed alerts: check spam or junk, then log in to the portal directly instead of waiting for a new message.
- Re-upload not accepted: replace unclear or incomplete scans with clean files, not just renamed versions.
- Contact mismatch: if you cannot reliably access the registered email or India mobile number used for OTP and updates, correct that first or contact your jurisdictional FRRO. In exceptional situations, an in-person FRRO or FRO visit may still be required.
Once approved, close out properly. Store your RP or RC in secure cloud storage, keep one offline backup, and retain a clean print copy. Validity follows your visa stay period, so set an expiry reminder now and plan any extension filing at least two months before expiry.
For a step-by-step walkthrough, see The Best Payroll Software for a Company with Employees in India.
Treat FRRO Registration as a Managed Project#
The workable approach is to treat this as a managed project, not a vague bureaucratic event. That keeps control in your hands over the risks that usually create problems: timing slips, document mismatches, and avoidable rework. The goal is not to make the process feel easy. It is to keep the key checkpoints visible and practical.
For many long-stay cases, that means confirming whether your stay crosses the more-than-180-days threshold, protecting the registration window often described as 14 days from arrival, and using your pre-departure digital dossier as your main working folder in India. When your passport bio-page scan, visa-page scan, and portal entries match exactly, you reduce avoidable correction cycles.
| Phase | What you controlled | Practical outcome |
|---|---|---|
| Strategy | Your document base before departure | Cleaner submission flow because your scans, names, and core records were ready before travel |
| Execution | Your first 72 hours in-country | Fewer avoidable rework loops because you acted early instead of using the deadline as planning time |
| Monitoring | Your follow-up after submission | Stronger readiness for next steps because you kept records and stayed alert for queries |
That is the real value of a disciplined FRRO process. It is not a promise of zero friction. It is a lower chance that preventable errors disrupt your assignment or that late filing creates extra stress and rework.
What you do next#
- Save your Residential Permit and submission records in the same secure folder as your passport and visa scans.
- Keep the permit and key identity documents accessible on your phone and laptop, with clear file names and backup copies.
- Track future status changes that affect your record, and keep your document set current instead of rebuilding it later.
With that in place, you have turned compliance from uncertainty into a process you can manage. This pairs well with our guide on A Deep Dive into the 'Place of Supply' Rules for GST in India.
If your India move also changes how you invoice or receive international payments, talk to Gruv to map a compliant setup for your case.
Frequently Asked Questions
What photo file should you upload?
Use the live portal requirements, not copied specs from older blogs or forums. Keep the exact photo requirement unresolved in your notes until you verify it in the live portal, then check that the uploaded file is clear and readable at full size before you submit.
Which proof-of-address path should you use?
Use the path you can fully document today with matching name, address, and stay dates. Then confirm exact document names in the live portal, and use the official checklist page as a checkpoint before you upload. The safest choice is usually the one that gives you the clearest written occupancy record now, not the one that promises documents later.
How should you handle Form C or any host-side submission?
Form C responsibility and workflow are case-specific and not confirmed in this section. Verify your exact requirement through the live portal and official channels, get guidance in writing, and keep dated records of follow-ups.
Can you register before you enter India, and what if you are late?
For listed long-stay visa categories, registration is described as required within 14 days from arrival, so your entry date is a key checkpoint. This guidance does not confirm a pre-entry filing path, so verify that point through official channels. If you miss timing, file as soon as possible, verify current late-case handling directly through official channels, and retain your evidence trail, including entry proof plus portal and email records.
Does every long-stay visa holder need to register?
Do not assume yes or no from the visa label alone. For Business Visa cases, registration can depend on endorsement wording, including conditions tied to 180 days during a calendar year or 180 days continuous stay, so read the endorsement line carefully before planning your timeline.
What should you gather for an Employment Visa case?
For an Employment Visa case, use the live portal to confirm the exact documents required for your situation, and use the official checklist page as a checkpoint before filing. Once issued, keep your registration certificate or Residential Permit accessible because it is described as valid ID and proof of address, and it may be requested during domestic or international airport travel.
Try a related tool
Researched and edited by the Gruv editorial team. Gruv builds cross-border billing, payouts, and finance-operations software for global businesses.
Sources
- azmemory.azlibrary.gov/nodes/view/255493trusted
- boi.gov.in/boi/contents/registration-authority/registra...trusted
- boi.gov.in/boitrusted
- bvuniversity.edu.in/isc/support/e-frrotrusted
- cgireunion.gov.in/index.php/visa-su-swagatamtrusted
- international.ganpatuniversity.ac.in/what-is-e-frrotrusted
- mea.gov.in/visa-related-services-provided-by-FRROs-FROs...trusted
- mea.gov.in/foreigners-registration.htmtrusted
Educational content only. Not legal, tax, or financial advice.
Related Posts

The 2026 Global Digital Nomad Visa Index for 50+ Countries
Start with legal fit, not lifestyle filters. The practical order is simple: choose a route you can actually document, then decide where you want to live. That single change cuts a lot of wasted comparison work and stops you from falling in love with places that were never a real filing option.
10 Freelance Contract Red Flags That Scream 'Run Away'
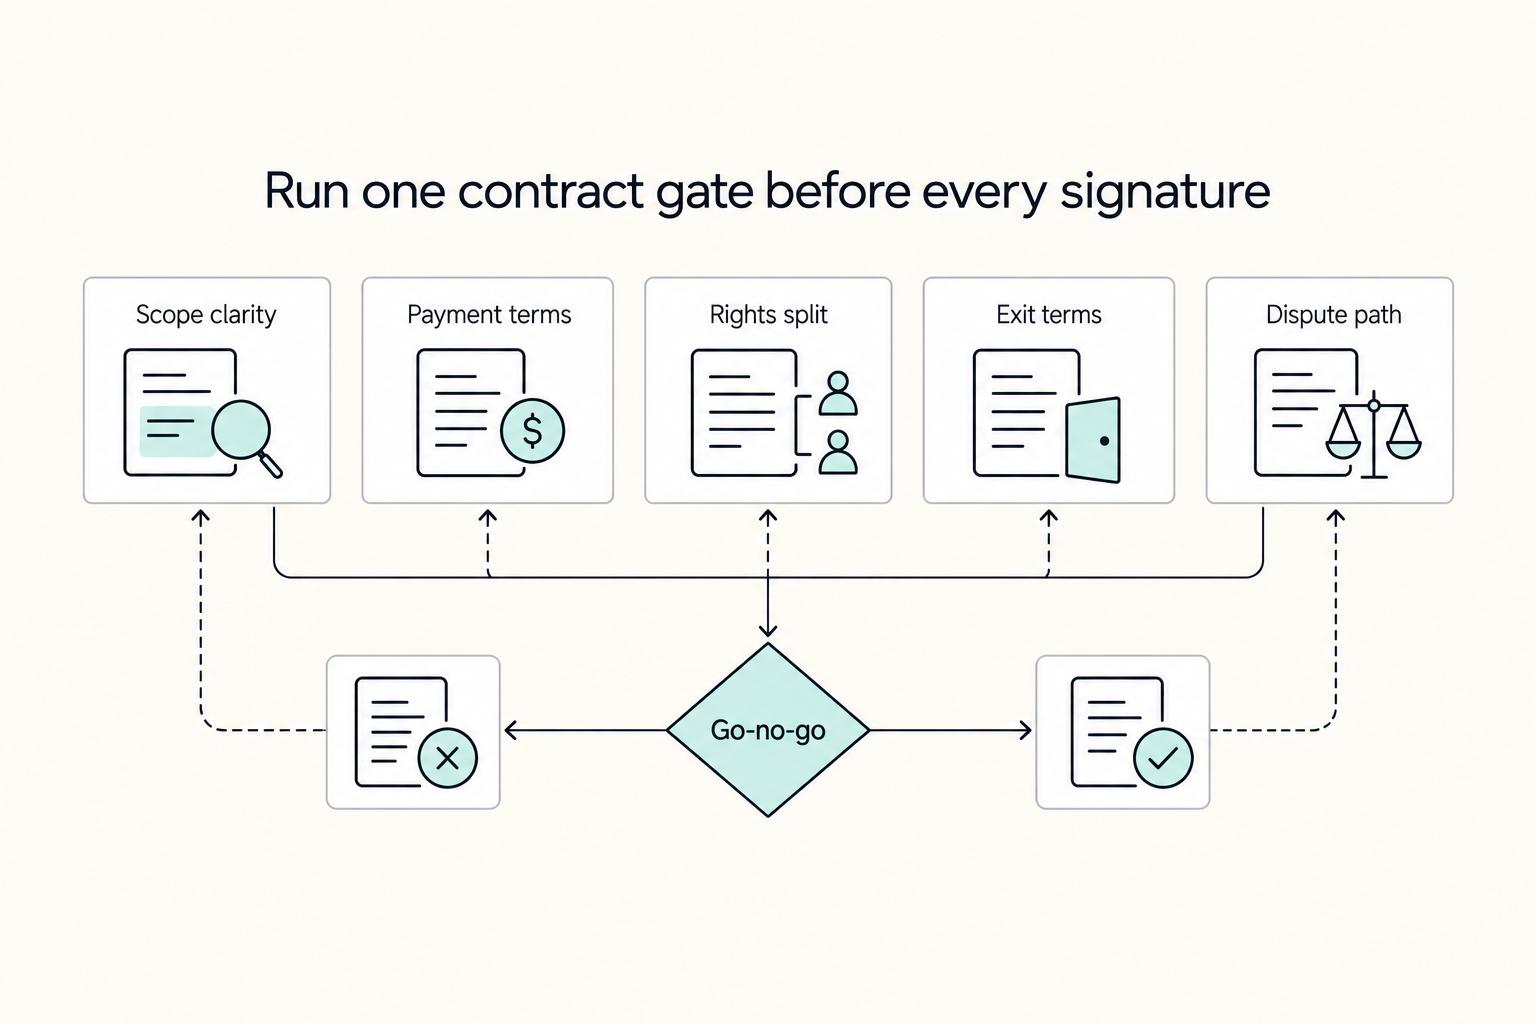
Use this as a fast decision screen, not a legal theory exercise: sign the Freelance Contract, send a Contract Redline, or walk away.

The Freelance Payment Penalty: A Modeled Audit of Platform Fees, FX Spreads, and Payout Delays
The money rarely disappears through a single, easy-to-spot fee. The real loss is stacked. A marketplace takes its commission, a processor adds a charge for international cards, a bank or payment company converts the currency at a spread, a platform holds the funds before release, and a wire sheds a little to intermediaries on the way in. Each layer looks defensible on its own, but the worker feels the combined result as a smaller deposit and a later payday.