
Quick Answer
Map the required journeys and important states, run a recorded prototype review, and save the exact approved version. Compare later requests with both the prototype and agreed scope before treating them as paid changes. Confirm Dev Mode access and give engineers interaction notes and acceptance criteria alongside the designs.
Use a reviewed prototype to clarify build scope#
Treat your high-fidelity prototype in Figma as the shared scope baseline before a single line of code is written. In practice, that means one file holds the UI flows and interactive paths your team reviews together. The prototype becomes the reference for scope, feedback, and pre-build alignment instead of just a polished design artifact.
| Lens | Prototype as design artifact | Prototype as shared scope baseline |
|---|---|---|
| Scope control | Shows intent | Records visual and behavior intent alongside the SOW and acceptance criteria |
| Feedback quality | Invites taste-based comments | Forces comments onto specific screens, states, and flows |
| Change requests | Slip into review meetings | Get flagged early and routed through a separate change process |
The shift is less about the tool and more about how you review. Instead of accepting feedback like "make it cleaner" or "this feels confusing," push for decisions that can be tested in the file. Decide which cards appear first, what happens after a failed login, whether guest checkout exists, and what the empty state says. When everyone reviews the same Figma file and comments on the exact frame, you avoid stale-version reviews and fuzzy memory.
Use a practical operating sequence:
- Map the key screens and expected interactions to the SOW and acceptance criteria.
- Run a structured walkthrough screen by screen and state by state.
- Capture approvals and unresolved notes in comments on the exact frame involved.
- Classify a new request as extra scope or correction of an existing obligation before agreeing any added fee or schedule change.
Use the fidelity needed to answer the review question: a rough sketch may be enough early on. Test important journeys with representative users as well as stakeholders. The approved prototype records visual and behavior decisions alongside the SOW and acceptance criteria, with its remaining limitations explicit.
If you want a deeper dive, read Value-Based Pricing: A Freelancer's Guide.
Agree what each design artifact approves#
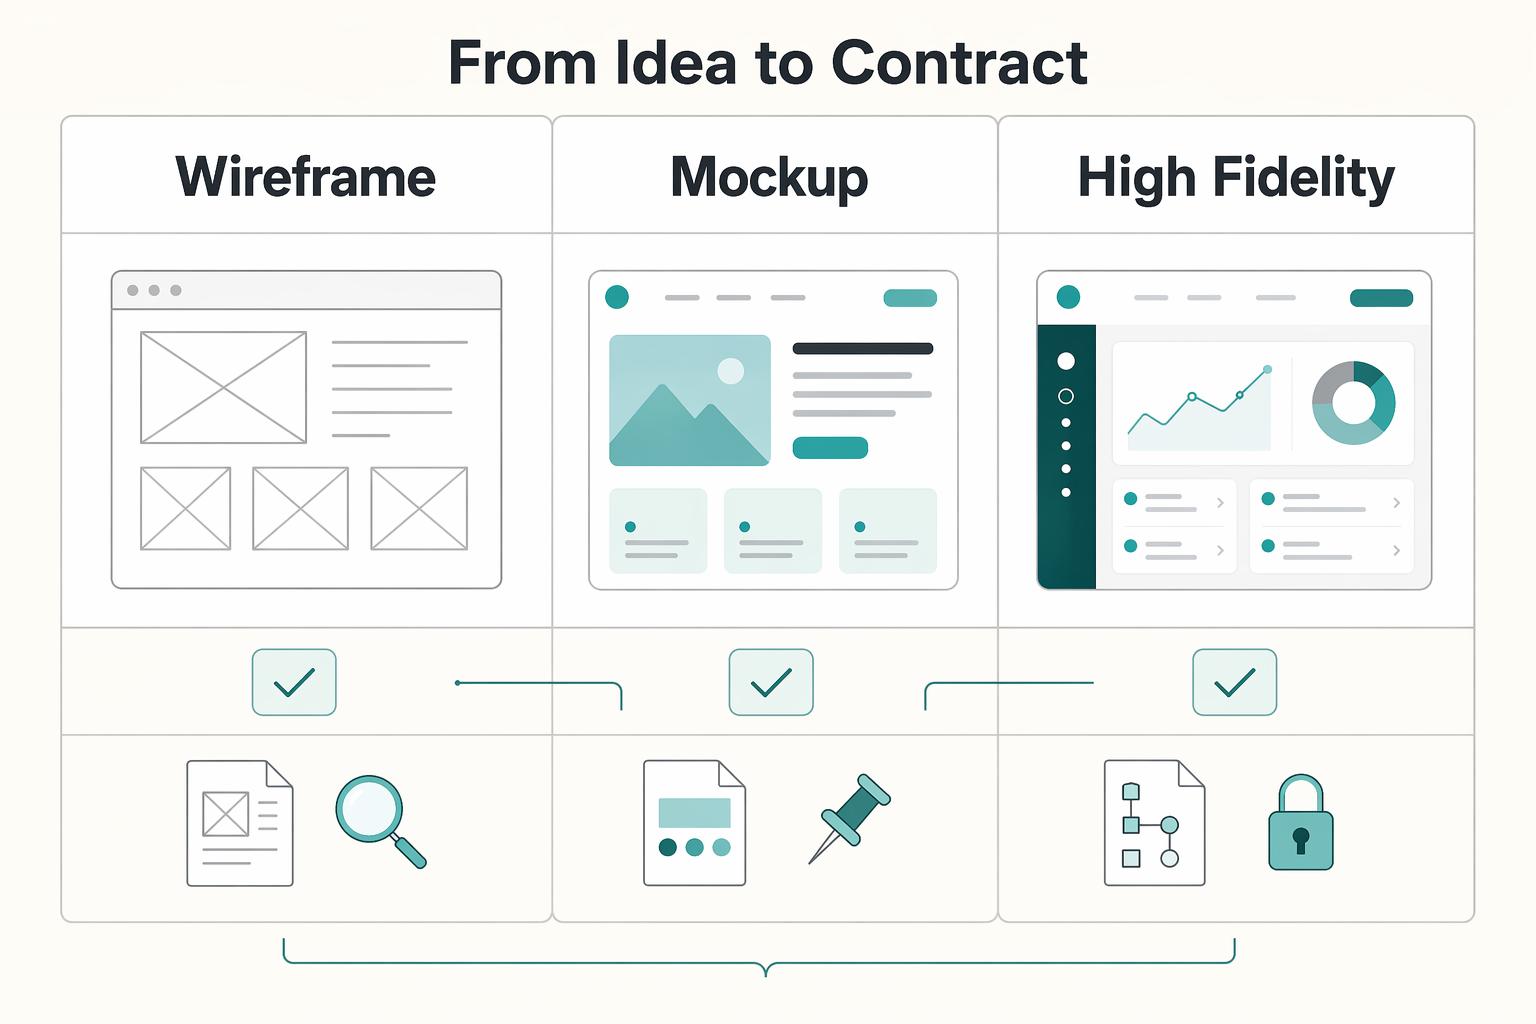
Treat each artifact as a different approval gate. When wireframe, mockup, and prototype get used as synonyms, people approve one thing and expect another. That is where revision loops and change-order friction usually start.
Wireframes can test structure and interactions too; fidelity does not determine whether a design is clickable. Use mockups for visual review and high-fidelity prototypes for the detailed behavior you need to discuss. State what this review approves and what remains unresolved.
| Artifact | What you need a decision on | What gets approved | What remains open |
|---|---|---|---|
| Wireframe | Structure, priority, basic flow | Page layout, content order, main path through the feature | Brand styling, final copy, detailed states, interaction timing |
| Mockup | Visual direction and interface clarity | Color, typography, spacing, imagery, component look | Real behavior, edge cases, error handling, full user flow |
| High-fidelity prototype | Behavior, scope boundary, handoff readiness | Screen-to-screen flow, key interactions, major states, review baseline for build planning | Engineering constraints, final implementation, any explicitly parked requests |
Use one simple readiness test before sign-off: can reviewers comment on a specific frame and state? If feedback is still broad ("make it cleaner," "not sure how this works"), you likely need one more pass before treating the file as approval-grade.
Move from mockup to high-fidelity prototype only when all three are true:
- Core flows are defined, including the main success path.
- Key states are identified, including empty, error, and confirmation states.
- Review criteria are agreed, including what this round approves and what stays out of scope.
Once those are locked, the next step is execution detail: what must be inside the file so it holds up under delivery pressure? For a broader workflow view, read Client Journey Mapping: From Inquiry to Payment and Handoff.
What a prototype must show before it is approval-ready#
A review-ready prototype answers enough behavior questions to support scope decisions. It complements the SOW and acceptance criteria; it does not become a contract merely because it looks finished.
Use this review checklist before you treat the file as approval-ready:
- Required UI states are visible. Show normal behavior and key exceptions such as empty, loading, error, and success states. If you skip these, scope decisions get deferred and resurface as late redesign.
- Content is production-like. Use realistic content so reviewers can spot behavior and layout issues earlier, instead of approving an idealized demo.
- Full path and edge paths are covered. Make the main flow clickable, then show what happens in edge conditions like logged-out users, empty data, or failed actions.
- Interaction behavior is explicit. Map what click, tap, submit, back, and cancel do and where each path leads, so decisions are traceable in the file.
| Prototype level | Review readiness | Ambiguity risk | Handoff clarity |
|---|---|---|---|
| Basic hi-fi prototype | Useful for visual review and broad flow discussion | Higher, because behavior and edge cases are often implied | Partial, because implementation questions remain open |
| Review-ready prototype | Ready for stakeholder walkthrough and scope-focused review | Lower, because key states and edge behavior are shown | Stronger, because expected behavior is documented before build |
In Figma, keep this practical: use components and variants to keep state coverage consistent, use variables to test realistic content behavior across screens, and map interactions so each connection reflects a reviewable decision. The goal is simple: reviewers can point to a specific frame and state without needing live interpretation.
Definition of done for this section#
Before walkthrough, confirm all four are true:
| Check | What to confirm |
|---|---|
| Key screens | Include normal and exception states |
| Content | Realistic enough to reveal behavior and messaging issues |
| Flow coverage | Main flow and important edge paths are clickable end to end |
| Interaction mapping | Clear enough to review, estimate, and challenge in-file |
If any one is missing, you likely have a strong visual prototype, not a review-ready prototype yet. Related: The Best Tools for Mobile App Prototyping.
Use approval as a versioned scope reference#
Your approved prototype should be your operating baseline for build decisions, not just a review artifact. Use it to define what behavior is in scope now, how new requests are handled, and where decisions are recorded before handoff.
A prototype simulates selected behavior. It can reveal usability questions, but does not establish production accessibility, backend correctness, security or performance. Keep those implementation checks in the build’s acceptance plan.
| Review approach | Change handling | Feedback quality | Budget predictability |
|---|---|---|---|
| Ad hoc review process | New requests blend into "small tweaks" because there is no approved baseline | Feedback stays abstract because people react to fragments | Lower, because behavior gaps are found late |
| Prototype-led review process | Compare requested behavior with the approved prototype, SOW and acceptance criteria; separate added scope from corrections already owed | Feedback gets more specific because people react to visible flows, states, and outcomes | Stronger, because more issues are found before build handoff |
What should the approved prototype actually control?#
It should control one thing clearly: the behavior everyone agreed to fund and build now. That includes key screens, flow order, major UI states, and expected outcomes after user actions.
Compare a request with the approved prototype, SOW and acceptance criteria. A missing behavior may be a new feature or an omission in work already promised; classify it before quoting a change. Absence from a frame is not automatic permission to charge extra.
For accountability, keep decisions in two places: comments on the exact frame in Figma, plus a lightweight decision log for acceptance notes, open issues, and follow-up outcomes.
How do you structure review so feedback stays usable?#
Run review as a task walkthrough, not a general design critique. Ask stakeholders to complete real tasks in the prototype, confirm expected behavior before each action, and capture feedback on the exact frame.
Use a simple loop:
- Set the key tasks to walk through.
- Confirm expected outcomes for success, error, empty, or cancel states.
- Resolve each comment as accepted change, deferred idea, or out of scope.
Before sign-off, make sure every comment has an owner and status, and that every accepted change is reflected in the file.
Why validate before build instead of during build?#
Use prototype-led review as a repeatable loop: test key flows, capture failure points, revise, and review again before handoff. When you need reliable behavior decisions, a concrete interactive model reduces ambiguity better than rough early concepts.
Prioritize the flows most likely to trigger rework if misunderstood: onboarding, checkout, permissions, destructive actions, and screens with empty or error states. Pair the clickable prototype with short state notes, open questions, and edge-case decisions to reduce late surprises without treating the prototype as final implementation.
Once this loop is stable, the next step is strengthening logic coverage, not just screen order. This pairs well with our guide on A Guide to Using Figma for Presentation Design.
Move from a static click-through to logic you can test#
If this file is your review baseline, it should expose behavior decisions, not just screen order. Shift from a static click-through to logic you can test: state changes, scenario switching, and success/failure branches.
| Prototype type | Edge-case coverage | Feedback quality | Handoff confidence |
|---|---|---|---|
| Static click-through prototype | Mostly happy-path flow and frame-to-frame movement | Feedback centers on layout and navigation, while logic gaps stay hidden | Lower, because state rules are still inferred later |
| Logic-driven prototype | Shows state updates, scenario switches, and branch behavior | Feedback is more practical because reviewers react to outcomes | Higher, because expected behavior is visible before build |
When should you use interactive components for state changes?#
Use interactive components for reusable behavior between variants, such as an unchecked and checked control. Set an On click trigger with a Change to action between those variants, then place instances in the flow.
- Risk it reduces: inconsistent control behavior across frames.
- Review decision it enables: "Is this the right state model for this control?"
- Implementation detail to keep clean: define consistent component variants and use Boolean, Instance Swap, and Text properties where they reduce variant sprawl. Keep property and state naming aligned with your implementation terms.
When should you use variables instead of hardcoded screens?#
Variables store values such as a number, string or Boolean and can update bound properties, including other elements or component state. Use them when a value must carry through the scenario; they are not limited to changing a different element.
- Risk it reduces: false approval based on one frozen outcome.
- Review decision it enables: "Does this behavior still hold when the scenario changes?"
- Implementation detail to keep clean: switch each relevant variable mode during review and confirm linked UI updates in every place that consumes that variable. Avoid using variables for simple element-level interactions where interactive components are enough.
When is conditional logic worth using?#
A Conditional action evaluates an expression and runs the selected branch. For example, an illustrative quantity variable can send a zero-item cart to its empty state and a positive quantity to checkout. Confirm the features available in your plan; a separate frame per outcome is a valid simpler alternative.
- Risk it reduces: happy-path-only sign-off that misses failure behavior.
- Review decision it enables: "Do we agree on each branch trigger and expected outcome?"
- Implementation detail to keep clean: pair variables with explicit conditional branches, and mark unresolved rules as pending review instead of inventing values.
Once the logic is visible, the next risk is operational clarity during handoff. We covered that in detail in A guide to 'Design Handoff' from Figma to developers.
Make approved work, open items, and specs easy to find#
A strong prototype still fails handoff if people cannot quickly find what is approved, what is still open, and what engineering should build. When specs are unclear or mixed with drafts, developers end up guessing, and teams lose time to back-and-forth and rework.
Provide assets, specifications, interaction notes and the agreed acceptance criteria together. Make the approved version and any limitations visible so engineers can distinguish simulation from required implementation.
How should you structure the file so people can trust it?#
Use a consistent file architecture so a designer, PM, or engineer can find the source of truth in minutes.
| Page area | Primary users | Purpose | Must be present before dev starts |
|---|---|---|---|
| Cover and status | PM, designer, engineer | Entry point and current approval state | Status label, date, version/milestone, source-of-truth note, links to approved flows |
| WIP and exploration | Designer | Drafts and discarded options | Clearly separated from approved work |
| Components and tokens | Designer, engineer | Reusable components and shared values | Final components, documented interactive states, and color/spacing/typography tokens or styles used by approved screens |
| Flows and prototype review | PM, designer, engineer | End-to-end journey review | Key flows, edge cases, error states, empty states, and clearly labeled open assumptions |
| Ready for dev | Engineer, PM | Exact implementation target | Approved frames, exportable assets, spacing/sizing specs, interaction notes, accessibility notes, and links to required external records |
If unfinished concepts or stale frames leak into Ready for dev, your handoff becomes a scavenger hunt.
| Impact area | Organized handoff file | Messy handoff file |
|---|---|---|
| Review speed | Reviewers find approved flows and comment on the correct frames | Time is spent finding context and resolving duplicate feedback |
| Implementation accuracy | Engineers inspect intended states and style values directly | Engineers infer missing details or follow outdated frames |
| Rework risk | Open questions are visible before coding starts | Missing states and mixed approvals surface after build begins |
How do you run sign-off as a repeatable approval routine?#
Run a recorded prototype acceptance review. If the team calls it UAT, state its limited scope: acceptance of the simulated design does not replace user acceptance testing of the built product.
| Step | Action | Key detail |
|---|---|---|
| Prep the file | Save a named candidate version and record the approval reference | Use realistic content, verify major branches and record the review date and owner |
| Walk through flows | Review flows | Review success, error, empty, and disabled states where relevant |
| Capture decisions | Use frame-level comments | Approved for build on the approval date by the accountable name/role. Scope reference: the relevant ticket/SOW/record. Open issues: none or list any. |
| Transition to development | Move only when the approved page is current | Unresolved items are labeled, build tickets link to exact frames, and required records are stored in your team's system |
Keep the approval, exceptions and exact version reference in the project decision record. Figma comments support that record, but do not by themselves establish contract acceptance or prove production behavior.
How do you make Dev Mode useful to engineers?#
Confirm that engineers have the seat, plan and file access needed for the Dev Mode features you use. Dev Mode exposes design values and implementation notes; generated snippets are not a tested production implementation. Provide an agreed alternative specification if access is unavailable.
| Check | What to confirm |
|---|---|
| Tokens and styles | Approved screens use the same tokens/styles defined in components |
| Spacing and sizing | Spacing and sizing inspect cleanly |
| Exportable assets | Stable names and export settings |
| Interactive states | Required states such as hover, pressed, and disabled are present and visible |
| Notes | Cover transitions, branch conditions, and accessibility guidance |
A design system paired with Dev Mode helps teams stay aligned only when those details are maintained consistently.
You might also find this useful: How to create 'Wireframes' for a mobile app.
Hand off the approved version and its limits#
Once you have reviewed the right flows with stakeholders, stop treating the prototype as a draft and start treating it as the shared reference. That is the real value of a high-fidelity prototype in Figma: not status, but something you can click, test, and verify before code starts.
What makes that useful is fidelity in three dimensions: visual fidelity, interactivity, and functional accuracy. If one is missing, ambiguity comes back. A screen can look finished and still fail review if the error state is not wired, the transition hides a decision, or a control behaves differently from how users expect.
Confirm realistic content, relevant error paths and consistent reset behavior. For an interactive checkbox, navigate away and back to see whether its state is preserved or reset as intended. Record that expectation for implementation.
| Handoff question | Text-heavy scope doc | Approved prototype |
|---|---|---|
| Can stakeholders tell what will happen? | Often partly, if they interpret the wording the same way | Usually clearer because they can click through the behavior |
| Can you test edge cases like errors and empty states? | Harder to evaluate without extra explanation | Easier when those states are built into the flow |
| How do you handle scope changes? | Debates tend to start from memory or interpretation | You can compare the request against the agreed behavior |
| How ready is it for build review? | Engineers may still need behavior clarified | Developers can inspect the reference with fewer open questions |
Record the approved named version, review date and scope reference. Keep exploration separate, and tell engineers whether a link opens the live file or a recorded version. Later edits and shared-component changes must be reviewed before they become the new baseline.
For a step-by-step walkthrough, see How to create a 'Design System' in Figma.
Want help applying this to your specific project? Talk to Gruv.
Frequently Asked Questions
What is the difference between an interactive component and a regular prototype connection?
An interactive component defines reusable interactions between variants, such as checkbox states, which its instances inherit. A regular prototype connection can navigate between frames or open an overlay. Use component behavior for repeated controls and frame links for the larger journey.
How should you think about variables in your prototype?
Use variables for state or content values that the scenario needs to update, such as quantity, a selected option or a visibility flag. Bind the value to the relevant properties and test its initial value and reset behavior. Keep simple frame links when they answer the review question adequately.
What does conditional logic mean in prototyping, and when is it worth using?
Conditional logic chooses actions based on an expression, such as whether a quantity is zero. Use it when that distinction matters to review, and make each outcome testable. A separate frame for each case is often sufficient for a smaller prototype.
How should you organize a complex Figma file before handoff?
Before handoff, make reviewable journeys easy to find and ensure each journey has an obvious flow starting point. Remember that a flow is the network of frames and connections on a single page. A top-level frame can belong to multiple flows but only one starting point. If you need multiple entry routes from one top-level frame, restructure so each required route has a clear start.
How do you use a prototype for formal UAT without making it messy?
Review the simulated success, error and empty paths and record design approval against a named version. Keep open issues explicit. This can support a later UAT plan, but formal testing of the built product still needs its own evidence.
What is the most professional way to share a prototype with a client?
Send a review link that opens the prototype in Presentation view. Keep the permission setting at can view unless someone truly needs edit access, since people with can edit access can create and change prototypes. You can share the entire prototype or copy a link to a specific flow starting point when you want the review to begin on one exact journey. Before you send it, open the link as a viewer and verify the intended starting point loads and key hotspots work as expected.
Try a related tool
Researched and edited by the Gruv editorial team. Gruv builds cross-border billing, payouts, and finance-operations software for global businesses.
Sources
Includes 2 external sources outside the trusted-domain allowlist.
Educational content only. Not legal, tax, or financial advice.
Related Posts
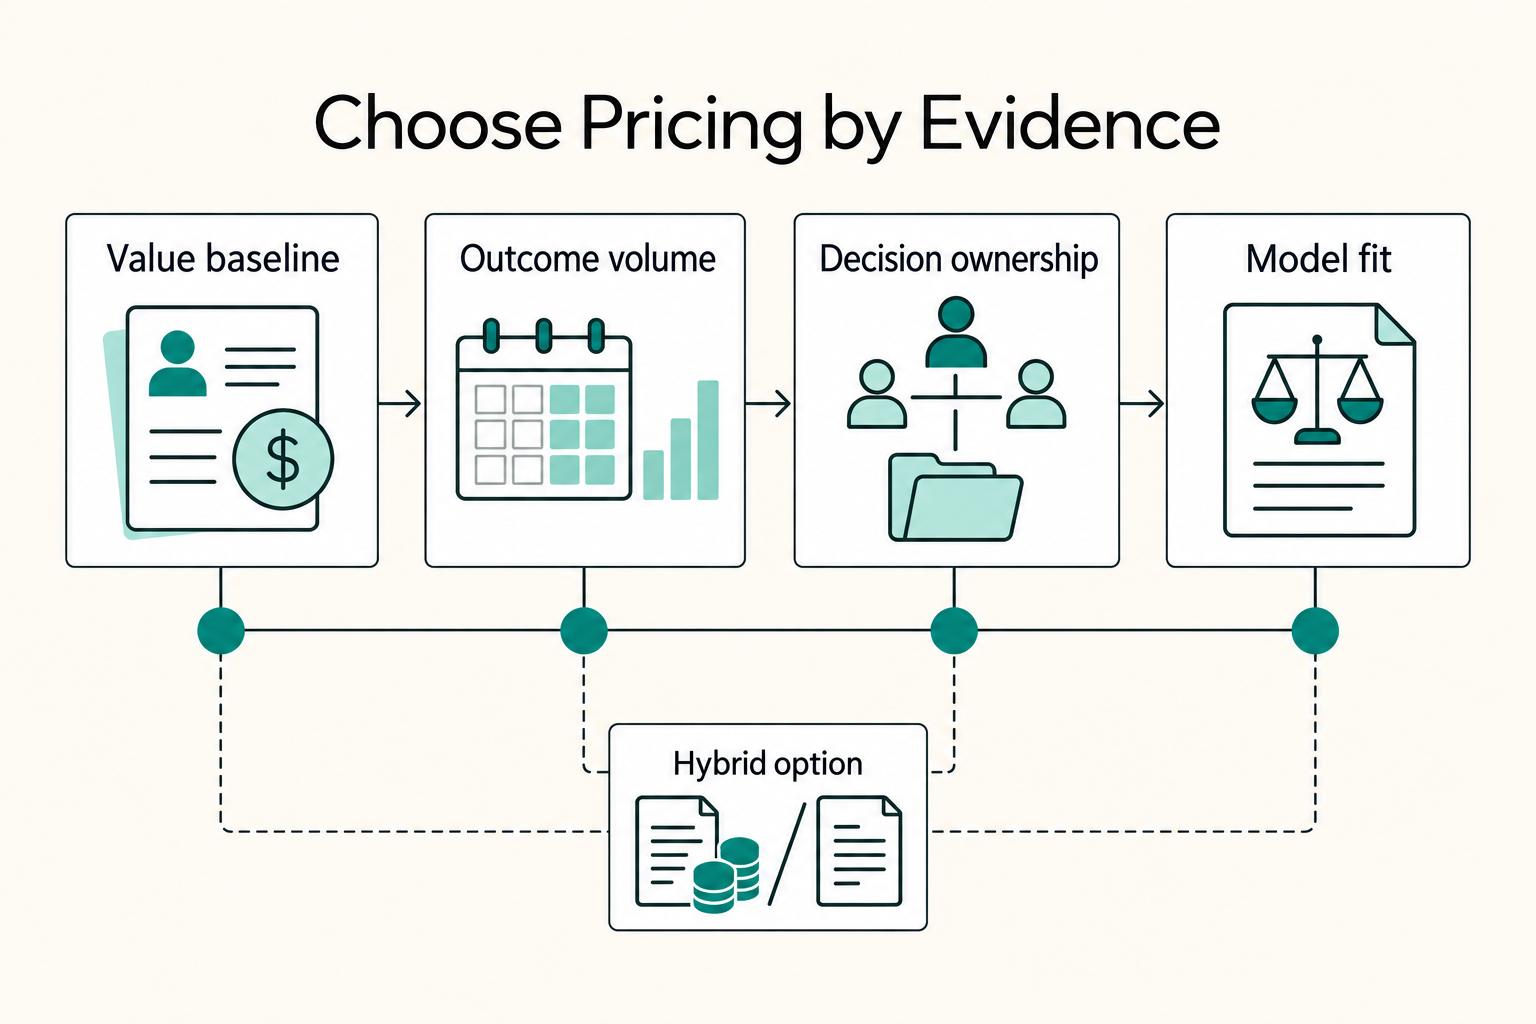
Value-Based Pricing for Freelancers Under Real Payment Risk
Value-based pricing starts with the client’s expected benefit and willingness to pay. It still needs a deliverable, scope and payment agreement you can perform. Use a discovery phase when the benefit or effort is too uncertain to support a defensible quote.
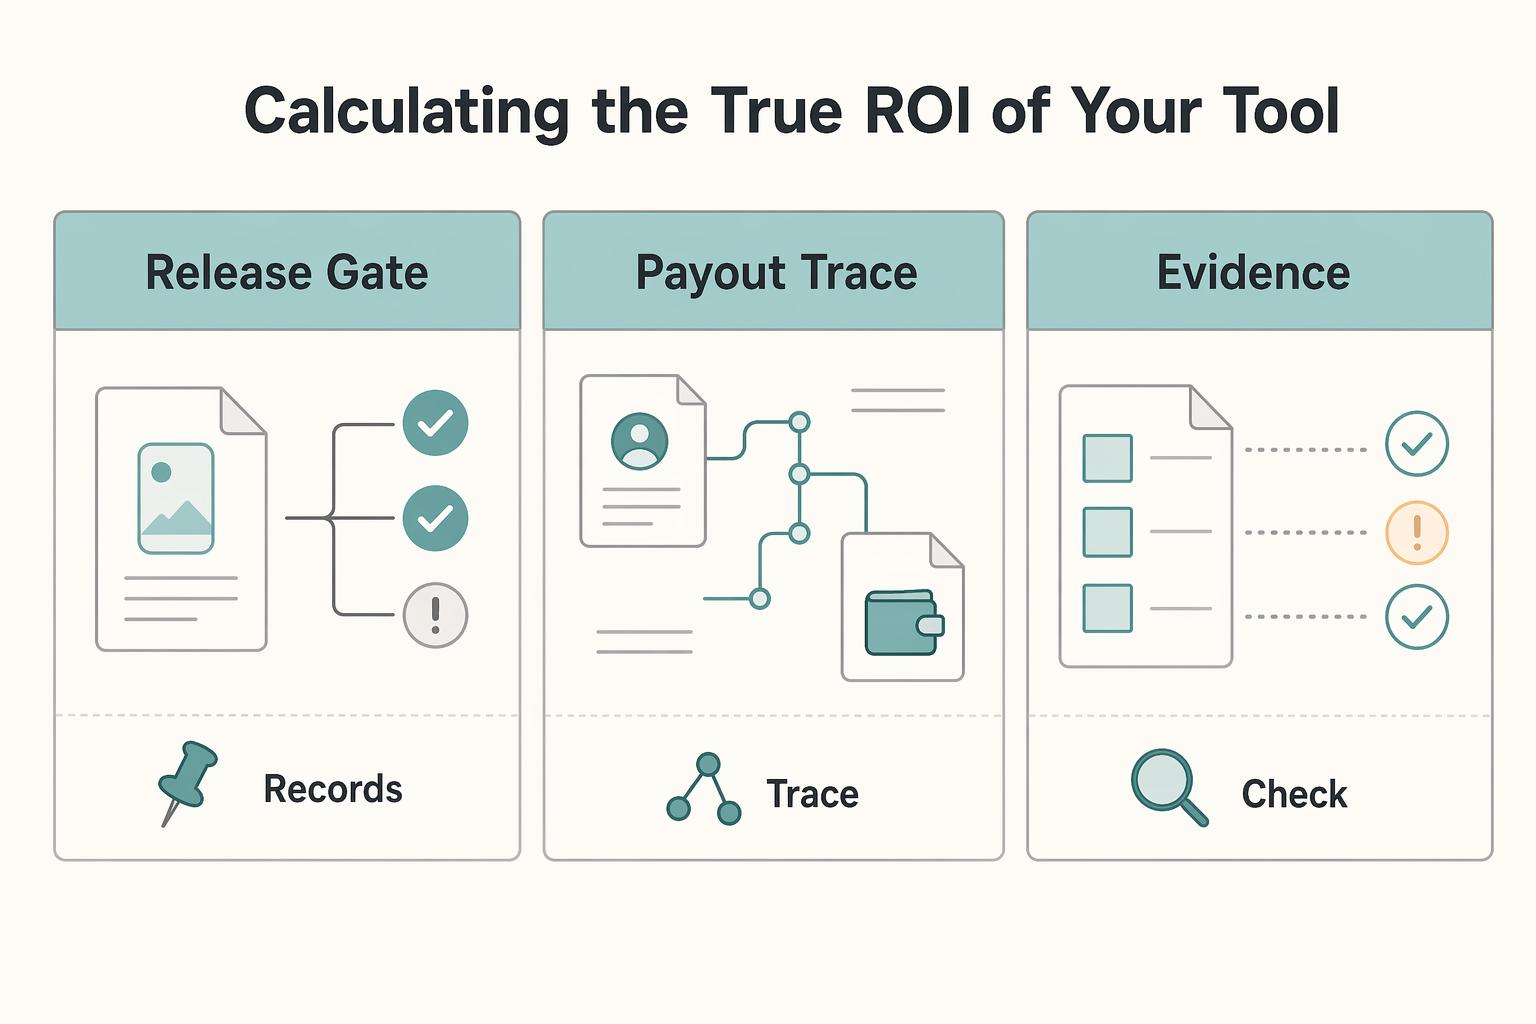
Best Mobile App Prototyping Tools for Freelancers
A mobile prototype should help the client decide on a flow and help developers understand what to build. The useful comparison is between low-fidelity wireframes, interactive screen designs and detailed behavior simulations. Subscription cost matters alongside review access, device testing and handoff effort.
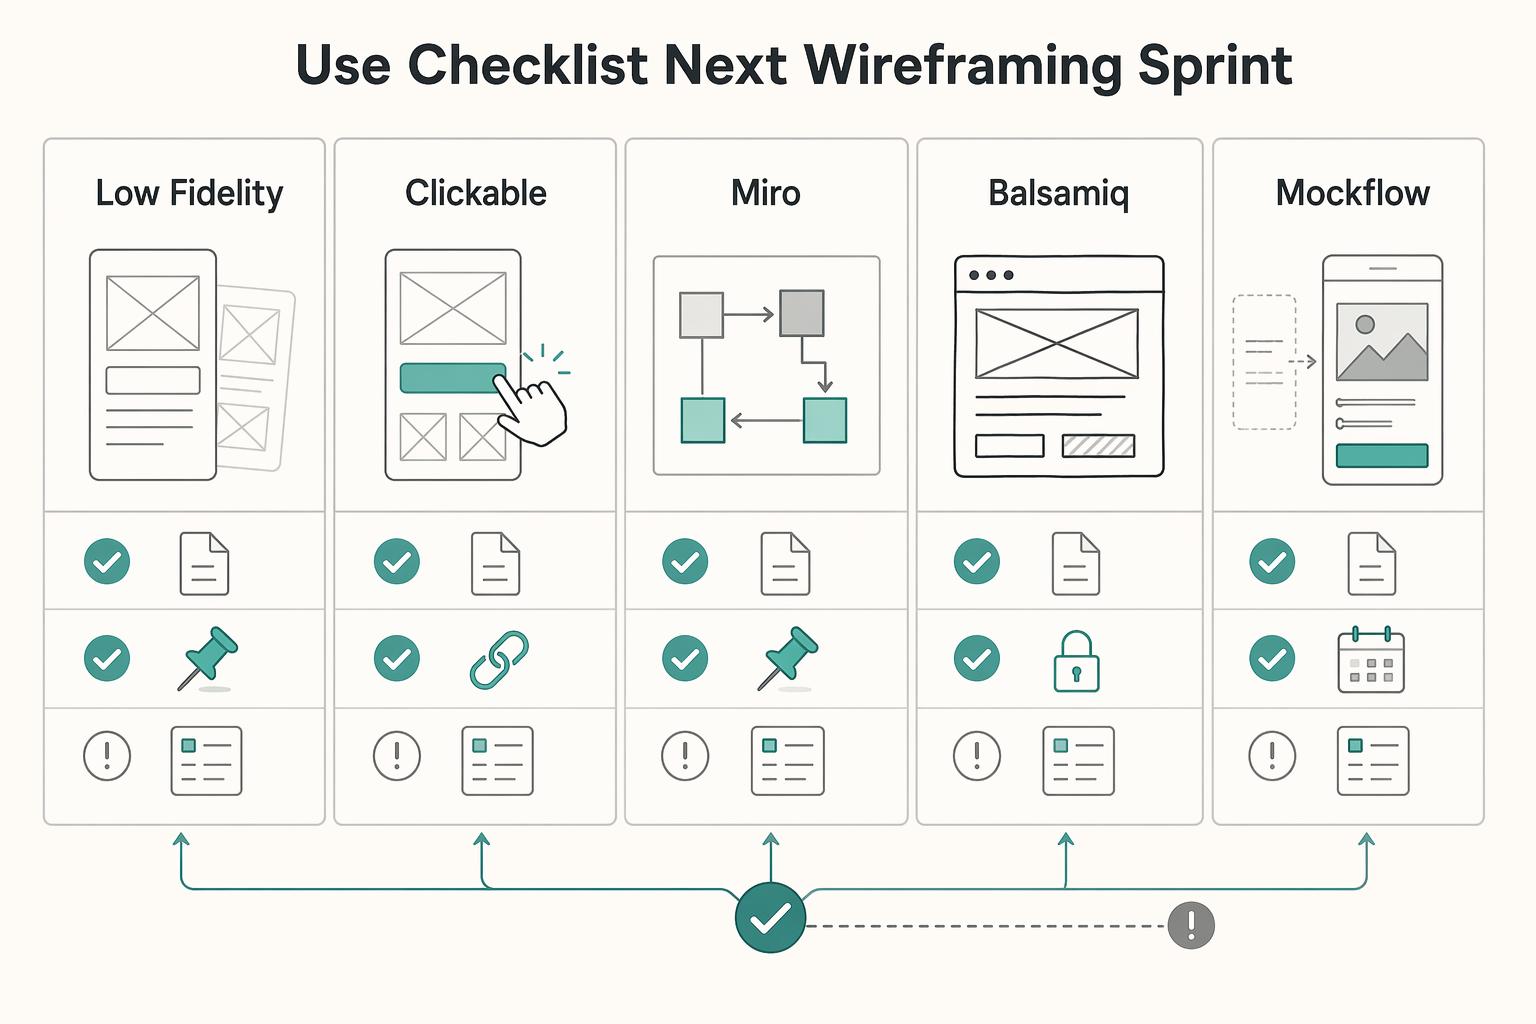
Create Wireframes for a Mobile App Without Rework
Start rough on purpose. Good mobile app wireframing work is not the set of screens that looks finished first. It is the set that lets another person follow the core task, understand each screen's job, and spot structural problems before visual detail starts hiding them.