

Quick Answer
Create an App Store Connect record, upload a signed build and wait for processing, select it for the app version, complete required metadata and review access, then choose Add for Review. Open the resulting draft and choose Submit for Review: Ready for Review alone does not send the app to Apple.
Phase 1: The Pre-Flight Compliance Audit#
For an iOS App Store submission, your first job is not packaging the build. It is spotting the mismatches that create review friction before you submit. Apple review can include manual checks for first publication and updates, and missing metadata, thin reviewer instructions, and privacy gaps are common reasons things slow down or get rejected.
Keep the app record in Prepare for Submission while you complete the release package. Uploading a build does not submit it. Add for Review places the version in a draft submission and changes it to Ready for Review; you must then open that draft and choose Submit for Review to send it to Apple. Check the submission status before treating the release as queued.
Pick your enrollment path before you pay#
Choose the enrollment that matches the publisher. Apple lists the program fee as US$99 per membership year, with local currency pricing where available and waivers for eligible organizations. Enrollment controls the seller name on the store; it does not by itself create a company or determine your legal liability.
| Decision | Individual | Organization |
|---|---|---|
| Seller name | Your personal legal name appears as the seller. | The enrolled legal entity name appears as the seller. |
| Eligibility | An individual or sole proprietor enrolling personally. | A recognized legal entity; a trade name or branch alone is not sufficient. |
| Verification | Personal identity and account details. | Legal entity verification and a D-U-N-S Number, except where Apple exempts government organizations. |
| Authority | You enroll for yourself. | The enrolling person must have authority to bind the entity; Apple also requires organization contact and website details. |
Resolve a seller-name mismatch before enrollment rather than assuming a brand name can replace your legal identity. Use Apple’s enrollment requirements to prepare the information for your chosen account.
Document privacy as behavior, not boilerplate#
Privacy review is easier when you describe what the app actually does, not what a template policy says. Before review, write down four things for every user-facing feature and every SDK: what data is touched, why it is processed, how a user can ask questions or request action, and where that same behavior is disclosed.
| Privacy item | Applies to | Related disclosure |
|---|---|---|
| What data is touched | Every user-facing feature and every SDK | Where that same behavior is disclosed |
| Why it is processed | Every user-facing feature and every SDK | Where that same behavior is disclosed |
| How a user can ask questions or request action | Every user-facing feature and every SDK | Where that same behavior is disclosed |
| Where that same behavior is disclosed | Every user-facing feature and every SDK | Policy text, in-app prompts, onboarding copy, and App Store Connect disclosures should all describe the same reality |
The goal is consistency. Your policy text, in-app prompts, onboarding copy, and App Store Connect disclosures should all describe the same reality. A simple working sheet is enough if it has these columns:
- Feature or SDK
- Data involved
- Purpose
- Where collected or accessed
- Stored or transmitted where
- Internal retention/deletion notes (if any)
- Policy section
- App Store disclosure check
That last column matters most. A common failure mode is drift. The app changed, the SDK changed, or a new event was added, but the App Store disclosures did not.
Treat monetization and tax as records setup, not a later cleanup job#
For a paid app or in-app purchases, complete the applicable agreement, tax and banking information in App Store Connect. Assign someone to reconcile financial reports to bank receipts. Tax obligations depend on the publisher and jurisdiction; personal expatriate tax elections are not a general app-submission requirement.
Prepare reviewer access while you audit the app. If sign-in is required, provide a working demo account and explain the path to restricted features in App Review information. Keep required back-end services available during review. Related: A Guide to App Store Optimization (ASO) for Mobile Apps.
Phase 2: The Predictable Submission Engine#
This phase is where you make the submission process repeatable instead of hopeful. Treat release as a pass/fail process: one package that covers build quality, metadata accuracy, and reviewer handoff. Delays cost momentum, so your goal is to remove reviewer confusion before upload.
Use one rule: if a reviewer could be blocked, surprised, or forced to guess, do not submit yet.
Use a pass/fail gate before upload#
Run this gate on every release candidate:
| Review risk area | Verify before upload | Include in Review Notes |
|---|---|---|
| Performance and completeness | Test core flows on physical devices, remove dead ends (placeholder text, unfinished screens), and confirm required sign-in or purchase paths are reachable | Short start-to-finish test path and where the reviewer should begin |
| Privacy consistency | Make sure in-app prompts, policy language, store privacy disclosures, and actual app/SDK behavior describe the same thing | Note which permission prompts appear in review and when they appear |
| Minimum functionality | Confirm the app delivers a complete user outcome without reviewer guesswork | One sentence on the main user outcome and fastest path to see it |
| Spam/clone risk | Check branding, copy, layout, and feature scope for obvious reskin/template signals | If similar to another app you own, explain the distinct audience or use case |
A release can fail review when the metadata or assets describe an experience that the uploaded build does not deliver. Check that relationship before submission.
Make the product page match the shipped flow#
Your listing should match what a reviewer can actually open in this build. Align screenshots, preview video, and description to real in-app paths. If key screens require login, permissions, hardware, or accessories, make that explicit and make the review path reach those screens cleanly.
Hand off a review package, not a loose note#
Prepare one review package for each submission:
| Package item | What it covers | Timing |
|---|---|---|
| Demo account or test credentials | With the right role | For each submission |
| Role-based test path | From app launch to primary value | For each submission |
| Feature flags | Active in this build, plus intentionally disabled areas | For each submission |
| Hardware/accessory/environment setup | Steps if needed | For each submission |
| Escalation contact | Can respond during review | During review |
| Apple review fields/attachments | Verify current fields/attachments in your account | Before release |
| Update-review behavior | Verify current behavior for your app type/account | Before release |
Keep it in one place so whoever responds during review is working from the same build context the reviewer sees.
Use TestFlight as your launch-readiness rehearsal. Collect feedback in a structured format (device, steps, expected result, actual result, risk area), triage by review risk first, then confirm fixes before final submission.
TestFlight feedback helps uncover defects, but beta review does not replace App Store review of the release submission. Retain the tested build number and repeat the release checklist when the selected build changes.
Upload, select and submit the actual build#
As of October 3, 2026, Apple’s upload requirements include Xcode 26 or later with the iOS 26 SDK baseline introduced April 28, and a minimum deployment target of iOS 13 or later introduced September 9. Complete the updated age-rating questions as well. Check upcoming requirements when scheduling a later release: SDK and deployment-target requirements are different checks.
1. Create the app record#
In App Store Connect, choose Apps, the plus button and New App. Enter the platform, name, primary language, Bundle ID and internal SKU, set user access and create the record before uploading. The Account Holder must have accepted the latest required agreement. Creating an app requires an Account Holder, Admin or App Manager role.
2. Upload and wait for processing#
Archive the intended release in Xcode and check signing, entitlements and version/build identifiers. Upload through a supported path such as Xcode or Transporter. The upload must finish Apple’s processing before you can select it in App Store Connect; the upload receipt is not an App Review submission. A Developer role can upload builds, but submission needs an Account Holder, Admin or App Manager.
3. Select the build for this version#
Open the app and its platform version, use the plus button in Build, choose the correct processed build, then choose Done and Save. Check the build number against your release record. Resolve Missing Compliance by answering the export-compliance questions or supplying the required documentation. Only one build is selected for a version at a time.
4. Complete metadata and add the version for review#
Complete the required app information, age rating, privacy answers, screenshots and review access. Set the release option appropriate to your launch. On the version page, choose Add for Review and add it to a new or existing draft submission. Ready for Review means the version is prepared in that draft; it has not been sent to Apple.
5. Send the draft submission#
Open Draft Submissions or the App Review section, select the prepared submission and choose Submit for Review. Confirm its status in App Store Connect. Apple changes it to In Review when review begins. If you choose manual release, approval still leaves a release action for your team; plan that handoff explicitly.
For example, a team uploads build 42, waits for processing and selects it for version 1.2. The operator adds that version for review but stops at the draft: Apple has not received the review submission yet. A release owner opens the draft, checks build 42 and reviewer access, then chooses Submit for Review. The status check catches the otherwise silent gap between preparation and submission.
After launch: reconcile revenue and keep updates ready#
Approval is the handoff, not the finish line. After launch, the work shifts from submission tasks to operating discipline: cash tracking, tax-ready records, and update cadence.
Separate performance reporting from cash movement#
Treat Sales, Proceeds, and Payments as three different bookkeeping buckets, then map each one to the current labels in your App Store Connect account.
| Bucket you track | How to use it operationally | Cash-flow meaning | Common mistake |
|---|---|---|---|
| Sales | Track customer demand and product performance | Not bank cash | Recording it as cash received in the same cycle |
| Proceeds | Track platform-calculated net amounts before/around payout | Intermediate value between activity and deposit | Assuming it must equal the bank deposit exactly |
| Payments | Reconcile to actual payout records and bank receipts | A payment issued by Apple still needs to be matched to the bank receipt | Matching to the wrong reporting period |
Use one rule consistently: performance metrics are not the same as liquidity. Reconcile each payout to its statement and bank receipt, not to dashboard totals alone.
Lock down Agreements, Tax, and Banking before volume grows#
Use the Business area in App Store Connect to manage the applicable agreements, tax forms and bank account. Keep these details aligned with the publisher and check the available payment information before the first paid release. For monthly close:
- Confirm account ownership aligns with your legal operating entity.
- Confirm which payout currencies your bank account can receive.
- Check for transfer/intermediary fee risk that can reduce landed deposits.
- Use fixed bookkeeping categories for sales activity, platform fees, refunds/adjustments, and cash received.
Maintain the same records every cycle:
- Payout statements
- Platform fee detail
- Refund/adjustment detail
- Bank receipts
- Tax-supporting exports used for filings
Keep a post-launch operating cadence#
Run updates as an operations control, not just a product habit. Write release notes that clearly call out fixes and any changes affecting access, permissions, or billing. Monitor support and refund signals for repeat issues, then prioritize updates that protect revenue continuity, keep disclosures aligned with the live build, and preserve audit-ready records.
For a step-by-step walkthrough, see How to Get Your App Featured on the App Store.
Keep a release record for every version#
Record the app identifiers, version and build number, selected release option, approved store assets, privacy answers and reviewer notes together. That gives the next operator a concrete starting point when an update changes login, billing or data collection.
| Record | Why it matters |
|---|---|
| Version and build number | Identifies exactly what was submitted and tested. |
| Submission status and release option | Separates a saved draft, review submission and public release. |
| Store assets and privacy answers | Makes changes traceable when the product evolves. |
| Review access and contact | Keeps the review path usable while Apple examines the app. |
| Payment and bank reconciliation | Connects post-launch proceeds to actual receipts. |
Next step: run the phase checks now, confirm current requirements in App Store Connect and the App Review Guidelines, and execute your release in sequence. You might also find this useful: A Guide to Google Play Store Submission for Android. For your broader operating stack, use Browse Gruv tools or Talk to Gruv.
Frequently Asked Questions
What are the most common reasons for rejection?
Apple’s App Review Guidelines cover completeness, accurate metadata, privacy and other requirements. Check for crashes, inaccessible sign-in, unfinished screens and disclosures that disagree with the app. These are review risks to inspect, rather than a ranked claim about all rejection reasons.
Do you need a lawyer to write a privacy policy?
Choose legal review based on the data you collect, your users and the jurisdictions involved. A template cannot tell you what your app and third-party SDKs actually do. Start with the data inventory, then make the policy, permission prompts and App Privacy answers consistent with that behavior.
How long does the review process take?
Do not assume a fixed App Store review-time expectation. Check current platform guidance before you announce dates, and keep buffer in your launch plan.
How should you reconcile App Store payments?
Keep sales activity, platform-calculated proceeds and payment records separate. Match each payment to the financial report and actual bank receipt, including currency conversion, bank fees and timing differences where applicable. A payment record alone is not proof that the funds reached the bank.
What is the difference between a Bundle ID and an SKU?
The Bundle ID identifies the app and must match the identifier used by its build. The SKU is an internal identifier you choose for the App Store Connect record; customers do not see it. Apple also assigns its own Apple ID to the app record. Keep all three in your release record so uploads attach to the intended app.
Can you change your app name or screenshots after approval?
Some App Store Connect properties can be edited in specific statuses, while version-level changes can require a new version or submission. Check Apple’s editable-property rules for the field and current status before planning a change. Prepare name and screenshot changes with the next release package when that is the applicable path.
What is IDFA, and do you need to use it?
IDFA is Apple’s advertising identifier. An app does not need to use it to be listed on the App Store. Accessing IDFA or tracking users as Apple defines tracking requires the applicable AppTrackingTransparency permission; on iOS 14.5 and later, request permission before accessing the identifier. Review third-party advertising SDK behavior too, and do not replace denied permission with device fingerprinting.
Try a related tool
Researched and edited by the Gruv editorial team. Gruv builds cross-border billing, payouts, and finance-operations software for global businesses.
Sources
Includes 2 external sources outside the trusted-domain allowlist.
Educational content only. Not legal, tax, or financial advice.
Related Posts
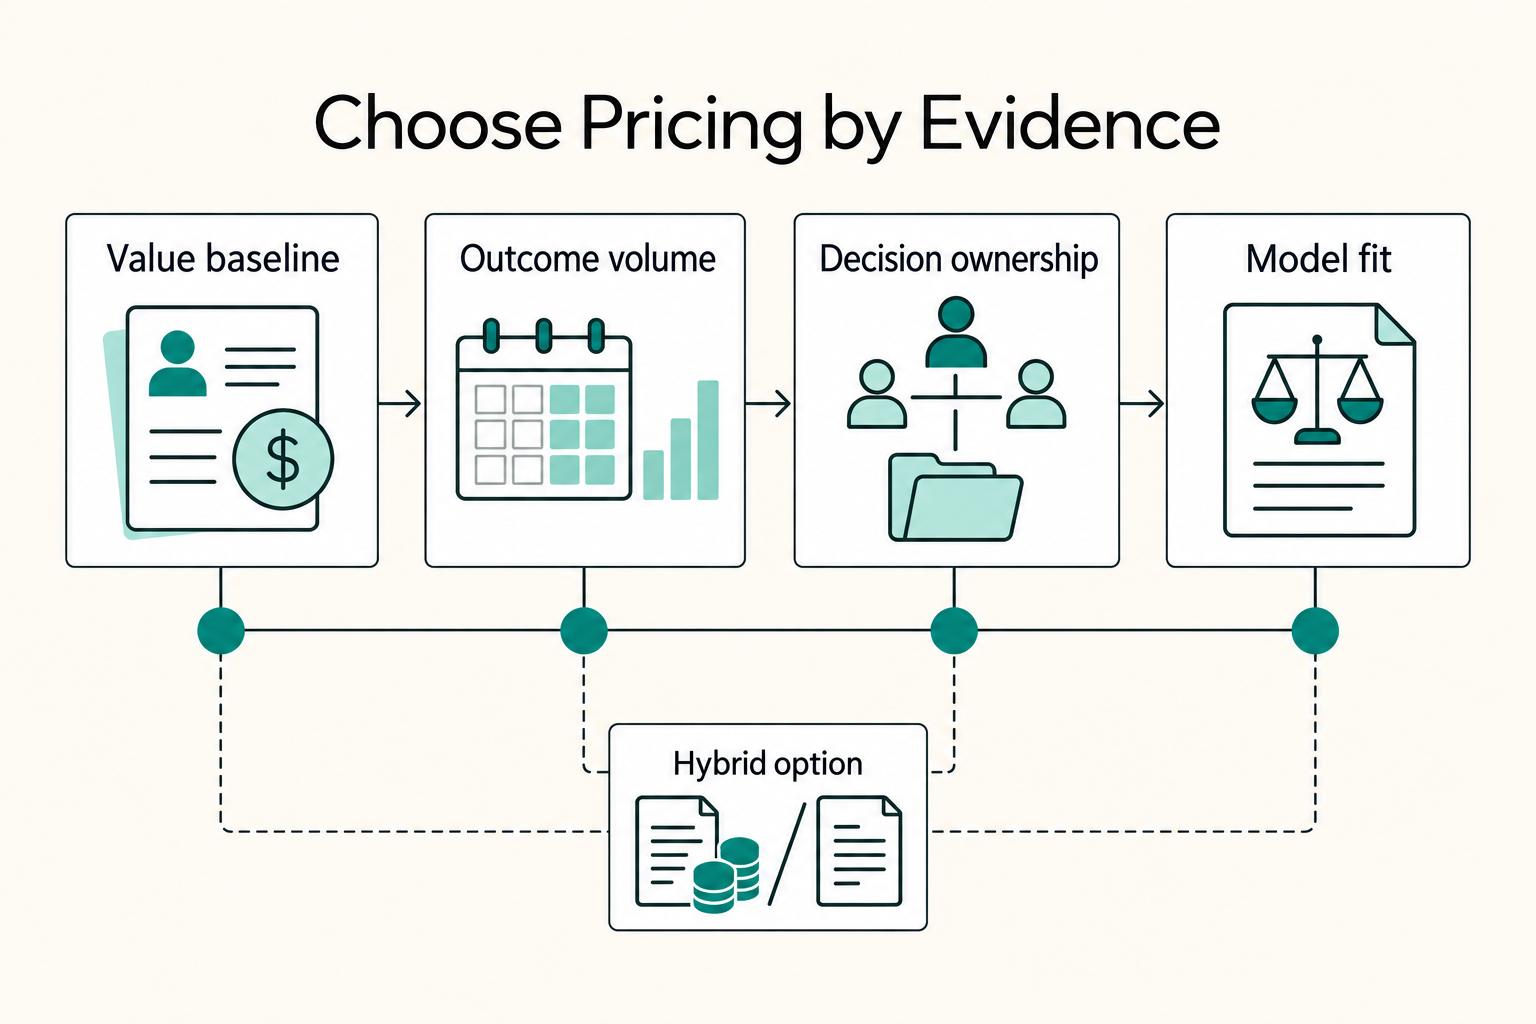
Value-Based Pricing for Freelancers Under Real Payment Risk
Value-based pricing starts with the client’s expected benefit and willingness to pay. It still needs a deliverable, scope and payment agreement you can perform. Use a discovery phase when the benefit or effort is too uncertain to support a defensible quote.
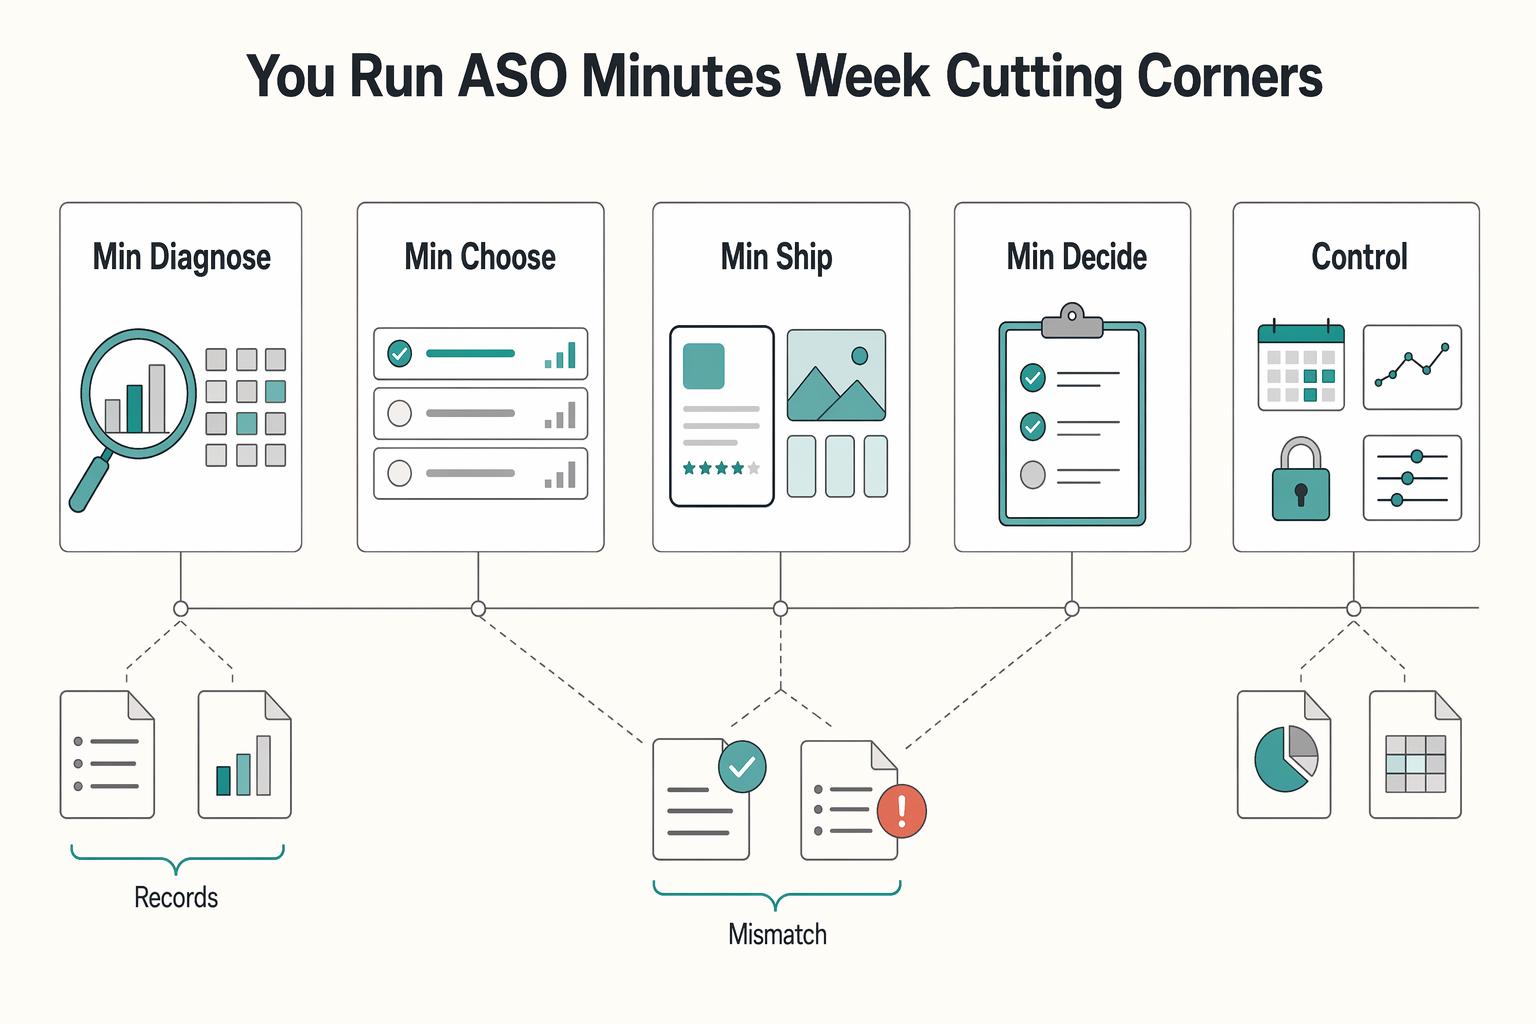
Run App Store Optimization Like an Operator for Mobile Apps
ASO works when you treat it like a recurring operating practice, not a burst of edits when installs dip. If you are working solo or with one helper, keep it to four controls you can actually manage: metadata, creative, experimentation, and risk. Think of this as a practical four-part ASO stack with a simple report card for execution.

The Freelance Payment Penalty: A Modeled Audit of Platform Fees, FX Spreads, and Payout Delays
The money rarely disappears through a single, easy-to-spot fee. The real loss is stacked. A marketplace takes its commission, a processor adds a charge for international cards, a bank or payment company converts the currency at a spread, a platform holds the funds before release, and a wire sheds a little to intermediaries on the way in. Each layer looks defensible on its own, but the worker feels the combined result as a smaller deposit and a later payday.